
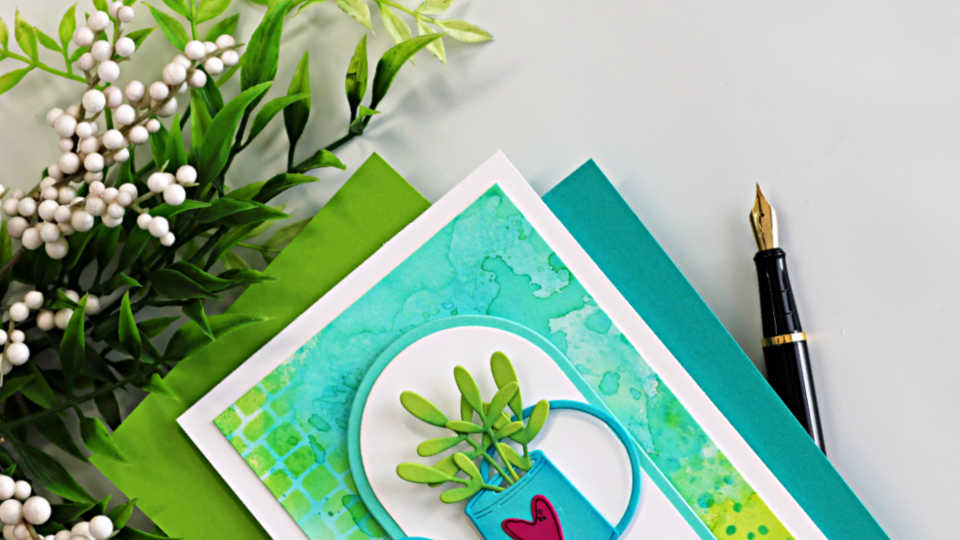
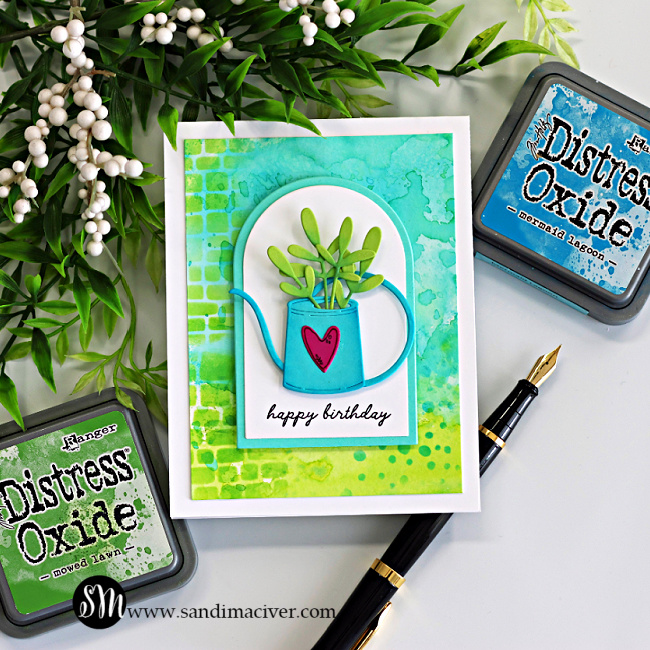
Learn how to create this watering can birthday card featuring a super simple ink smooshing and stenciling background that beautifully highlights your die cuts. Today I’m playing with a new die set from the My Monthly Super Hero April release from Hero Arts called the Watering Can Die Set. It’s absolutely adorable and perfect for creating clean and simple cards with a fresh spring feel.
To artistically enhance the design without a lot of extra work, I created a quick and easy ink smooshing background using Distress Oxide Inks. The soft blended colors and subtle stencil detail add just the right amount of texture and interest while keeping the focus on the watering can.
I’m also participating in a My Monthly Hero Instagram Hop – pop on over to my page and start the hop. Leave a comment at each stop for a chance to win a gift card from Hero Arts
Follow along below to create this easy watering can birthday card.
Products used for the My Monthly Super Hero | Watering Can Birthday Card:
- My Monthly Super Hero -Watering Can Die Set
- House Plants Stamp and Cut – sentiment (from My Monthly Hero)
- Arches Infinity Dies
- Dots Stencil
- Cobblestone Stencil
How to create the My Monthly Super Hero | Watering Can Birthday Card:
Create the card base:
Start by creating a white, top-folding A2 sized card base. (4-1/4″ x 11″, score and fold at 5-1/2″.
Create the Ink Smooshed Card front:
Cut a panel of watercolor paper to 3-3/4″ x 5″.
Using a glass mat, add Peacock Feathers Distress Oxide Ink to the mat, spritz with water and then press the top of the panel into the ink. Heat set and repeat until you achieve good coverage.
Repeat the same process with the Mowed Lawn Distress Oxide Ink on the bottom portion of the panel.
Once dry, use the Cobblestone Stencil with Mowed Lawn Ink to add subtle texture along the left side of the panel. Then use the Dots Stencil to add detail in the bottom right corner.
Adhere the finished panel to the center of the card base.
PRO-TIP – These are the same stencils I used in yesterday’s card–just applied differently to add interest to another area of the design.

Die cut the two layer Arched Panel:
Choose two arch dies that are large enough to frame the watering can.
Die cut the smaller arch from white cardstock and the next size up from Waterfall cardstock to create a layered frame.
Place the white arch inside your Misti and stamp the sentiment from the House Plants Stamp & Cut set using black ink.
Die Cut the Art Piece:
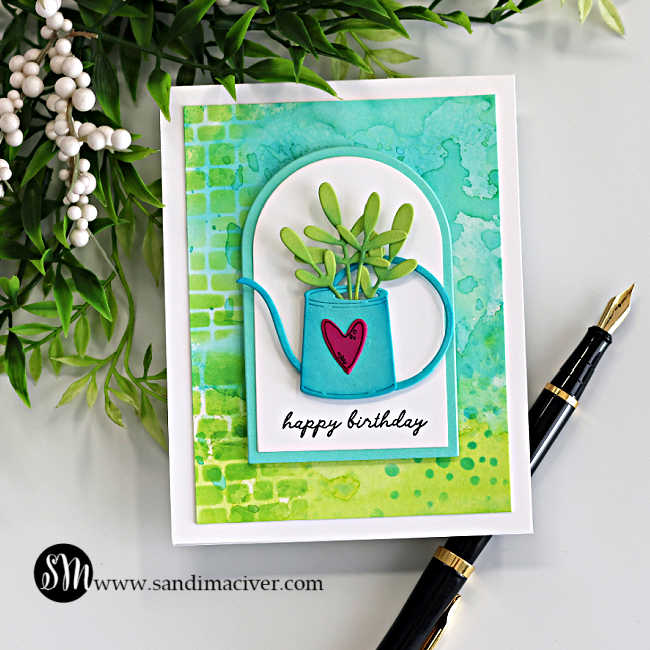
Die cut the watering can from Waterfall cardstock, the heart from Mulberry cardstock, and the foliage from Rainforest cardstock.
Ink blend the watering can pieces with Mermaid Lagoon Distress Oxide Ink before assembling.
Add depth to the foliage by ink blending with Evergreen Bough Distress Oxide Ink, then adhere inside the watering can.
Use a Copic Multiliner 0.3 black pen to add a border and crosshatch detail to the heart.
Assemble the Card:
Use foam tape to adhere the arched panel to the center of the card front.
Attach the watering can using foam squares, then glue the heart to the center.
You can embellish further with a jute twine bow, gems, or sequins. I chose to keep it simple since the background already adds plenty of interest.


Never Miss a Cardmaking Tutorial
Subscribe to my blog and get the latest cardmaking ideas, tutorials, and inspiration delivered straight to your inbox — plus access to exclusive content and updates you won’t want to miss!

Visit my YouTube channel for 270+ cardmaking tutorials, techniques, and creative ideas to inspire your next project
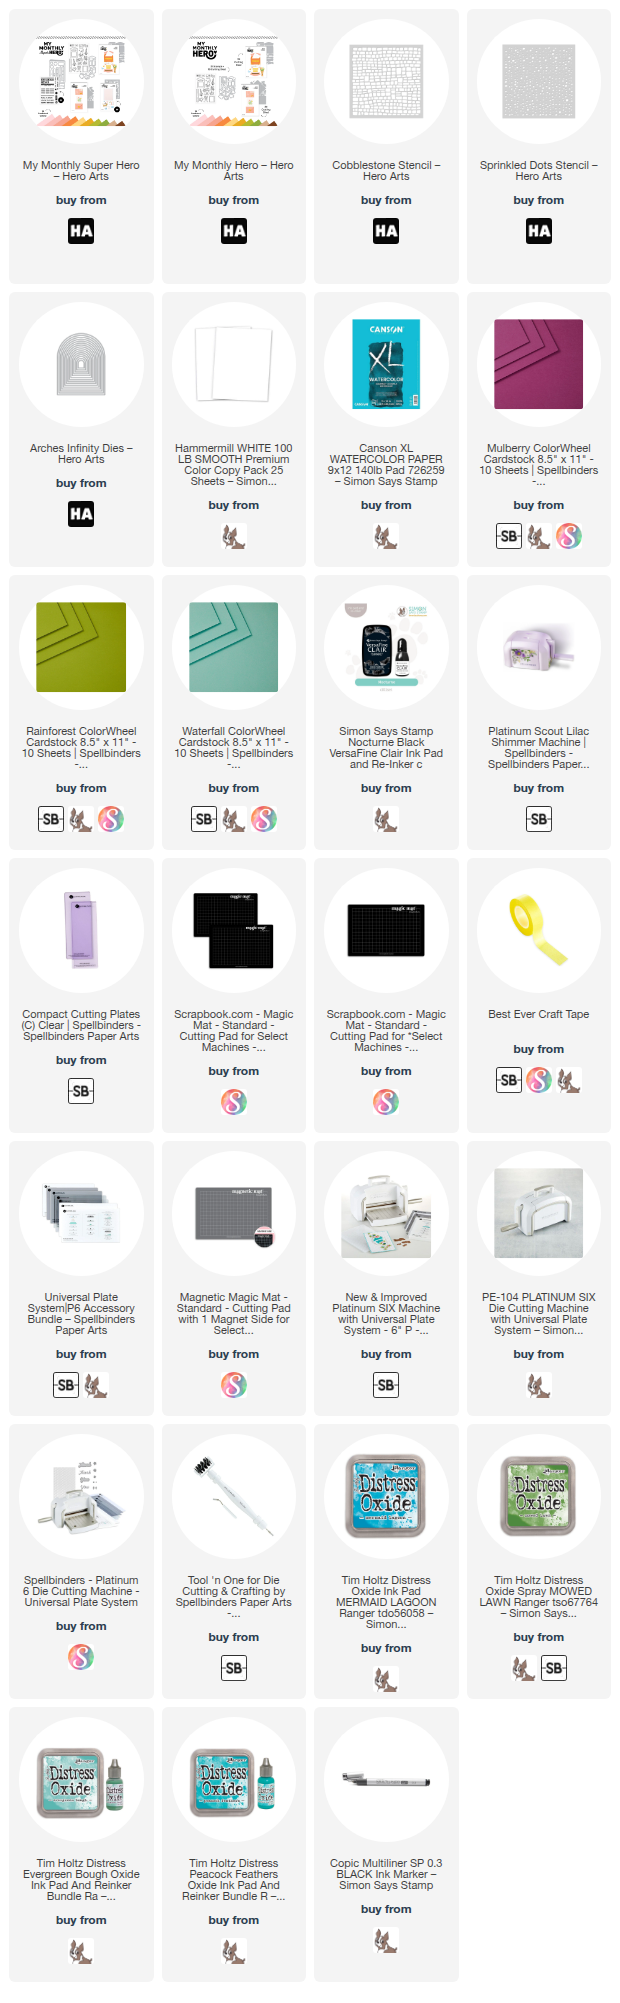
Cardmaking Supplies Used:
Here are the supplies I used to create today’s watering can birthday card.
Many of the links below are compensated affiliate links. This means if you click through and make a purchase, I may receive a small commission at no additional cost to you.
These commissions help support my website and allow me to continue sharing cardmaking tutorials, videos, and inspiration. I truly appreciate your support.
All products were personally purchased unless otherwise noted. the Hero Arts My Monthly Hero and My Monthly Super Hero products were provided by the company for design purposes.
You can find my full affiliate disclosure on my disclosure page.
Click the icons below each product to shop my favorite stores.
Let’s Connect & Get Inspired
Follow along for more cardmaking ideas, techniques, and tutorials:
- Follow me on Instagram
- Join 38,800+ creatives on Pinterest
- Subscribe to my YouTube Channel
- Follow me on Facebook
- Join my Cardmaking Obsession Facebook Group
FREE Cardmaking Tutorials Library
Looking for more inspiration? Explore my FREE PDF GALLERY with 359+ cardmaking tutorials — packed with ideas, techniques, and step-by-step projects to spark your creativity.

Don’t Miss This Week’s Deals
Lot’s of great paper crafting sales and new releases happening now — check them out here!

Shop My Favorite Craft Brands
Browse my Go to Brands and supplies using my affiliate links.
So pretty Sandi! Perfect spring card! 🙂
Thank you Amy
Love it! Just perfect for Spring!
thank you Sharon
Lovely spring vibes Sandi. Cute card!