
Hey Crafters, today I have a 5 – Step Mixed Media Cards Video to share with you, with step-by-step instructions for beginners in the Mixed Media card making or a quick refresher on some fun techniques. It starts with Heat Embossing, moves on to Ink Smooshing, then to Stenciling, then to Splatter and die cuts.
It’s created with THIS CARD I shared a couple of days ago as I had many requests for a video. And I did not only the card, but the reverse colors for the card as well.
PLEASE NOTE: This post contains affiliate links. See below for my full disclosure
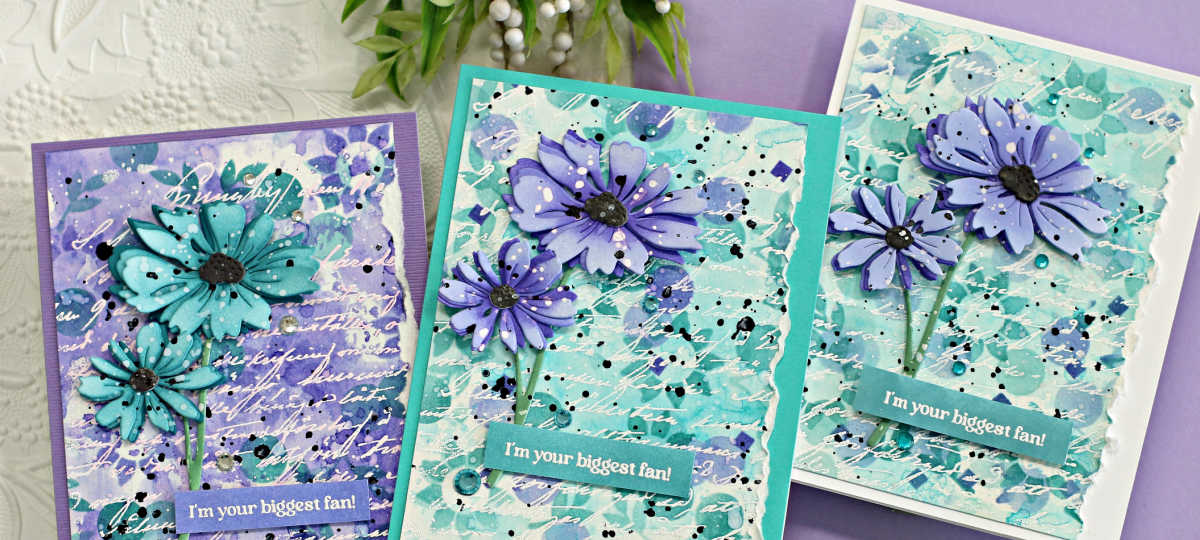
I love mixed media cards. You can just let loose, use any color you want, pretty much any technique you want and just add and play until you are happy. NO RULES – that’s why it’s so fun, you never know how it’s going to turn out – until it does.
Products Used:
- Old Letter Background stamp
- Sunflower Pattern 6 x 6 Stencil
- Cheering sentiment die set
- Cosmos Duo die set S929
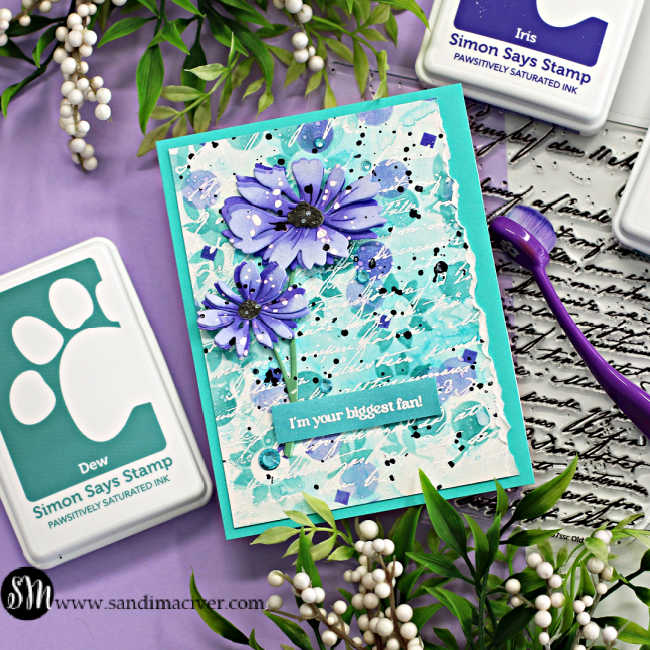
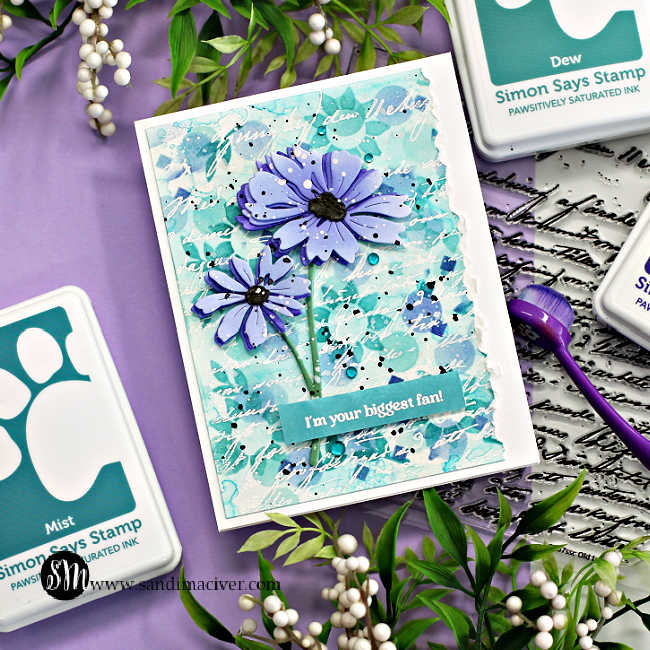
- Pawsitively Saturated Inks: Dew, Mist, Raindrop, Heather, Violet, Iris, Surf, Sage and Intense Black
- Watercolor Paper
- Blending Brushes
- Altenew Blending Brushes
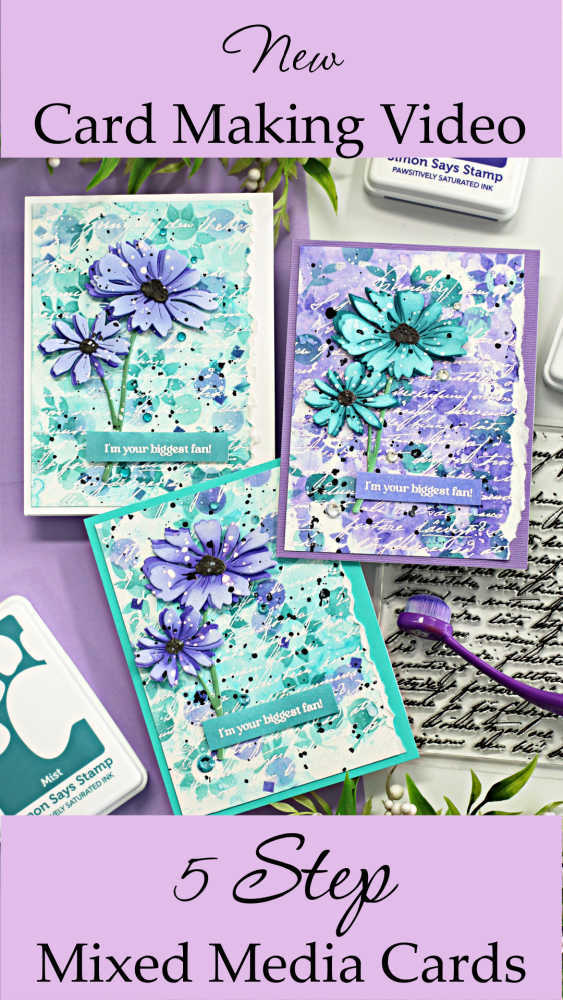
Pin this image to save the video for later
How to create the 5 Step Mixed Media Cards
- Start with a 5 x 6 piece of watercolor paper and white heat emboss the Old Letter Stamp onto it
- Next, Ink smoosh the background with the Surf Ink.
- Then, use the Sunflower Pattern stencils to add some “background noise” with Dew and Heather Ink
- Finally, splatter with black and white ink.
- Then, add the Die cut overlays and sentiments with more splatter.
5 Step Mixed Media Cards – Adding the Overlays
Start by die cutting the Cosmos Duo floral pieces 3 times. Glue the stems and flower centers to form one unit of each.
then, ink blend the flower heads with the light, medium and dark of the purple. Going back to the top light one, add a bit of the medium ink to the center to form a shadow. Glue the flower heads together, offsetting slightly, starting with the dark at the back, medium then light. Add the flower centers.
Next, tear the right side of the art piece before cutting it down to a 4″ x 5-1/4″ finished piece. Glue the stem in place and then use foam squares to add the flower heads.
Finally, ink splatter the piece again, so the flowers get some splatter.
5 Step Mixed Media Cards – Mounting the Art Piece
The first card is on a white card base, which I like, but I thought it might be fun to add some colored backgrounds. I cruised my stash and found a couple of pieces that match.
Start by cutting a piece of colored cardstock card front 4-1/4″ x 5-1/2″ and attach to a top folding A2 sized white card base: 4-1/4″ x 11″, score and fold at 5-1/2″.
Next, use tear tape to attach the art piece.
PRO – TIP – It’s watercolor paper and it’s been wet, so it requires a stronger tape than a tape runner to hold it down, so it looks professional.
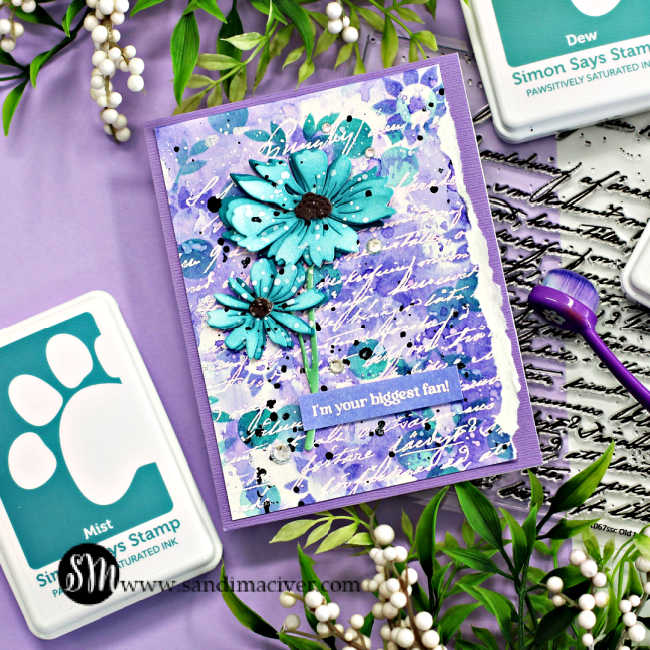
Finally, ink blend some scraps of white with the teal and purple colors, then white emboss a sentiment for each from the Cheering Sentiment Stamp Set. Trim and attach to the base of the card over the step using foam squares.
Here’s the 5 Step Mixed Media Cards Video | Step-by-Step tutorial for Beginners.
I hope you enjoyed today’s video, if you did, please consider leaving me a thumbs up and a comment and sharing it with your friends, it really does help my YouTube Channel. Check out my YOUTUBE CHANNEL for more Card Making Videos

Visit my Card Making PDF Gallery for 350+ more card ideas

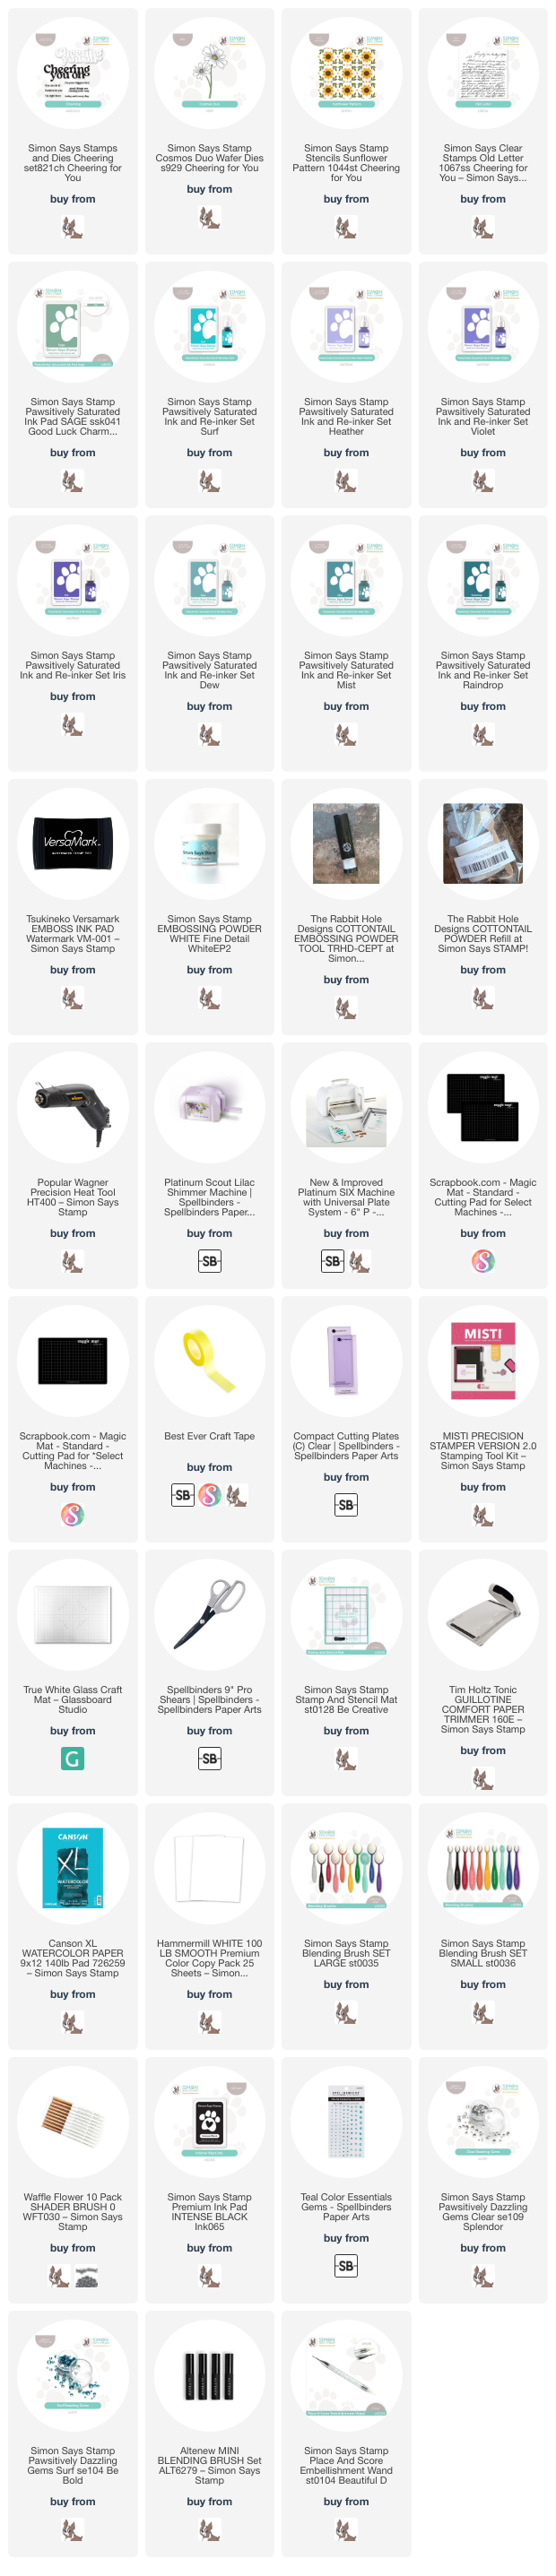
Card Making Supplies used for the 5 Step Mixed Media Cards :
Here are the products I used today. Compensated affiliate links used where available at no cost to you.
Clicking on a thumbnail link and shopping provides me with a small commission (at no additional cost to you), which supports my website and allows me to continue bringing you new projects and videos. Thank you for your support. Affiliate and product disclosure are found on my disclosure page. All products were personally purchased except for Simon Says Stamp Cheering Stamp Set which was provided/sponsored by the company. As always, I was not paid to do this post. I only use and recommend products I love. Click on the icons below each product picture to go to my favorite stores.


-
-
- Follow me on INSTAGRAM
- Join 38,000+ following me on PINTEREST
- Subscribe to my YOUTUBE Channel
- Follow me on FACEBOOK
- JOIN my STAMP OBSESSION Facebook Group
- Check out my FREE PDF Gallery for over 350+ Card Making Tutorials
- How to make a SLIMLINE CARD – Info PAGE
- Do you like to stitch on cards? Then join our NEW FACEBOOK GROUP
-

– LOTS of great Paper Crafting Sales and New Releases going on this week – Check them out here
 Shop my Favorite Brands with my affiliate links
If you do place an order using my affiliate links (and thank you if you do) – please email me with the $$ amount before tax and shipping, and which company it was placed through, along with your mailing address and I’ll send you a hand made card as my thank you. [email protected]
The reason I ask for that specific info is the system that tracks the sales only gives us a dollar amount and company name, we do not know who made the sale.
These are AMAZING! Love them!
Thank you Natasha
Such pretty cards! Love the colors and your layering is perfect! 🙂
thanks so much Amy
Awesome as always.. Such beautiful designs. Thank you so much .
Thanks so much Karen
That was great, Sandi! Thank you! A real lesson in mixed media! You were also right – it wasn’t hard!
I do agree with you regarding Altenew’s shipping!!!
Thanks Sharon, yes, it’s easy, just 5 steps, LOL…and yeah, Altenew’s new shipping is insane. I bought labels for my ink pads, 4 sheets of paper, they charged me $32. shipping. I weighed it in an envelope when it got here, would have cost 7.00 to mail it USPS
I have not used a few gift certificates I’ve won because the shipping is more than
the item or items I was going to buy plus, of course, US $!😂😂😂
exactly, me too.
great video, thank you Sandy! I liked the coloured bases as well, and the tip about offsetting the flowers.
Thank you Lynne, and thanks so much for watching
it’s gone into my must watch playlist on YT. I think these cards are stunning!
thanks so much Lisa, they were so fun to create