
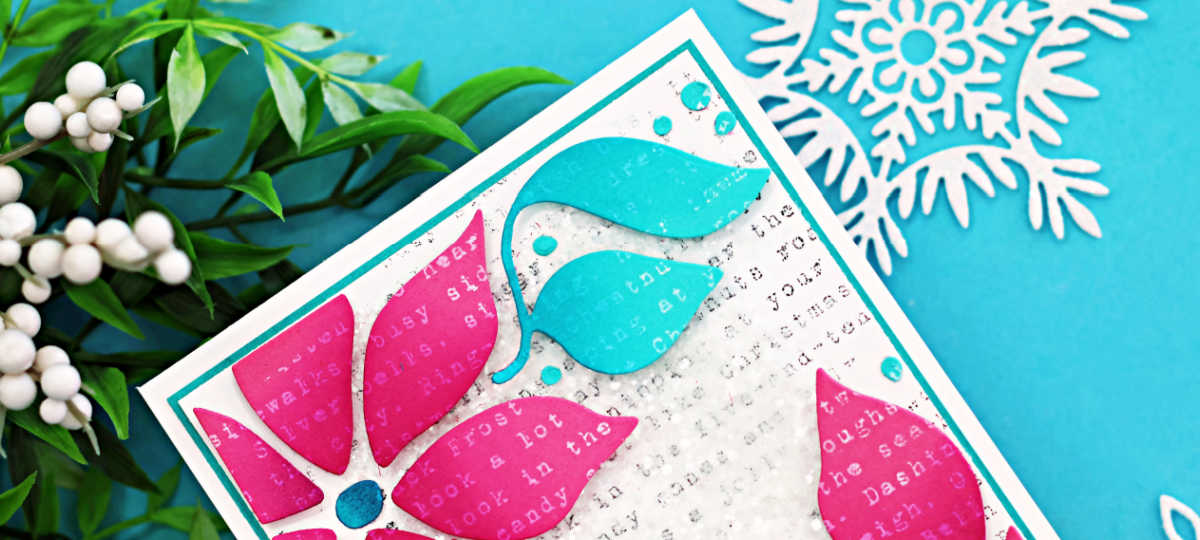
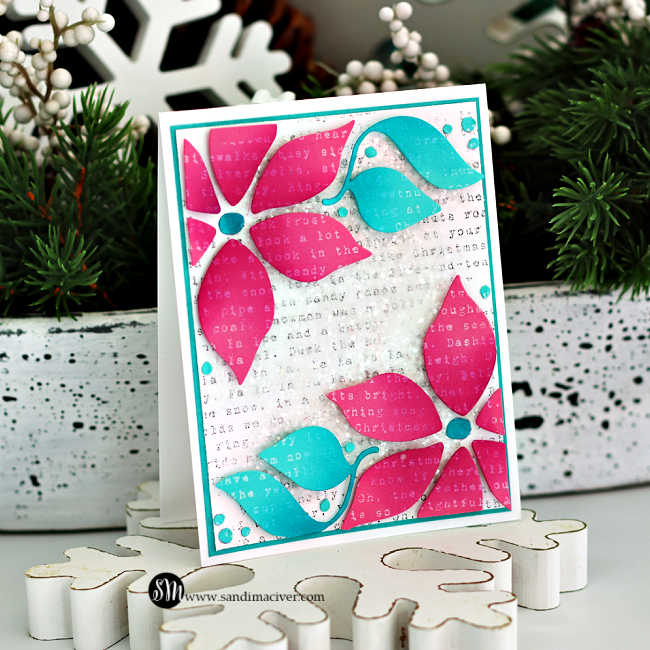
Hi cardmaking friends! I’m so happy to be back and joining the Simon Says Stamp “And Everything Nice” Blog Hop for Day 1. This gorgeous release is overflowing with Christmas Splendor, adorable images, and festive holiday goodness. Today I’m sharing my Mixed Media Poinsettia Christmas Card with Glitter Texture, created with the new Poinsettia Cover Die – and the best part is, it’s surprisingly easy to make!
Card-making product affiliate links are used throughout this post at no additional cost to you. Your support enables me to continue providing you with content, and I genuinely appreciate your support!
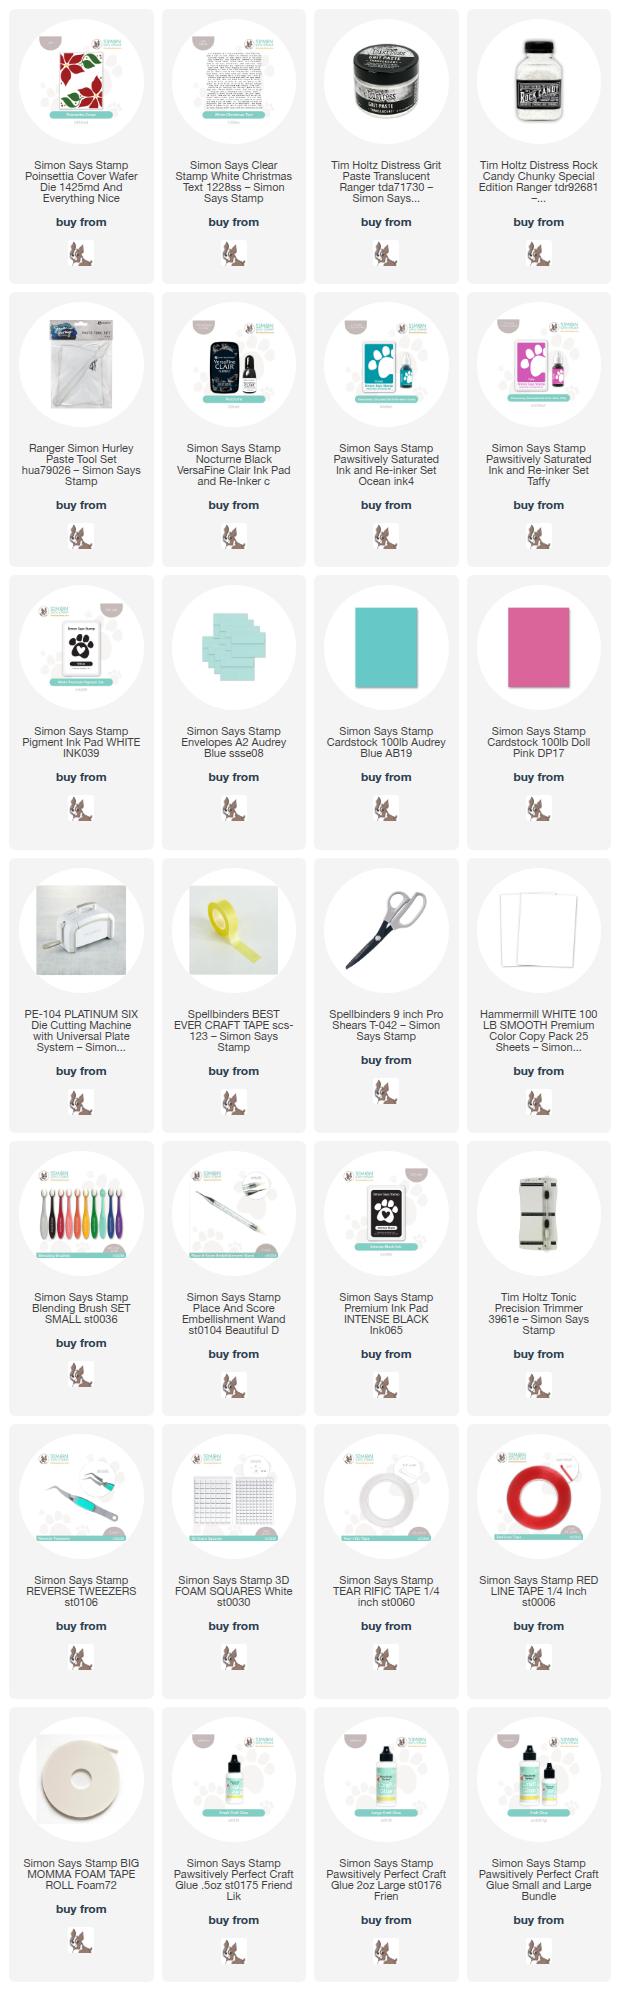
Products Used for the Mixed Media Poinsettia Christmas Card with Glitter Texture:
- Poinsettia Cover Waffer Die
- White Christmas Text – Background Stamp
- Distress Grit Paste
- Chunky Rock Candy

Step-By-Step Instructions to create the Mixed Media Poinsettia Christmas Card with Glitter Texture:
1 – Create the Background
Start with a white cardstock panel trimmed to 3-1/8″ x 5-1/8″.
Place the White Christmas Text background stamp face up on your work surface. Ink it with VersaFine Clair Nocturne (black), and then use a damp cloth to lightly wipe away a few random spots. (This gives the print that charming, softly-weathered look – like pages of a well-loved holiday storybook.)
Once dry, grab a palette knife and swipe Distress Grit paste across the center of the panel – like your frosting a tiny, festive cake.
While the paste is still wet, sprinkle Chunky Rock Candy Glitter generously overtop and tap it gently with the palette knife to help it nestle in.
Set aside to dry (this is where patience earns extra sparkle points – LOL!) – The Grit Paste is slightly translucent, allowing the stamped text to softly peek through.
2 – Die-cut the Poinsettia Panels.
Cut a 4-1/4″ x 5-1/2″ panels of Audrey Blue and Doll Pink cardstock.
Ink the White Christmas Text background stamp again, this time with White Pigment ink, and press each panel onto it. Let them dry ( or help things along with a heat tool – no judgement here).
Die cut both panels using the Poinsettia Cover Die.
- Keep the teal leaves and accent dots
- Keep the pink flower petals
- Keep one of the die cut panel backgrounds to use as a construction grid. The rest can hit the bin.
To add depth, lightly ink blend:
- Ocean Ink at the bas of the teal leaves
- Taffy Ink at the centers of the petals
Use the saved die-cut outline as a temporary placement grid. lay it on top of your glitter panel and pop in the flowers and leaves using thin foam strips for dimension.
When everything is attached, carefully lift away the grid (like a magic reveal moment). Trim any overhang.

3 – Create the Card Base
Make a top-Folding A2-sized white card base (4-1/4″ x 11″, score and fold at 5-1/2″).
Next, cut a mat from Audrey Blue cardstock to 4″ x 5-1/4″ and adhere it to the card front.
Then use a strong adhesive( like Red Line tape) to adhere the poinsettia art panel to the front of the card.
4 – Adding a sentiment (or. . .not!)
I debated adding a sentiment….and then decided the artwork could totally take center stage. So I’ll stamp something meaningful on the inside later – possibly something sparkly, definitely something festive.
Now it’s time to hop along and visit the rest of the team to see their makes. Your next stop on the hop is Lisa Addesa. If you get lost along the way, here is the entire hop list:
HOP ORDER:
- Simon Says Stamp Blog
- Nichol Spohr
- Suzy Plantamura
- Emily Midgett
- Amy Rysavy
- Sandi MacIver
- Lisa Addesa
- Anna-Karin Evaldsson
- Kim Hamilton
- Nicky Meek
- Bobbi Lemanski
- Barb Engler
- Lea Lawson
- Alberto Gava
- Michelle Langley
- Celes Gonzalo

Card Making Supplies used for the Simon Says Stamp Mixed Media Poinsettia Christmas Card with Glitter Texture:
Here are the products I used today. Compensated affiliate links used were available at no cost to you.
Clicking on a thumbnail link and shopping provides me with a small commission (at no additional cost to you), which supports my website and allows me to continue bringing you new projects and videos. I appreciate your support. Affiliate and product disclosures are found on my disclosure page. All products were personally purchased except for the Simon Says Stamp And Everything Nice products, which were provided/sponsored by the company. I only use and recommend products I love. Click on the icons below each product picture to visit my favorite stores.


-
-
- Follow me on INSTAGRAM
- Join 38,800+ following me on PINTEREST
- Subscribe to my YOUTUBE Channel
- Follow me on FACEBOOK
- JOIN my STAMP OBSESSION Facebook Group
- Check out my FREE PDF Gallery for over 350+ Card Making Tutorials
- How to make a SLIMLINE CARD – Info PAGE
- Do you like to stitch on cards? Then join our NEW FACEBOOK GROUP
-

– LOTS of great Paper Crafting Sales and New Releases going on this week – Check them out here
 Shop my Favorite Brands with my affiliate links
Your card is absolutely stunning. I love the mixed media look to it. Thanks for sharing
This is so pretty!
Beautiful card! Love your colors. Love that Christmas text background!
It is a beautiful card. Sparkly cards are my favorite. The colors are beautiful too.
Gorgeous and beautiful card ❤️.
Wonderful use of the background stamp.
What a beautiful card – love the colors, the background stamp use, just everything!
Your card is gorgeous! I love your color choices.
Beautiful colors & design! Love it.
I love the non-traditional color scheme!
Oh my, what a way to take a simple inlay panel and make it spectacular. The background text and the snow take this card over the top. Beautiful as always!!
LOVE this card! The sparkle is awesome!
A great poinsettia card!
Such a fresh and unique take on this traditional holiday floral image. I love it!
Lovely card!
Oh, I really like your card design! Very cool. Thanks for sharing! 🙂
Beautiful card. Love the modern feel the pink and aqua color combo provide!
I love the text use!