
Good morning, crafty friends, and thanks so much for stopping in. Yesterday was a cold and rainy day here, the grass really needed it, so I didn’t mind, and it gave me an opportunity to catch up on More Spellbinders Club Cards to share. I have three more cards to share covering the Large Die of the Month, the fantastic 3D Embossing Folder (twice because I really like this one), and the Wax Seal.
Affiliate links are used throughout this post at no additional cost to you. This allows me to keep bringing you content. I appreciate your support.

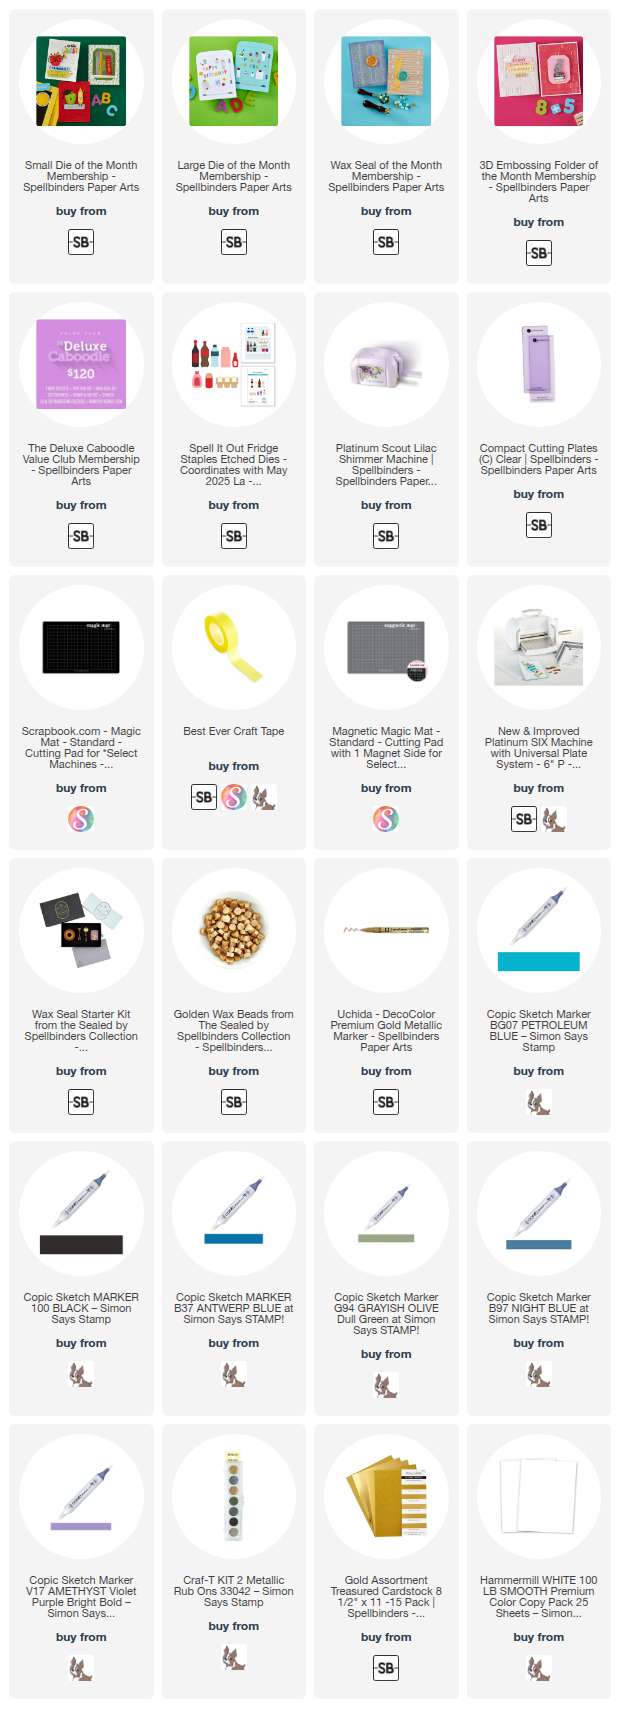
Products Used:
Sell it Out Fridge – Large Die of the Month
Spell It Out Fridge Staples Etched Dies – Add on
Wax Seal of the Month – So Proud of You
Classroom chronicles – Small Die of the Month
3D Embossing Folder of the Month: Stacked Stories
 More Spellbinders Club Cards – Card #1, the 3D Embossing Folder.
I’ll say it again: I LOVE this embossing folder. It’s 5 1/2″ x 8 1/2″ and made of vintage-looking books. You can emboss a card of any size or just use a portion, as I have today.
Start by cutting two ovals top panels from white cardstock. I used the third largest to ensure my finished card still fit into an A2-sized envelope.
Next, spritz both sides of the card front and emboss it.
Use Copic markers to color each book. I wanted to convey a masculine vintage vibe, so I used deep, rich colors.
Copic Markers Used: B37, V17, BG07, 100, G94, and B97 – Note: I left the coloring streaky to resemble old worn books.
Once they are all colored, attach the card front to the card back by scoring a line across the top of the back panel, and adding red-line tape.
Place the card on a flat work surface and use a gold finger rub to highlight the embossing. My rubs take a long time to dry, so I set the card aside while I die-cut the frame.
Use the same die as you did for the card, and the second one two steps smaller to die cut a gold frame to attach around the edge of the card.
Then, create a gold wax seal using the So Proud of You Wax Seal of the month. Attach to the lower right side of the card, and color the letters with a gold pen.

More Spellbinders Club Cards – Card 2.
Again, I embossed the card front with the Stacked Stories 3D Embossing Folder, this time in black, and attached it to a top-folding A2-sized white card base.
Next, I created the apple and the red book using the Small Die of the Month Club- Classroom Chronicles.
Then, die-cut the sentiments and attached all the pieces to the card front with foam squares.

Card #3 – the Fridge.
This one had to be the most fun of all. Time-consuming? YES, but fun.
Using the Large Die of the Month—Spell It Out Fridge—die cut the fridge twice to create the card’s shape, then die cut all the embellishments.
Fridge handles are in black and silver, the sentiment is in 4 colors, the Polaroid photos, lists, and shaped fridge magnets.
I glued on the handles and the sentiment, and then filled in the other embellishments around that.

There is an Add-on die set this month called Spell It Out Fridge Staples Etch Dies that you can purchase. It has dies to create the shelves, condiments, etc., for the inside of your fridge card. Now, these were a blast to cut out and “stock the fridge.” On the right, I added a gift card and a sentiment. TOO FUN.
I really love this one because you can personalize the entire card, from the saying on the front to what you stock your fridge with. You notice mine has a bottle of wine, haha.

You can sign up for SPELLBINDERS May Clubs between May 6th and May 27th. If any clubs are left over after the end of the month, you can find them in the Spellbinders Shop, but they will be at full price.
For the best value, join the Deluxe Caboodle and receive all the clubs plus a free bonus item. It’s a 50% Savings.
Visit my Card Making PDF Gallery for 350+ more card ideas.

Card Making Supplies used for the More Spellbinders Club Cards:
Here are the products I used today. Compensated affiliate links used were available at no cost to you.
Clicking on a thumbnail link and shopping provides me with a small commission (at no additional cost to you), which supports my website and allows me to continue bringing you new projects and videos. I appreciate your support. Affiliate and product disclosures are found on my disclosure page. All products were personally purchased except for Spellbinders Monthly Club Kits, which were provided/sponsored by the company. I only use and recommend products I love. Click on the icons below each product picture to visit my favorite stores.


-
-
- Follow me on INSTAGRAM
- Join 38,000+ following me on PINTEREST
- Subscribe to my YOUTUBE Channel
- Follow me on FACEBOOK
- Amazon Store
- Follow my SOURDOUGH BREAD JOURNEY – over on my The Sour Strawberry BLOG
- JOIN my STAMP OBSESSION Facebook Group
- Check out my FREE PDF Gallery for over 350+ Card Making Tutorials
- How to make a SLIMLINE CARD – Info PAGE
- Do you like to stitch on cards? Then join our NEW FACEBOOK GROUP
-

– LOTS of great Paper Crafting Sales and New Releases going on this week – Check them out here
 Shop my Favorite Brands with my affiliate links
Oh my goodness, such cute cards! Love the dies and the embossing folders are awesome! 🙂
thanks Amy
What a splendid set of cards, Sandi! You’ve used some gorgeous colours. too!
Thanks Sharon, I’m trying to change it up a bit, haha
These are AWESOME! I love the arch!!
thank you my friend
sweet cards Sandi. I particularly love the black teacher card, so fun!
thank you Lisa, my favorite as well