
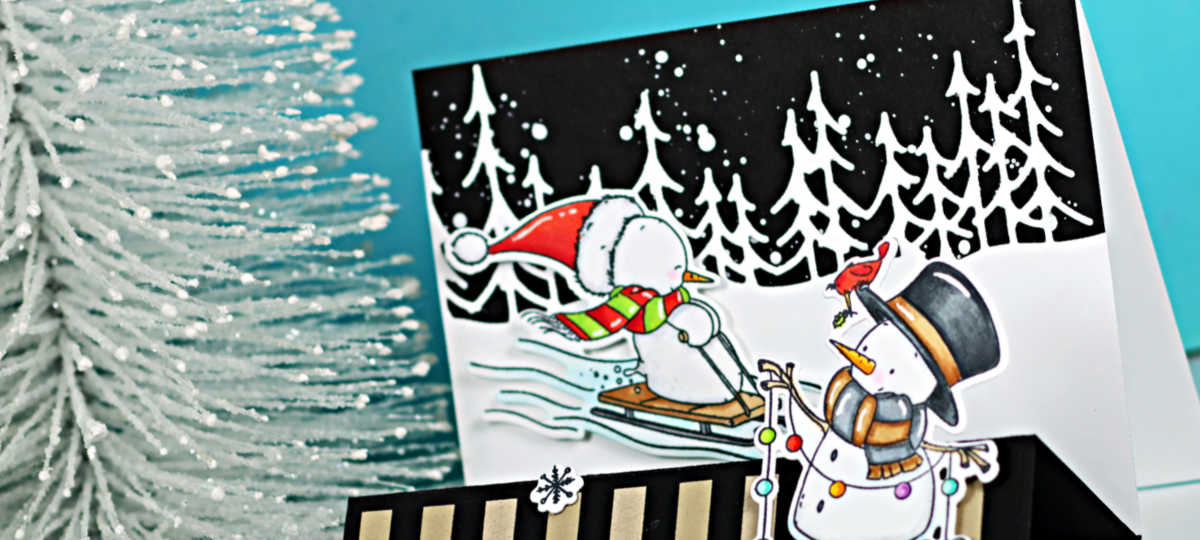
Welcome back card-making friends! Today I have a New Video Tutorial – How to Make a Landscape Stair Step Card. Since it’s winter here, mine is all decked out with adorable sledding snowmen and festive holiday lights – perfect for a cheerful Christmas greeting.
But don’t worry, this design is incredibly versatile. Change up the colors to cool blues and purples or fun teal and lime, and it easily becomes a playful winter birthday card instead.
This card style is inspired by the traditional stair-step cards many of us made years ago, but with a fresh twist: a sleek A2-sized back panel for easy display, writing a note, and easy mailing. I absolutely love fun-fold cards, and I hope you enjoy creating this one as much as I did.
Along with the Video Tutorial, I’ve added a downloadable PDF that includes all the cutting, scoring and assembly measurements to make crafting even easier.
Card-making product affiliate links are used throughout this post at no additional cost to you. Your support enables me to continue providing you with content, and I genuinely appreciate your support!
Supplies Used for the Landscape Stair Step Card:
- Wrapped in Scarves Stamp and Die set from Simon Says Stamp
- Simon Says Stamp Little Evergreen Trees
- Pawsitively Perfect White Splatter Medium

How to Make the Landscape Stair Step Card:
Step – Build the Base (because Every Snowman Needs Solid Ground):
Step 1 – Cut a piece of black cardstock to 5-1/4″ x 10″. On the long edge, score at 1″, 2″, 4″ and 6″. Pop it into Splatter Box and give the top panel only a snowy makeover using Pawsitively Perfect White Splatter Medium. Cover the rest with a paper towel – unless you want a blizzard everywhere. LOL.
Step 2 – Fold like you’re making an accordion for Frosty:
Create a hill-and-valley fold pattern, starting with a valley fold right beside the largest section. Think “up, down, up, down” – just like sledding hills!.
Step 3 – Create the back panel
Next, cut a white card base 5-1/4″ x 8-1/2 and score at 4-1/4″ for a top-folding A2 card.
Shortcut lovers: You can also start with a standard 5-1/2″ x 8-1/2″ A2 card, score and fold, then trim 1/4″ off the side.
Step 4 – Attach the Stair Step Feature:
Place tear-tape on the back of the largest 5-1/4″ x 4″ section of your black scored panel and line it up with the top fold of the white card base.
Don’t stress about the tiny 1/4″ overhang – trim it if you like, or leave it . I find it gives added support to the stairs.
Creating the Art Pieces, tree background and Stairs:
Step 1 – Use a Misti and Simon Says Stamp Wrapped In Scarves stamp set to stamp the images onto hammermill white cardstock (4-1/4″ x 5-1/2″ )using Memento Black ink . Color the images with Copic markers. (see color chart below for reference).
Step 2 – Die cut the stamped images and sentiment using the coordinating Wrapped In Scarves dies. Add small details and highlights to the snowmen using a #10 Sakura white gel pen to bring them to life.
Step 3 – For the middle stair section, create a panel using black and kraft cardstock as show in THIS VIDEO. If you already have patterned paper you love, simply trim it to 1-3/4″ x 5″ and adhere it in place.
Step 4 – Finally, use the Little Evergreen Trees die to crate the background panel. position the die near the top of a 4-1/4″ x 5-1/2″ hammermill panel, leaving about 1/4″ of space above the trees, and run it through your die-cutting machine.

Putting the card together:
Step 1 -Begin by adhering the die-cut tree panel to the back section of the card using white liquid glue. Once secured, flip the card over and trim away the extra 1/4″ overhang from the side.
Step 2 – Attach the black and kraft striped panel tot he middle stair.
Step 3 – Using thin foam strips, position the sledding snowman on the top left of the back panel so he appears to be sledding downhill.
Step 4 – Place the second snowman on the right side of the middle stair, adding two small foam strips only at the bottom to support him and keep the top free.
Step 5 – to finish, add the sentiment to the right side of the first stair just below the snowman, and place the large snowflake on the left. Use glue dots to attach the remaining small snowflakes to the second stair to the left of the snowman.

And here’s today’s Cardmaking Video Tutorial – How to Make a Landscape Stair Step Card:

If you found today’s video helpful, please consider liking, commenting, and sharing. Your engagement supports my YouTube channel and helps others discover the content.

Click the button above to download the free PDF tutorial for this project. It’s a handy reference to keep in your crafting library for future use.
Visit my Card Making PDF Gallery for 350+ more card ideas.

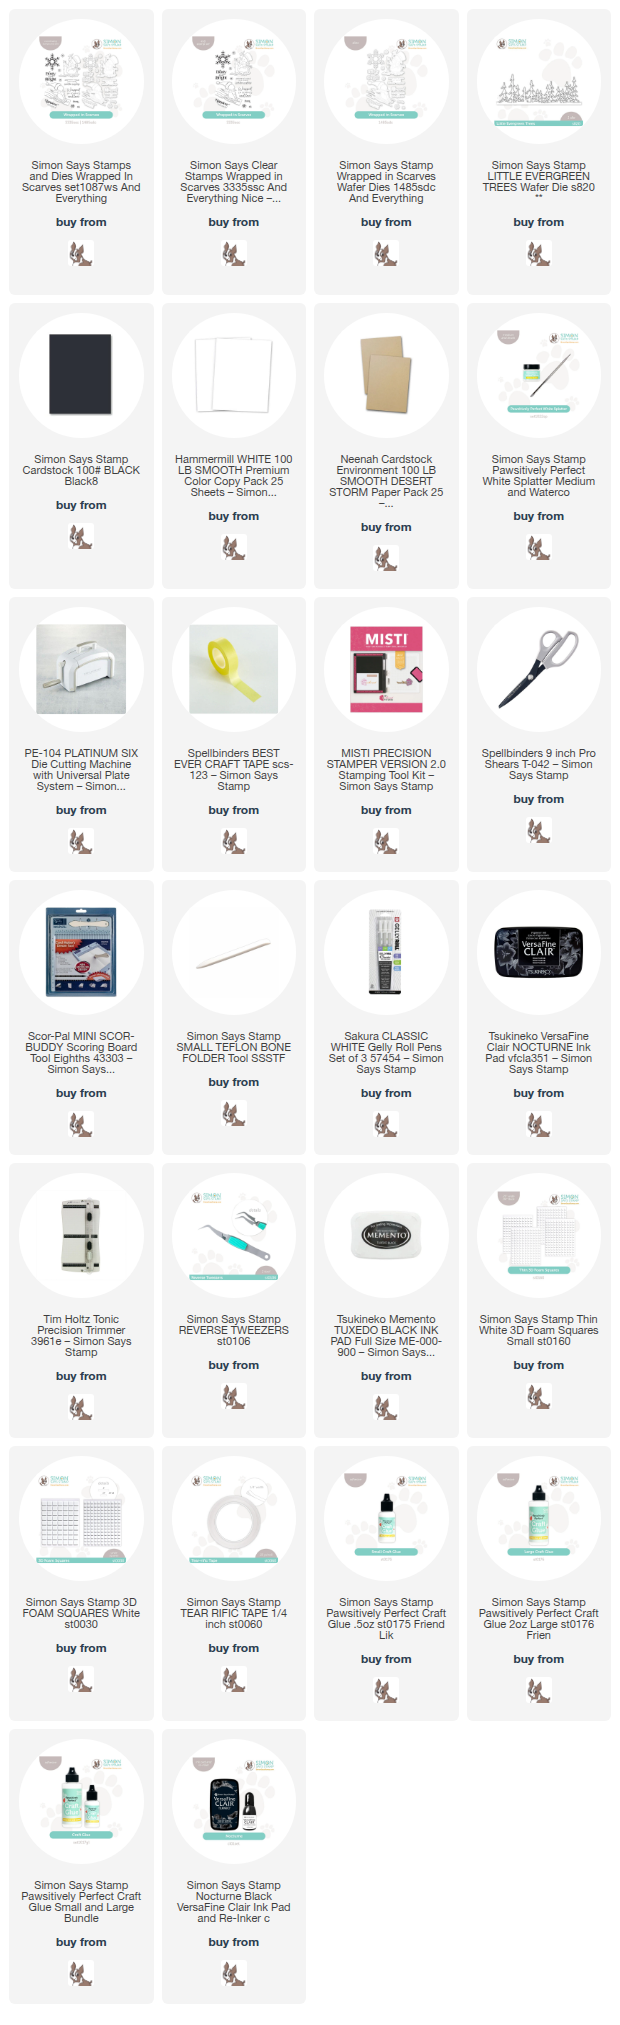
Card Making Supplies used for the Simon Says Stamp How to Make a Landscape Stair Step Card:
Here are the products I used today. Compensated affiliate links used were available at no cost to you.
Clicking on a thumbnail link and shopping provides me with a small commission (at no additional cost to you), which supports my website and allows me to continue bringing you new projects and videos. I appreciate your support. Affiliate and product disclosures are found on my disclosure page. All products were personally purchased except for New products from the Simon Says Stamp And Everything Nice release, which were provided/sponsored by the company. I only use and recommend products I love. Click on the icons below each product picture to visit my favorite stores.


-
-
- Follow me on INSTAGRAM
- Join 38,800+ following me on PINTEREST
- Subscribe to my YOUTUBE Channel
- Follow me on FACEBOOK
- JOIN my STAMP OBSESSION Facebook Group
- Check out my FREE PDF Gallery for over 350+ Card Making Tutorials
- How to make a SLIMLINE CARD – Info PAGE
- Do you like to stitch on cards? Then join our NEW FACEBOOK GROUP
-

– LOTS of great Paper Crafting Sales and New Releases going on this week – Check them out here
 Shop my Favorite Brands with my affiliate links
Such a cute card Sandi! Love the fun fold design, perfect with your little snowmen images! 🙂
thanks so much Amy
Awesome and so cute! Love how the stair step allows more
images for a terrific scene!
Thanks Sharon, it really does and they are fun to fill up I have another one coming in a couple of days for you
I love it!!!!!!
thank you friend
this is such a fun card Sandi, love the step feature.