
NEW VIDEO: Today I’m sharing a beautiful floral card created with the Alex Syberia Designs Hugs in Bloom BetterPress Plate and Stencil Combo. In this cardmaking video tutorial, I’ll walk you through the full process — from heat embossing the BetterPress plate to blending color through layered stencils — to create a bold, eye-catching floral card with crisp details and beautiful dimension.
In this tutorial, I’m also using a little trick I love — heat embossing with the BetterPress plate instead of traditional ink. I like to do this because many black inks can smear when you start ink blending over them. By heat embossing the image first, the lines stay crisp and clean, making the stencil layers much easier to blend beautifully.
Today’s video is also part of the Alex Syberia Designs YouTube Hop, celebrating the newest release. That means there are tons of cardmaking inspirations waiting for you from other talented designers who are creating beautiful projects with the new Alex Syberia Designs products. There are also chances to win gift cards, so be sure to hop over to my YouTube channel to watch the video and join the hop!

Products Used in Today’s Video Tutorial
- Hugs in Bloom BetterPress Plates and Stencils
- Alex Syberia Designs Falling Snow Stencil
- Altenew – White Embossing Paste

How to Create the Pink Floral Hugs Card
Cardstock Cuts
Card Base: 4-1/4″ x 11″, score and fold at 5-1/2″.
Card Front Panel: White cardstock ink blended with Eucalyptus Ink, 3-3/4″ x 5″.
Art Piece Panel: White cardstock, 4-1/4″ x 5-1/2″.
Sentiment Panel: Black cardstock, 3″ x 2″.
Create the Main Art Piece
-
Place the Hugs In Bloom BetterPress plate onto the BetterPress System and ink it with VersaMark so you can heat emboss the image in black onto a panel of white cardstock. Repeat the same process with the sentiment, but heat emboss it in white onto the black cardstock panel.
-
Ink blend the image using the Hugs In Bloom Layered Stencils, blending the colors softly from light to dark to create depth in the flowers and leaves.
-
Once the ink blending is complete, use the coordinating dies to cut out both the floral image and the sentiment. Set these pieces aside.

Create the Card Base
-
Create an A2-sized white card base using the 4-1/4″ x 11″ piece of cardstock and score and fold it at 5-1/2″.
Add Texture to the Background
-
Cut a piece of Eucalyptus colored cardstock to 3-3/4″ x 5″. If you don’t have this color cardstock, simply ink blend a white panel with Eucalyptus Ink to achieve the same look.
-
Place the panel under the Alex Syberia Designs Falling Snow Stencil and apply Altenew White Embossing Paste using a palette knife.
-
Allow the embossing paste to dry completely, then attach the panel to the front of the card base using foam tape. Use foam squares to attach the floral art piece in the center of the card.
Add Splatter and Finish the Card
-
Place the card inside a splatter box and splatter it with Pawsitively Perfect Black Splatter Medium. If you don’t like splatter, you could always emboss this card front with one of your favorite embossing folders.
-
Once the splatter is dry, attach the sentiment in the bottom left corner of the card using foam squares.
-
There is already plenty of texture and detail on this card, so I didn’t feel additional embellishments were necessary. However, if you like a little extra sparkle, you could add a few black rhinestones for a touch of bling.
Here’s today’s Cardmaking Video:
Pink Floral Hugs Card Idea | Alex Syberia Designs Hugs in Bloom BetterPress and Stencil Combo
Thank you so much for watching! If you decide to create your own version, please tag or link to me – I would truly love to see what you make.
If you enjoyed this video, I’d be so grateful if you would give it a thumbs up and leave a kind comment. It really helps my channel grow, and I sincerely appreciate your support.

 Never Miss a Post – Subscribe to my blog posts.
Visit my Card Making YOUTUBE Channel for 270+ more card ideas.

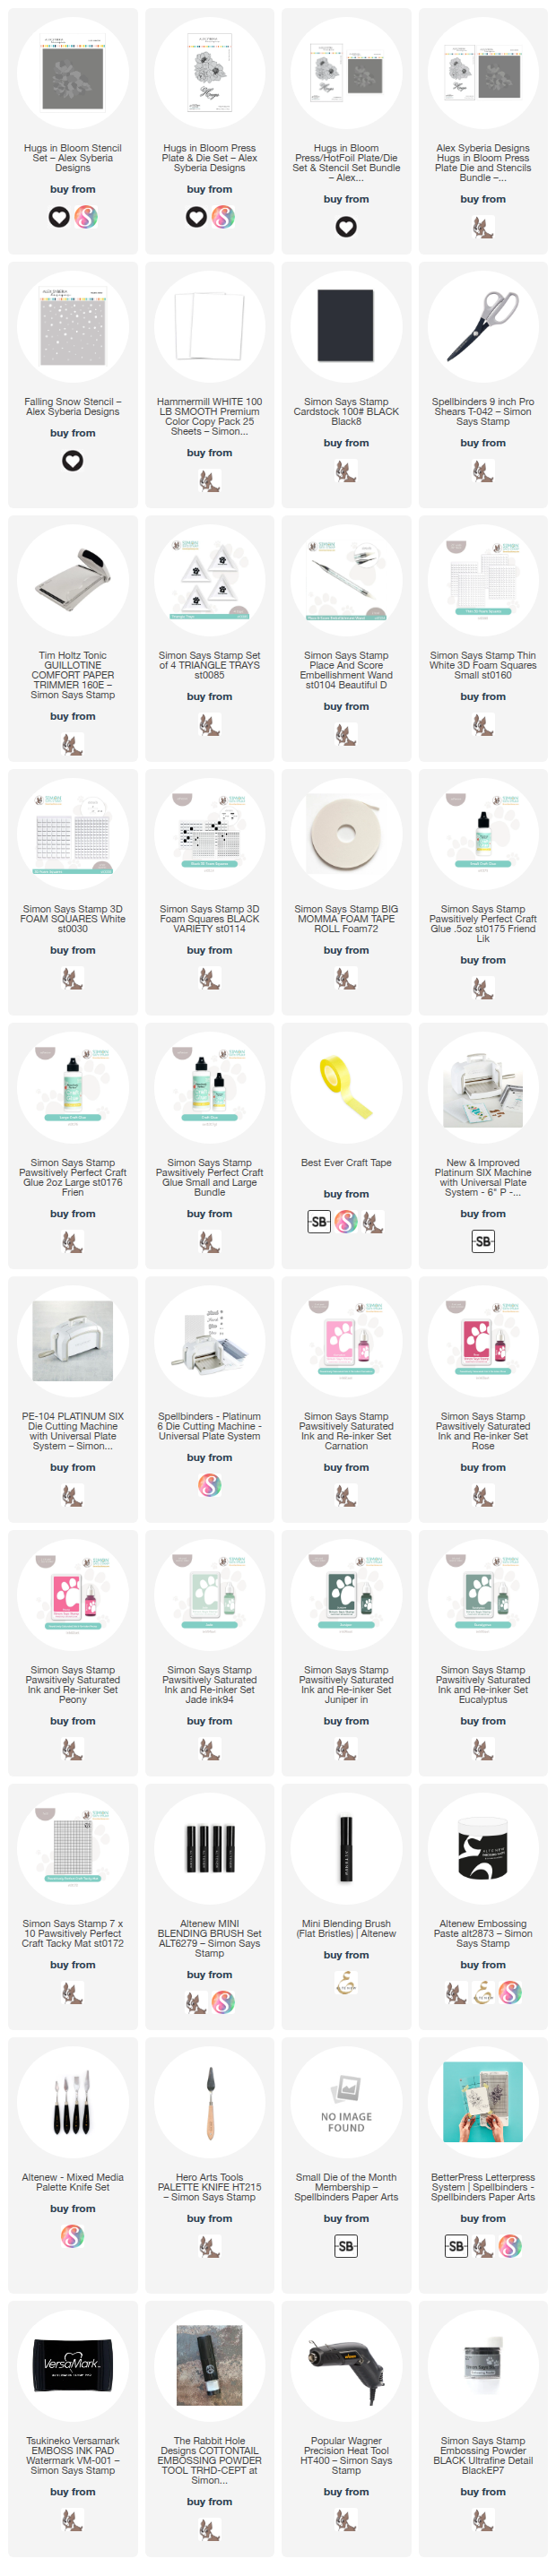
Card Making Supplies used for the Pink Floral Hugs Card Idea | Alex Syberia Designs Hugs in Bloom BetterPress and Stencil Combo card:
Here are the products I used to create today’s project. Some of the links below are compensated affiliate links, which means if you click through and make a purchase, I may receive a small commission at no additional cost to you.
These commissions help support my website and allow me to continue sharing cardmaking projects, tutorials, and videos. I truly appreciate your support.
All products were personally purchased unless otherwise noted. Products from the Alex Syberia Designs new release were provided by the company for design purposes. You can find my full affiliate and product disclosure details on my disclosure page.
Click the icons below each product image to shop at my favorite stores.


-
-
- Follow me on INSTAGRAM
- Join 38,800+ following me on PINTEREST
- Subscribe to my YOUTUBE Channel
- Follow me on FACEBOOK
- JOIN my STAMP OBSESSION Facebook Group
- Check out my FREE PDF Gallery for over 350+ Card Making Tutorials
- How to make a SLIMLINE CARD – Info PAGE
- Do you like to stitch on cards? Then join our NEW FACEBOOK GROUP
-

– LOTS of great Paper Crafting Sales and New Releases going on this week – Check them out here
 Shop my Favorite Brands with my affiliate links
Just beautiful Sandi! The floral image is amazing. Perfect colors too! 🙂
thank you Amy
Beautiful card, Sandi. I agree Alex Siberia is the “queen of flowers”. She creates gorgeous large flowers that are so fun to work with. Appreciated the video of how you created your art piece.
Thank you Gayle, yes, she is definitely the queen of florals, LOL
Very pretty! Great change in colours!
thank you Sharon
Absolutely stunning Sandi your video and design is amazing 🦋💙
aw, thank you Annie
This is STUNNING!!!!!!
What an absolutely gorgeous combination of colours. I always tend to use different greens but I love that particular green colour and am going to sift through my stash to see if I have something similar!
Thank you Lisa, I’m loving this green