
Welcome back, crafty friends! Today’s video is a bit different – and a lot of fun. I’m playing with some of the new Simon Says Stamp DieCember® dies to create a set of holiday gift tags that are quick, easy, and perfect for using up scraps.
I walk you step-by-step through the first super simple tag, then we’ll step it up with a three-snowman tag, and finish with a fun Shaker Snowman tag. Each project is completely die-cut – only the sentiment is stamped, no coloring – we use pattern paper for that, just cut, assemble, and go.
I’m also excited to introduce a new series on my YouTube channel called Cut & Create, where you’ll find all my upcoming die-cut project videos in one place. Be sure to SUBSCRIBE so you don’t miss a thing!
Card-making product affiliate links are used throughout this post at no additional cost to you. Your support enables me to continue providing you with content, and I genuinely appreciate your support!
Products Used to create the Step-By-Step Snowman Gift Tags:
Layered Scallop Tags
Snuggle Snowman Dies
Tree Plate Greetings and Die Set
Sequins: Moonlit Snow, Blue Frost and Rainbow Party
Prism Pawsitively Dazzling Gems
Doodlebug Design Ink – Snow Much Fun Pattern Paper
Doodlebug Design Ink – Bee Happy Pattern Paper

How to create the Step-by-Step Snowman Gift Tags:
There’s a video for today’s project, so instead of listing all the steps here, you’ll find a quick overview of the tags along with photos below.
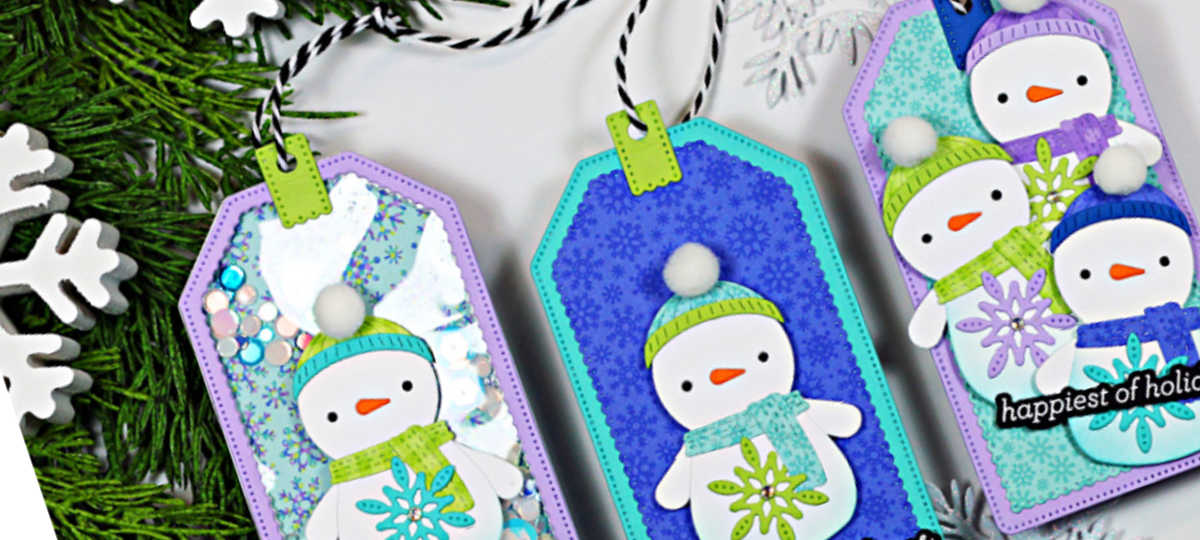
These holiday gift tags are almost entirely die cut, with white heat-embossed sentiments on black cardstock as the only exception. The sentiments are optional – the tags look great even without them.
In the video, I also decorate the backs of the tags with die-cut snowflakes leaving room for the To” and From: if needed. patterned paper helped guide my color choices and adds a fun pop of detail to the snowman’s hats and scarves.

Step-by-Step Snowman Gift Tags – Tag 1
I used the largest two dies to create the tag base, Cutting the base from Audrey Blue cardstock and the inlay from a dark blue patterned paper.
Next, the snowman is assembled using pattern paper from the Snow Much Fun collection for his hat and scarf and Green Apple cardstock for the brim and snowflake accents.
TO finish, I created all the sentiments at once by white heat embossing them onto black cardstock. A single Prism Pawsitively Dazzling Gem was added to the center of the snowflake on his tummy for a touch of sparkle.

Step-by-Step Snowman Gift Tags – Tag 2
The basic steps for each element are the same as Tag #1, with just a change in color and three adorable little snowmen instead of one. You could even give them family member names to make the tag extra fun and personal.

Step-by-Step Snowman Gift Tags – Tag 3
Tag #3 is my “over the top” shaker gift tag, and it’s perfect for special holiday gifting.
TO create the shaker frame, tape the two largest tag dies together and die cut six frame panels. Stack them to form the shaker frame, then fill them with your favorite sequins and clay bits for extra sparkle and movement.
Finish it up by adding the acetate cover, and finally, the purple frame. This layered design highlights the stitched details and interior scalloped edge.
For a complete step-by-step tutorial and to see these snowman gift tags come together, be sure to click the video above and watch it on my YouTube channel. If you enjoyed the project, I’d love it if you gave the video a thumbs up, left a comment, and subscribed so you don’t miss future Cut & Create die-cut projects.
Visit my Card Making PDF Gallery for 350+ more card ideas.

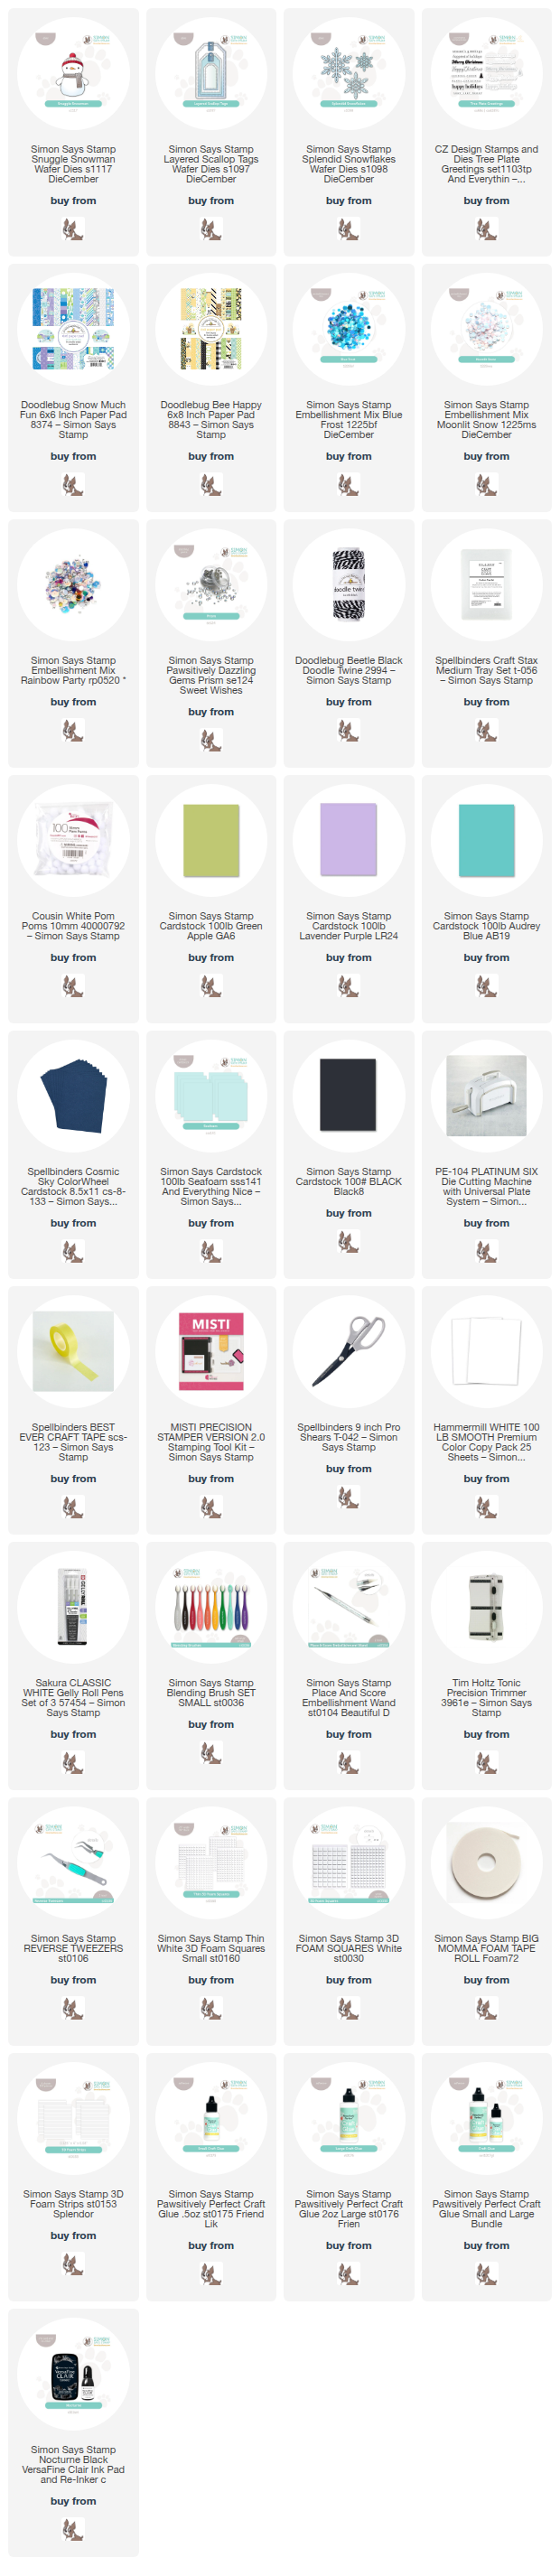
Card Making Supplies used for the Simon Says Stamp Step-By-Step Snowman Gift Tags
These are the products I used today. Compensated affiliate links used were available at no cost to you.
Clicking on a thumbnail link and shopping provides me with a small commission (at no additional cost to you), which supports my website and allows me to continue bringing you new projects and videos. I appreciate your support. Affiliate and product disclosures are found on my disclosure page. All products were personally purchased except for Simon Says Stamp DieCember® products, which were provided/sponsored by the company. I only use and recommend products I love. Click on the icons below each product picture to visit my favorite stores.


-
-
- Follow me on INSTAGRAM
- Join 38,800+ following me on PINTEREST
- Subscribe to my YOUTUBE Channel
- Follow me on FACEBOOK
- JOIN my STAMP OBSESSION Facebook Group
- Check out my FREE PDF Gallery for over 350+ Card Making Tutorials
- How to make a SLIMLINE CARD – Info PAGE
- Do you like to stitch on cards? Then join our NEW FACEBOOK GROUP
-

– LOTS of great Paper Crafting Sales and New Releases going on this week – Check them out here
 Shop my Favorite Brands with my affiliate links
These are adorable! I love that you can dip into your scraps!!!
Thanks Sharon, these used up all kinds of scraps for me
Such cute tags Sandi! Love the fun die cuts and images! 🙂
thank you amy
The sweetest snowman ever! These tags are lovely Sandi and what I love the most? The snowflakes on their bellies, so so good!!!