
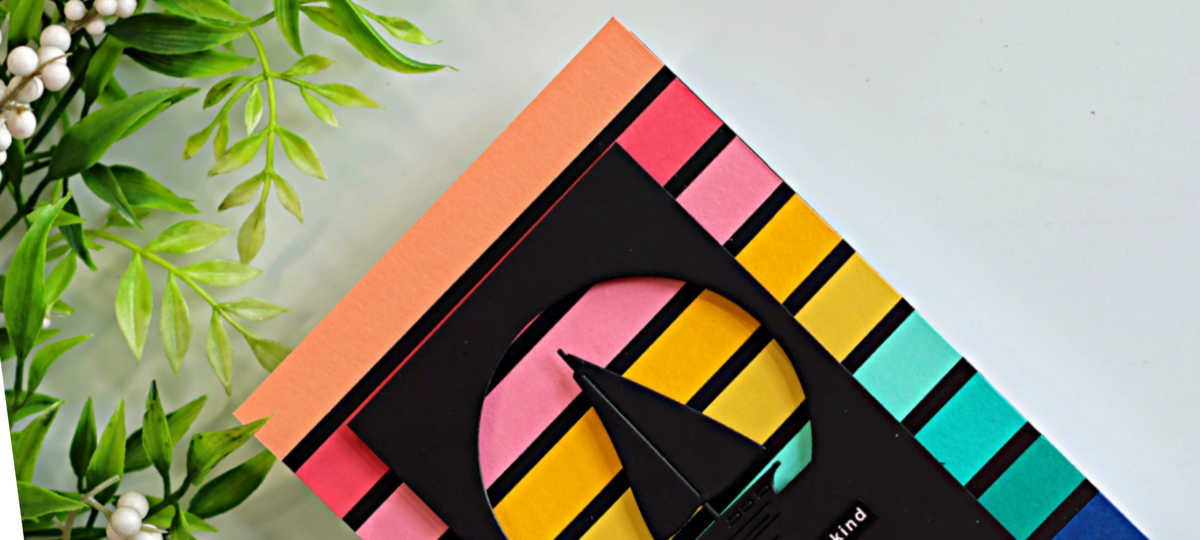
I have a super quick and easy Masculine card to share with you today, complete with a fun retro vibe. Meet my Retro Sailboat Card!
Why do I call it retro? Back in the 1970’s when I was a teenager, I had a favorite T-shirt featuring colorful stripes arranged in a circle with a silhouette image in the center. The moment I saw the Sailboat Circle Die, it instantly reminded me of that shirt, and I knew I had to recreate the look in card form.
Figuring out the spacing for the strips took a little trial and error. Each strip is just a hair under 1/2″ wide and 4-1/4″ long. To keep the gaps perfectly even, I cut two 4-1/4″ strips of 1/8″ cardstock, glued them together, and used them as a spacer while adhering the colored strips to a black cardstock panel. It worked beautifully! Not only is this technique simple, but it’s also a fantastic way to use up those colorful cardstock scraps you’ve been saving and create this cool retro sunset vibe.
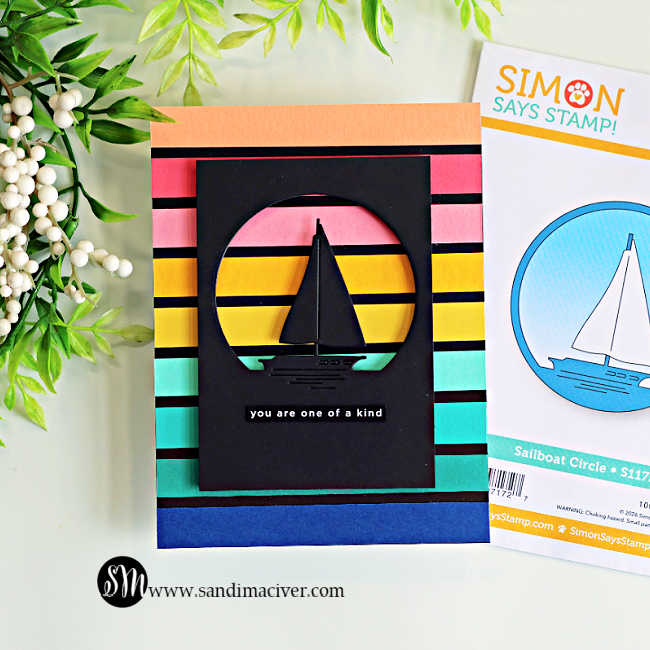
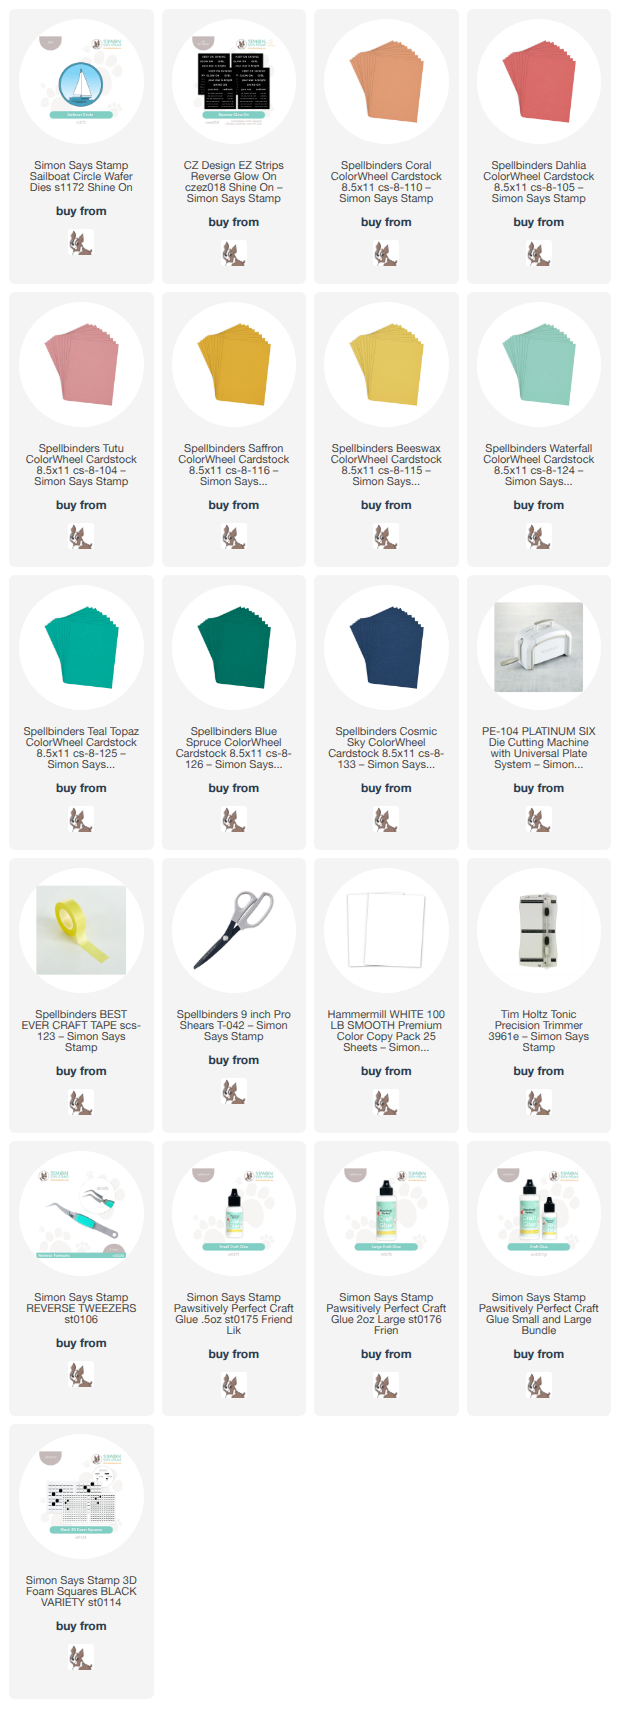
Products used to create the Retro Sailboat Card:
- Sailboat Circle
- Reverse Glow On EZ Strips
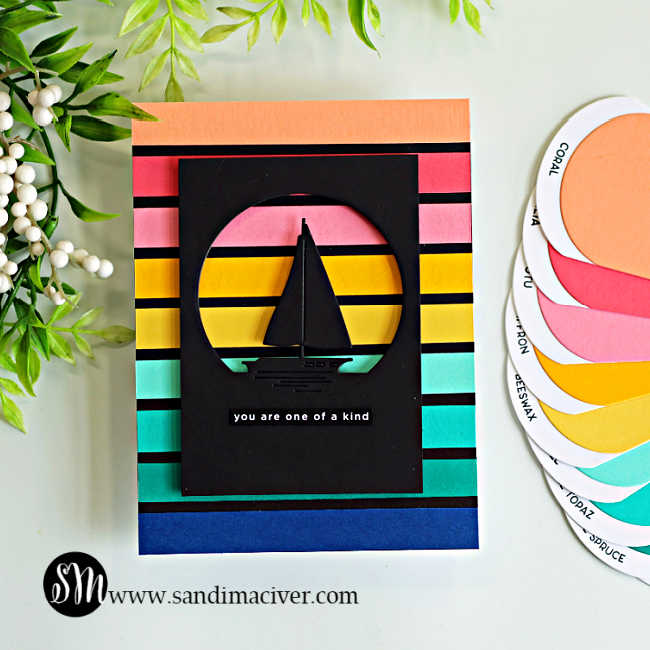
- 9 different shades of Sunset colored cardstock (Linked below)
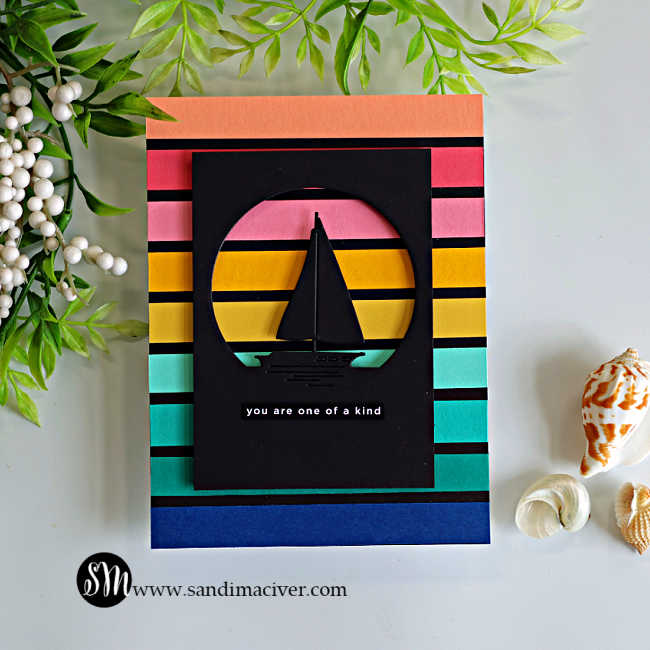
How to create the Retro Sailboat Card:
Create the Striped Background:
Trim a panel of black cardstock to 4-1/4″ x 5-1/2″.
Next, trim nine different colors of cardstock to just a hair under 1/2″ wide and 4-1/4″ long (don’t shorten the length).
I used Spellbinders ColorWheel Cardstock in: Coral, Dahlia, Tutu, Saffron, Beeswax, Waterfall, Teal Topaz, Blue Spruce and Cosmic Sky.
From a scrap of cardstock, trim 2 strips measuring 1/8″ wide and 4-1/4″ long. Glue them together to create a sturdy spacer.
Starting at the bottom of the black panel, glue down the Cosmic Sky strip, making sure it is straight. Place the spacer snug against the strip, then adhere the Blue Spruce strip and continue adding each color, working your way up the panel until all nine strips are attached with perfectly even spacing.
Attach the finished striped panel to a white, top-folding A2 sized card base.
Create the Sailboat Panel:
Trim another piece of black cardstock to 3″ x 4-1/4″. Die cut the Sailboat Circle from the upper portion of the panel, leaving a little extra space at the bottom for the sentiment.
Heat emboss a sentiment in white, or, as I did, use a sentiment from the Reverse Glow EZ strips.
Assemble the Card:
Use black foam squares to pop up the sailboat panel in the center of the striped background.
Done! This card comes together quickly and is a wonderful way to use up some of those treasured cardstaock scraps.
Alternative Idea: Instead of using the rectangular panel, die cut a larger circle around the sailboat and attach it directly to the center of the card. This lets even more of the colorful striped background show through.


Never Miss a Cardmaking Tutorial
Subscribe to my blog and get the latest cardmaking ideas, tutorials, and inspiration delivered straight to your inbox — plus access to exclusive content and updates you won’t want to miss!

Visit my YouTube channel for 270+ cardmaking tutorials, techniques, and creative ideas to inspire your next project
Cardmaking Supplies Used:
Here are the supplies I used to create today’s Retro Sailboat Card
Many of the links below are compensated affiliate links. This means if you click through and make a purchase, I may receive a small commission at no additional cost to you.
These commissions help support my website and allow me to continue sharing cardmaking tutorials, videos, and inspiration. I truly appreciate your support.
All products were personally purchased unless otherwise noted. Simon Says Stamp Shine On products were provided by the company for design purposes.
You can find my full affiliate disclosure on my disclosure page.
Click the icons below each product to shop my favorite stores.
Let’s Connect & Get Inspired
Follow along for more cardmaking ideas, techniques, and tutorials:
- Follow me on Instagram
- Join 38,800+ creatives on Pinterest
- Subscribe to my YouTube Channel
- Follow me on Facebook
- Join my Cardmaking Obsession Facebook Group
FREE Cardmaking Tutorials Library
Looking for more inspiration? Explore my FREE PDF GALLERY with 359+ cardmaking tutorials — packed with ideas, techniques, and step-by-step projects to spark your creativity.

Don’t Miss This Week’s Deals
Lot’s of great paper crafting sales and new releases happening now — check them out here!

Shop My Favorite Craft Brands
Browse my Go to Brands and supplies using my affiliate links.
That’s awesome Sandi! Love the background, perfect with the sailboat image! 🙂
thank you Amy
Very clever, Sandi! I love how you get your inspiration from your shirts! Fantastic! I think the “Pro Tip” is the idea to cut 2 cardstock strips and glue together for your spacer. What a great idea! Got to go through my “stash” to see what I have that I can give this great idea a whirl! Perhaps the lighthouse die I recently purchased.
Thanks Gayle, I like to use what I have, haha, and yes a lighthouse would be awesome
Fantastic! Love the bright colours with the silhouette!
Everything just pops!
Thank you Sharon – it’s bright for sure, haha
perfect! nailed the masculine card. I find them so hard.