
Hi cardmaking friends!. I know it’s a busy week with Thanksgiving preparations, but I wanted to drop in and share another fun Santa’s Cocoa Cup Christmas card with you. The Spellbinders Wonderland Collection release launched back in July, and between company and summer chaos, I never had a chance to play with them. But now that the snow is falling outside, I’m officially in Christmas-card mode. How about you? Maybe squeeze in some crafting while the turkey roasts – LOL!

Before we jump into the card instructions – check out the EARLY BLACK FRIDAY DEALS – They are amazing and going on all week, so check back often. I have been updating my Crafty Sales Page daily.
This adorable die-cut Santa mug comes together super easily — choosing the colors is the hardest part! For the sentiment, I used the Merry Messages BetterPress set, which presses (or foils) all the sentiments at once and includes a coordinating die that cuts them all at the same time. I love a good time-saving tool!
For the background, I used the Snowfall Shimmer BetterPress Plate and Glimmer-hot foiled it in white onto Waterfall cardstock. Isn’t it great that these plates work for both press and foil techniques! Double-duty products are my favorite!
Card-making product affiliate links are used throughout this post at no additional cost to you. Your support enables me to continue providing you with content, and I genuinely appreciate your support!

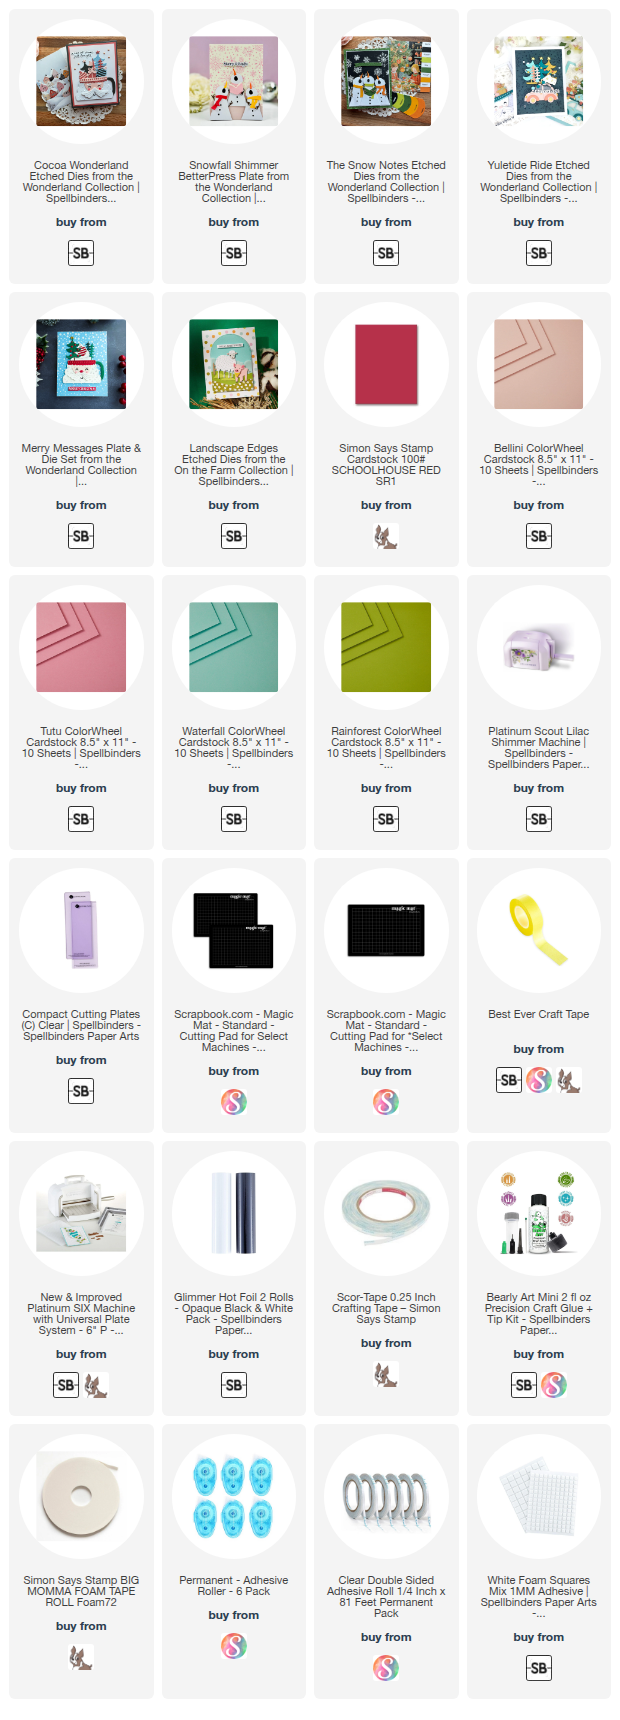
Products used for the Santa’s Cocoa Cup Christmas Card
Snowflake Shimmer BetterPress Plate
Merry Messages BetterPress Plate
Perfect Touch Arches & Tags. – On Sale for 50% OFF

Step-by-Step Instructions for the Santa’s Cocoa Cup Christmas Card.
Start by using the Cocoa Wonderland Die set to cut all the pieces for the Santa Cocoa Cup, then assemble and adhere the layers together.
Next, use the Merry messages BetterPress set to white glimmer foil the sentiments onto Schoolhouse Red cardstock. Use the coordinating die to cut them out all at once – so quick and satisfying!
Then, die cut a vellum panel using the Perfect Touch Arches and Tag Die Set. Attach the Santa mug and sentiment to the vellum piece with foam squares to add dimension and a little festive pop.

Next, use the Snowfall Shimmer BetterPress Plate to add white glimmer hot foiling to a piece of Waterfall trimmed to 4″ x 5-1/4″. Layer this onto a 4-1/4″ x 5-1/2″ panel of Schoolhouse Red cardstock, then adhere the completed panel to a top-folding A2 white card base.
Finally, add foam squares behind the Santa Mug piece and sentiment (only where there is cardstock behind the vellum), and position it in the center of the card front.
PRO-TIP – avoid placing foam squares directly behind the unsupported vellum, as they will show through.

Card Making Supplies used for the Spellbinders Santa’s Cocoa Cup Christmas Card:
Here are the products I used today. Compensated affiliate links used were available at no cost to you.
Clicking on a thumbnail link and shopping provides me with a small commission (at no additional cost to you), which supports my website and allows me to continue bringing you new projects and videos. I appreciate your support. Affiliate and product disclosures are found on my disclosure page. All products were personally purchased except for Spellbinders Products, which were provided/sponsored by the company. I only use and recommend products I love. Click on the icons below each product picture to visit my favorite stores.


-
-
- Follow me on INSTAGRAM
- Join 38,800+ following me on PINTEREST
- Subscribe to my YOUTUBE Channel
- Follow me on FACEBOOK
- JOIN my STAMP OBSESSION Facebook Group
- Check out my FREE PDF Gallery for over 350+ Card Making Tutorials
- How to make a SLIMLINE CARD – Info PAGE
- Do you like to stitch on cards? Then join our NEW FACEBOOK GROUP
-

– LOTS of great Paper Crafting Sales and New Releases going on this week – Check them out here
 Shop my Favorite Brands with my affiliate links
Oh my goodness, that’s such a cute card Sandi! Love the happy Santa face! 🙂
thank you Amy
Bright, colourfu and fun!
Happy Thanksgiving! Which do you celebrate or both!!!
Thank you Sharon, and to you. yes, we celebrate both, LOL You can never have too much turkey haha
This is so sweet!
thank you friend
gorgeous! and in my favourite Christmas colours!
haha, mine too, thanks Lisa