
I have something a little different to share with you today, a Simon Says Stamp Cute Campers Circle Card. I’m still playing with new products from the recent Happy Camper’s release, but I have STAMPtember stamps in the house, so it’s very hard, haha……I thought I would give myself some added inspiration today, and use some of the nesting dies that Simon has come out with and create a Circle Card. Actually, a Scalloped Circle Card! It was so much fun to make and adds such a unique touch and extra interest to the design.
Card-making product affiliate links are used throughout this post at no additional cost to you. Your support enables me to continue providing you with content, and I genuinely appreciate your support!

Products used for the Simon Says Stamp Cute Campers Circle Card:
- Cute Campers Stamp and Die Set
- Chunky Scallop Circles
- Basic Shapes Circles
- Pawsitively Perfect White Splatter Medium.

How to create the Simon Says Stamp Cute Campers Circle Card.
Start by stamping the images with Memento Black Ink onto Hammermill white cardstock. Color with copic markers and then cut them out with the coordinating dies.
Copic Colors used:
- Shovel: N0, N1, N3, N5
- Sunflower: Y11, Y15, Y19, YR68, E07, E43, E44, E47
- Dirt: D40, E41, E442, E43, E44, E47
- Turquoise: G00, BG11, BG13, BG49
- Green: YG01, YG06, YG17
- Cheeks: R20
- Critters: W0, W1, W3, W5, W6
- Carrots: YR02, YR68, E07
- Images stamped in Memento Black Ink (Copic Friendly), sentiments stamp in VersaFine Clair Nocturne
Next, die cut the two Chunky Scallop Circles from Audrey Blue cardstock. I used the second from largest. Score a line about 1/2″ inch down on the back circle, and add some redline tape to create a card base.
Then, cut two circles from white cardstock using the Basic Shapes Circles, I used the 6th from largest. Adhere one of the circles to the inside of the card.

Creating the Background:
Mask off half of the lower half of the circle and use the brown Copic markers to color the ground. Add depth with a dark brown marker and create highlights using a white #10 gel pen.
Next, reverse the mask and ink blend the sky with Orchid and Galaxy Pawsitively Saturated Inks. Then place it into a splatter box, and flick on the Pawsitively Perfect White Splatter Medium to create a starry night effect.
Finally, once the ink is dry, adhere the circle to the center front of the card. Use foam squares on the back of the art pieces before attaching them to the card for added dimension.
Visit my Card Making PDF Gallery for 350+ more card ideas.

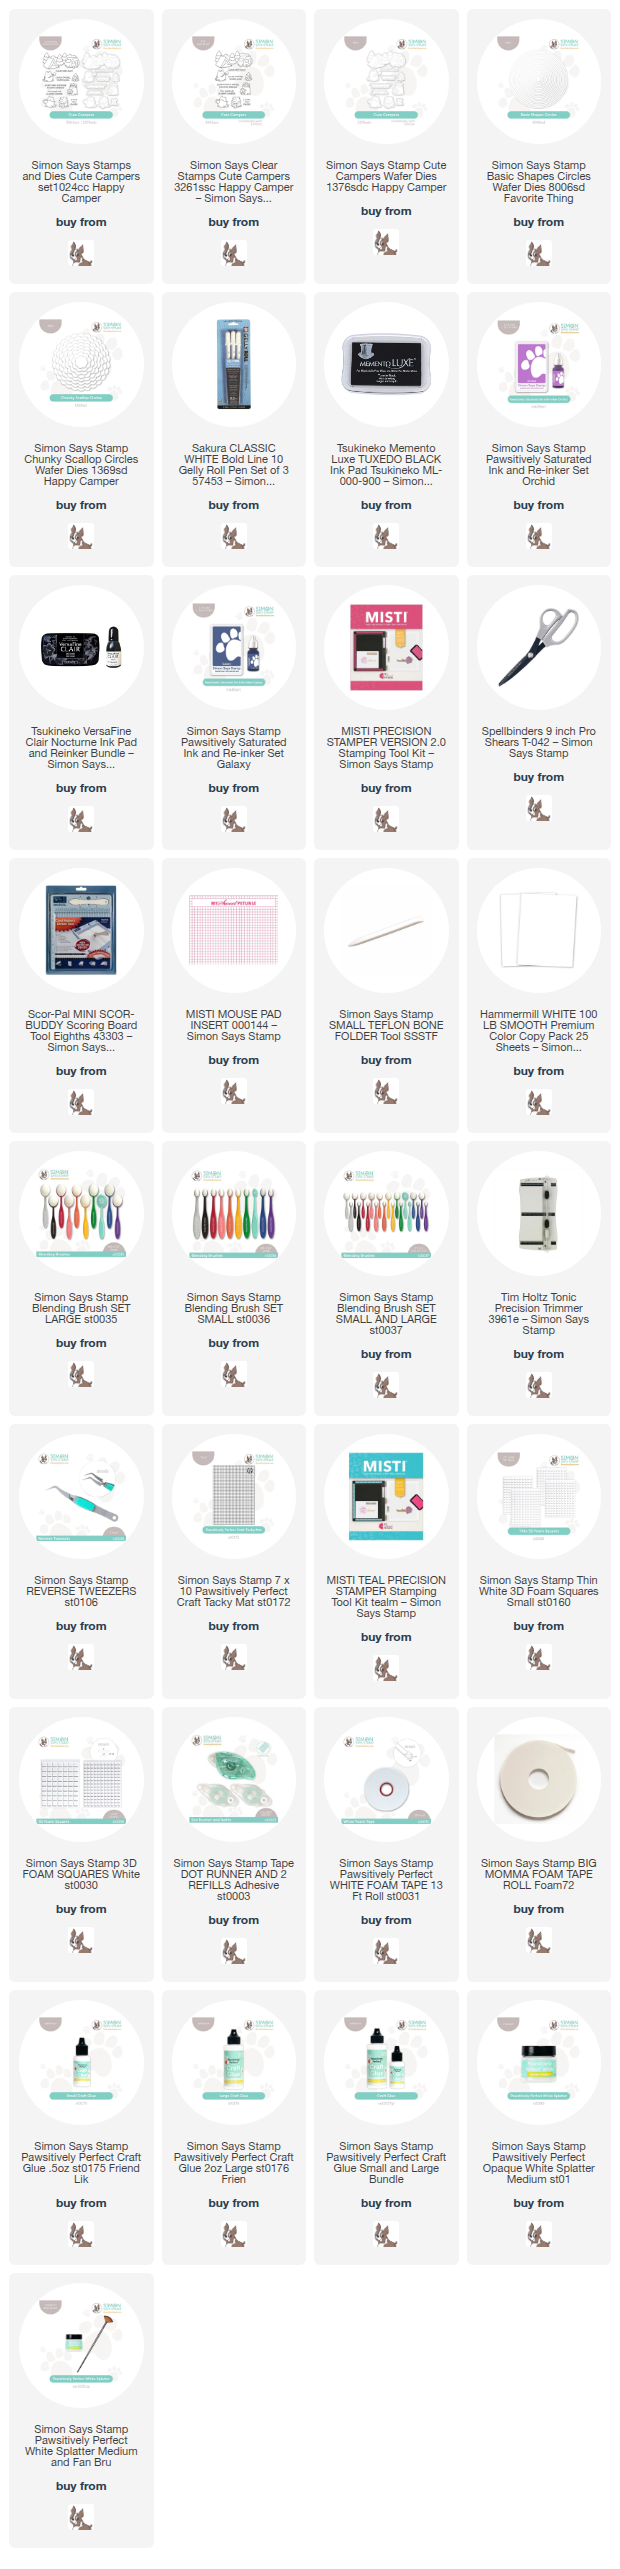
Card Making Supplies used for the Simon Says Stamp Cute Campers Circle Card:
Here are the products I used today. Compensated affiliate links used were available at no cost to you.
Clicking on a thumbnail link and shopping provides me with a small commission (at no additional cost to you), which supports my website and allows me to continue bringing you new projects and videos. I appreciate your support. Affiliate and product disclosures are found on my disclosure page. All products were personally purchased except for Simon Says Stamp products, which were provided/sponsored by the company. I only use and recommend products I love. Click on the icons below each product picture to visit my favorite stores.


-
-
- Follow me on INSTAGRAM
- Join 38,000+ following me on PINTEREST
- Subscribe to my YOUTUBE Channel
- Follow me on FACEBOOK
- Amazon Store
- Follow my SOURDOUGH BREAD JOURNEY – over on my The Sour Strawberry BLOG
- JOIN my STAMP OBSESSION Facebook Group
- Check out my FREE PDF Gallery for over 350+ Card Making Tutorials
- How to make a SLIMLINE CARD – Info PAGE
- Do you like to stitch on cards? Then join our NEW FACEBOOK GROUP
-

– LOTS of great Paper Crafting Sales and New Releases going on this week – Check them out here
 Shop my Favorite Brands with my affiliate links
So cute Sandi! Love the little outdoor scene that you’ve created! 🙂
thanks so much Amy
This is a real cute one, Sandi!
thank you sharon
Very clever idea! I love the use of circle dies and it fits your art piece so well with the other components.
thanks so much Gayle it’s always fun to make different shaped cards
So cute Sandi!
thanks so much Natasha