
Good morning stamping friends! Today, I’m excited to share a Simon Says Stamp Fall Wreaths card as part of the STAMPtember® Blog Party, kicking off this wonderful month of creativity and stamping fun.
Be sure to stop by the Simon Says Stamp Blog for a full list of participants and to enjoy all the amazing inspiration being shared, created with NEW products from the STAMPtember® RELEASE. The party also includes Exclusive Party Favors – special deals hidden along the hop like a little scavenger hunt! Have fun exploring, and don’t forget to leave some love in the comments along the way.

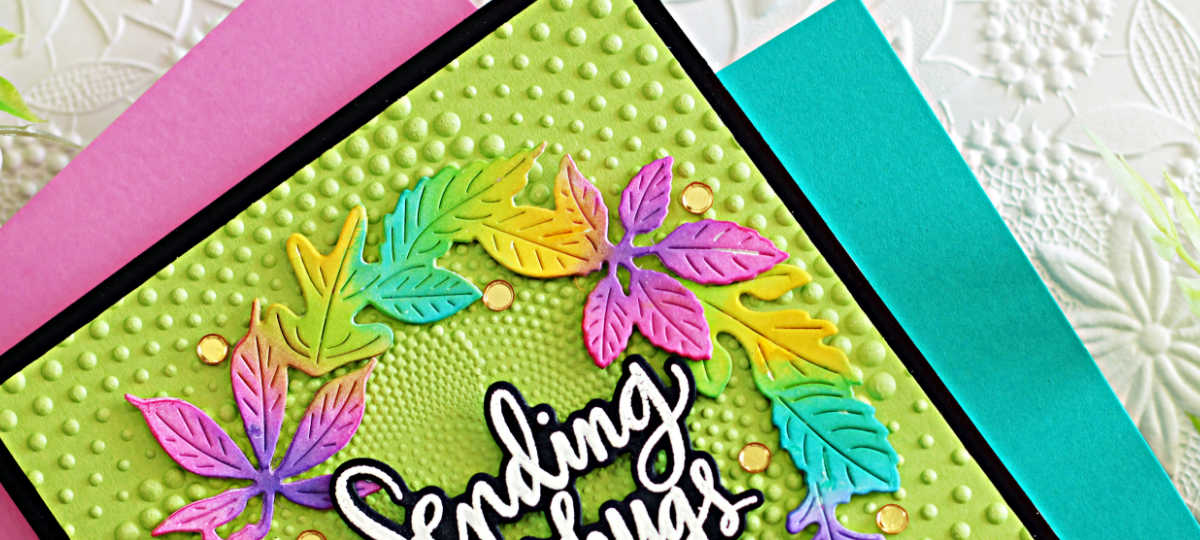
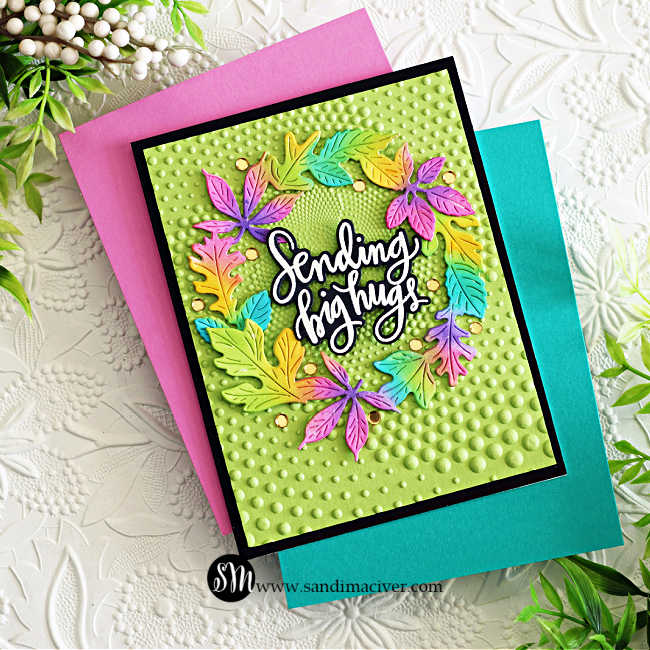
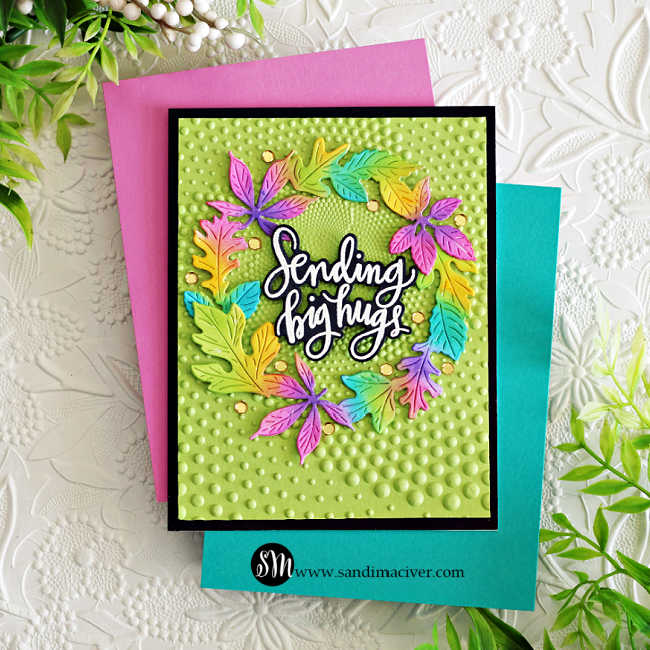
For my card, I’m using the New Fall Wreaths two-piece die set paired with the new Dotted Spiral embossing folder for the background. I’m completely smitten with the groovy, textured design it creates – it adds so much movement and interest to the wreath.
Card-making product affiliate links are used throughout this post at no additional cost to you. Your support enables me to continue providing you with content, and I genuinely appreciate your support!
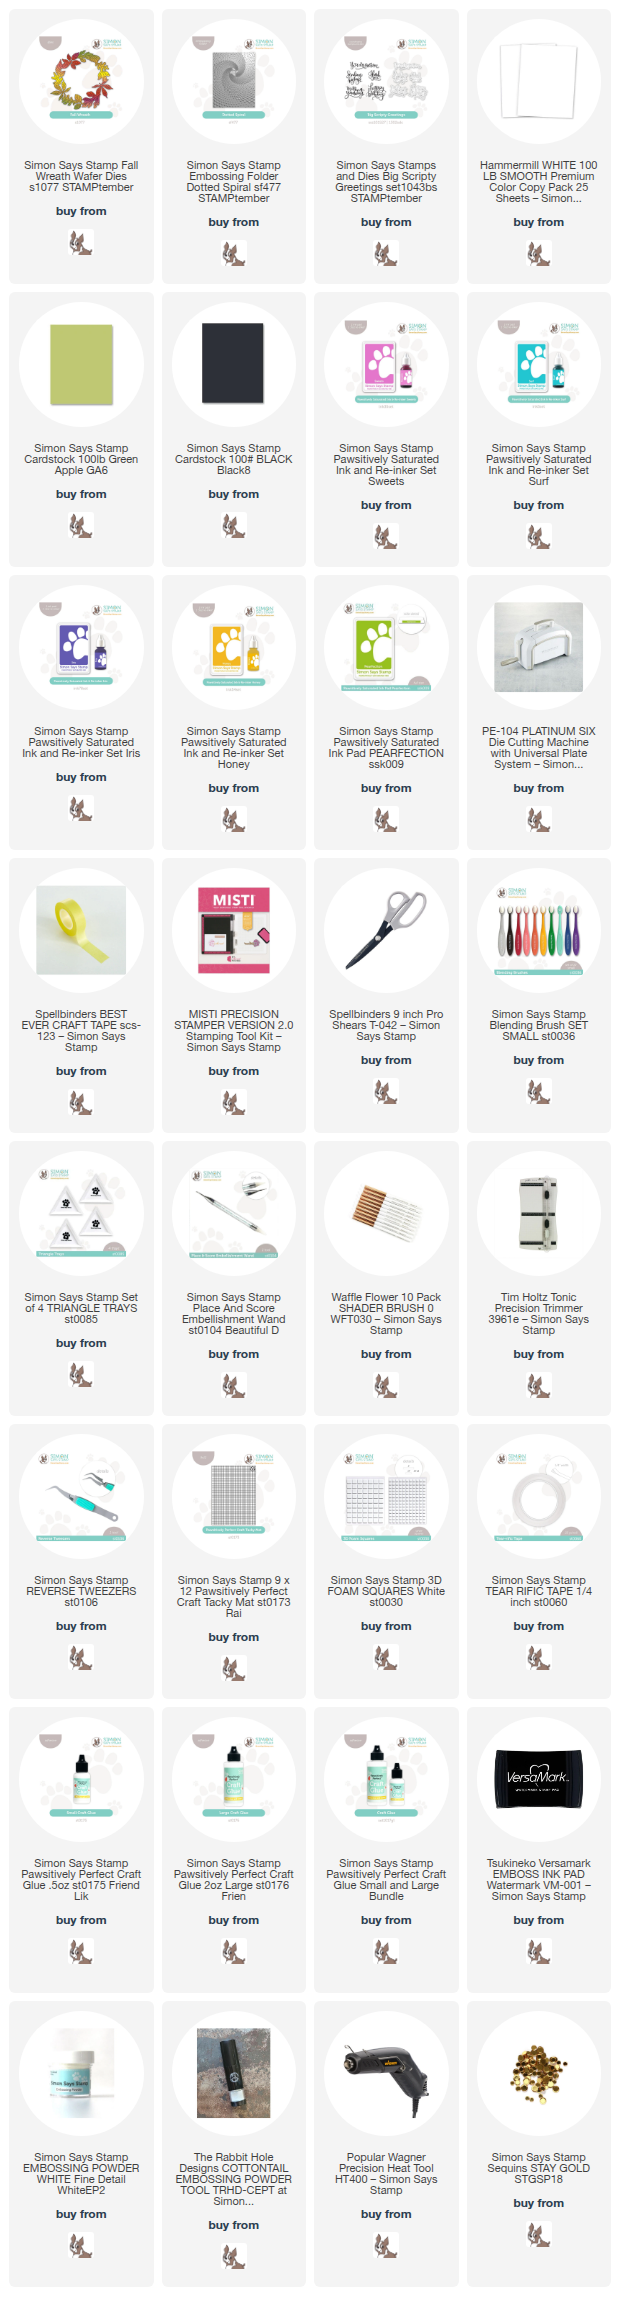
Products used for the Simon Says Stamp Fall Wreaths Card:
- Fall Wreaths dies
- Dotted Spiral 3D Embossing Folder
- Big Scripty Greetings Stamp and Die Set
- Stay Gold Sequins
- Pawsitively Saturated Inks: Surf, Pearfection, Iris, Sweets, and Honey.
How to Create the Simon Says Stamp Fall Wreaths Card:
Start by cutting a 4-1/4″ x 5-1/2″ piece of black cardstock and mounting it to the front of a top-folding A2-sized white card base.
Next, cut a panel of Green Apple cardstock 4″ x 5-1/4″. Lightly mist both sides with water, then emboss it with the Dotted Spiral 3D Embossing Folder. Once the panel is dry, attach it to the center of the card front.
Cutting and Coloring the Wreath:
Start by die cutting the two wreath dies three times, then use liquid glue to stack the layers together for added depth.
Next, lay the wreaths on a protected work surface and, using small blending brushes, apply our chosen ink colors. Be sure to blend along the edges as well to cover any exposed white cardstock.
Adhere the finished wreaths to the center of the card front.
Finally, for the sentiment, use the Big Scripty Greetings stamp and die set to white heat emboss onto a scrap of black cardstock. Die cut the sentiment and attach it inside the wreath with foam squares to create dimension and focus.
Embellish with a sprinkling of Stay Gold Sequins.
That’s it for me, now it’s time to visit the Simon Says Stamp Blog to hop along to the next spot in the party.

FREE gift with Purchase: use code: sf527 to search the store, add the item to your cart, and enter THXEF at checkout to receive the Words of Gratitude Embossing Folder for FREE.
You can view the entire new STAMPtember® RELEASE HERE

Card Making Supplies used for the Simon Says Stamp Lifting hearts card:
Here are the products I used today. Compensated affiliate links used were available at no cost to you.
Clicking on a thumbnail link and shopping provides me with a small commission (at no additional cost to you), which supports my website and allows me to continue bringing you new projects and videos. I appreciate your support. Affiliate and product disclosures are found on my disclosure page. All products were personally purchased except for Spellbinders Monthly Club Kits, which were provided/sponsored by the company. I only use and recommend products I love. Click on the icons below each product picture to visit my favorite stores.


-
-
- Follow me on INSTAGRAM
- Join 38,000+ following me on PINTEREST
- Subscribe to my YOUTUBE Channel
- Follow me on FACEBOOK
- Amazon Store
- Follow my SOURDOUGH BREAD JOURNEY – over on my The Sour Strawberry BLOG
- JOIN my STAMP OBSESSION Facebook Group
- Check out my FREE PDF Gallery for over 350+ Card Making Tutorials
- How to make a SLIMLINE CARD – Info PAGE
- Do you like to stitch on cards? Then join our NEW FACEBOOK GROUP
-

– LOTS of great Paper Crafting Sales and New Releases going on this week – Check them out here
 Shop my Favorite Brands with my affiliate links
Oh my goodness, what a pretty card! Love the bright colors on the die cut leaves. The background embossing is perfect too! 🙂
thank you Amy
WOW! Gorgeous colours Sandi! And the EF is terrific!
thanks so much Sharon, this was a super fun and easy one to make
Love the vibrant colors! Great card!
A new way to look at fall colors. Brilliant!
Wow! I love this card with all the wonderful colors!!! Thank you for sharing your inspiration!
Gorgeous card, Sandi! I love how you used bright colors… makes that set a year-round set, not just fall!
Like this card and the bright colors used
JUST ABSOLUTELY GORGEOUS! It took my breath away! Thanks so much!
Love your card and the “non-traditional “ colors. Thanks for the inspiration.
Love the colors! Beautiful card!
Absolutely stunning colors. I just love those leaves. Beautiful card.
Really Beautiful card!!! I love the colors!!!!
Gorgeous card, Sandi! This embossing folder is so fun!
I would not have thought to put the wreath on the dotted spiral. It looks fantastic! I am partial to all things “Dottie!”
Stunning! Love those candy hues! The colours are delish. Beautiful background too, the texture, the colour, just gorgeous xoxo
What a beautiful card!
Sandi,
Your card is so beautiful and the colors so vibrant…Just gorgeous.
Sandi,
Your card is gorgeous and the colors are so vibrant.
The colors you chose are delicious!
totally in love with this beauty Sandi. the colours are stunning!
thank you Lisa