
Hi crafty friends, welcome back. Today, I have a cute and easy Simon Says Stamp Thanks Always Shaker Card to share with you. It combines 2 of the new products from this month’s Moments in Time release, the Thanks Always Stamp and Die set, and, if you wish, the Thanks Always Stencil. I Copic colored my little guys, but you could use the stencil instead.
Card-making product affiliate links are used throughout this post at no additional cost to you. Your support enables me to continue providing you with content, and I genuinely appreciate your support!

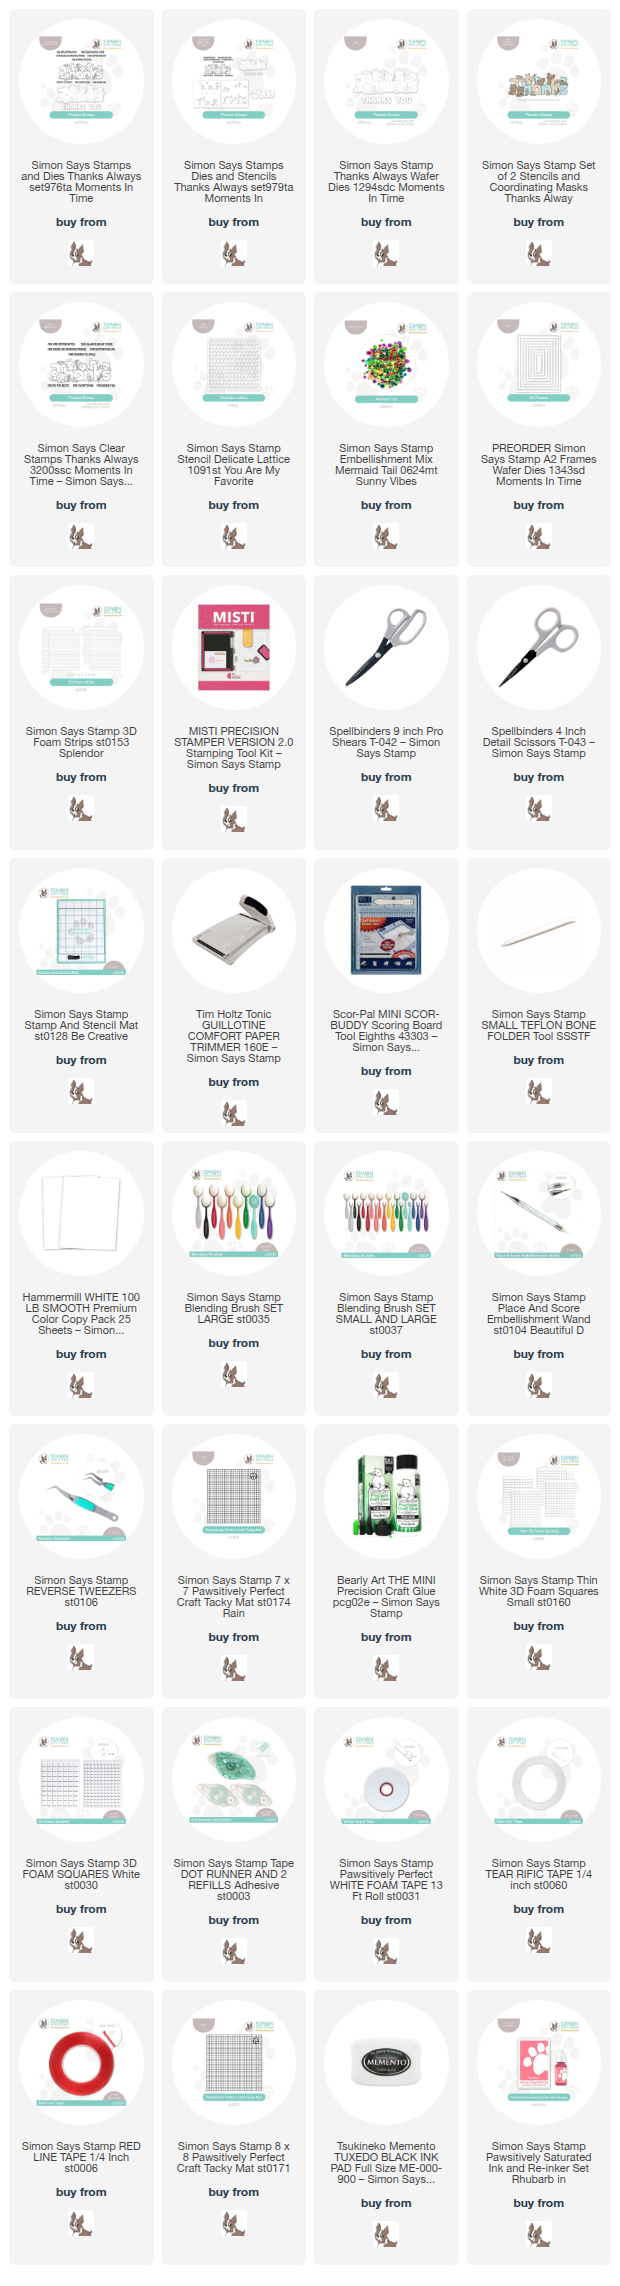
Products Used for the Simon Says Stamp Thanks Always Shaker Card:
- Thanks Always Stamp Set
- Thanks Always Die Set
- Delicate Lattice Stencil
- Mermaid Tail Embellishment Mix

How to create the Simon Says Stamp Thanks Always Shaker Card:
Start with a white A-2 sized card base, 5-1/2 x 8-1/2″, scored and folded at 4-1/4″.
Next, stamp the image in Memento Tuxedo black ink on Hammermill white cardstock. Color with copic markers and then use the co-ordinating die to cut the image out.
Copics used:
Pinks: RV10, 13, 14, Gray, N0,1,2,3, Green: YG03, 23 Yellow: Y11, 15, 18, Browns: E21, 31, 35, 37,43 YR24, 27
Cut a second piece of white cardstock 4-1/8″ x 5-3/8″, place onto a sticky mat. Add the Delicate Lattice stencil and ink blend with Rhubarb ink.
Stamp and sentiment in black on a scrap of white cardstock and trim.

How to make a Shaker Card:
Start by attaching the stenciled card front to the card base.
Next, add 3D foam strips around the outside edge of the card.
PRO-TIP: I save the packaging from my stamps and dies, the cello bag ones and use these for my covers for my shaker card. So take one, and cut off the edges so you have two pieces. Keep one for another project, and use one for this project.
Then, shake in the Mermaid Tail Embellishment Mix. Remove the protective cover from the foam strips and add the cello page piece. Trim to fit.
Finally, use the large of the A2 Frames dies to cut a frame from white cardstock. Run liquid glue around the foam tape on the outside edge of the card, and lay the frame into it. Place something heavy on top until the glue dries.
Add your colored art piece and sentiment to the front of the card.
Visit my Card Making PDF Gallery for 350+ more card ideas.

Card Making Supplies used for the Simon Says Stamp Thanks Always Shaker Card:
Here are the products I used today. Compensated affiliate links used were available at no cost to you.
Clicking on a thumbnail link and shopping provides me with a small commission (at no additional cost to you), which supports my website and allows me to continue bringing you new projects and videos. I appreciate your support. Affiliate and product disclosures are found on my disclosure page. All products were personally purchased except for the Simon Says Stamp Moments In Time release products, which were provided/sponsored by the company. I only use and recommend products I love. Click on the icons below each product picture to visit my favorite stores.


-
-
- Follow me on INSTAGRAM
- Join 38,000+ following me on PINTEREST
- Subscribe to my YOUTUBE Channel
- Follow me on FACEBOOK
- Amazon Store
- Follow my SOURDOUGH BREAD JOURNEY – over on my The Sour Strawberry BLOG
- JOIN my STAMP OBSESSION Facebook Group
- Check out my FREE PDF Gallery for over 350+ Card Making Tutorials
- How to make a SLIMLINE CARD – Info PAGE
- Do you like to stitch on cards? Then join our NEW FACEBOOK GROUP
-

– LOTS of great Paper Crafting Sales and New Releases going on this week – Check them out here
 Shop my Favorite Brands with my affiliate links
Oh my goodness, how cute!! Love the little critters and the shaker card is so much fun! 🙂
thanks so much Amy, I love making shaker cards, LOL
Just so cute and adorable! Love the bright colours!
thanks so much Sharon
The sweetest little shaker. I don’t make many critter cards nowadays, but I love this image and I love that it is an interactive card!
thanks Lisa, I don’t either, but these were fun to color and then who doesn’t like making shaker cards, they just make me happy