
Hi cardmaking friends – welcome back! Today, I’m wrapping up the Spellbinders January Clubs with these two January 2026 Embossing Club Cards. I’m a huge fan of embossing folders because they add incredible texture and interest with very little effort, and there are so many fun techniques you can explore with them. For these cards, I went in two completely different creative directions, and I hope you enjoy seeing both approaches.
Card-making product affiliate links are used throughout this post at no additional cost to you. Your support enables me to continue providing you with content, and I genuinely appreciate your support!

Products used to create the Spellbinders Jan 2026 Embossing Clubs Cards:
- Cloud Nine Embossing Folder – Embossing Club
- Best Year Sentiments – Clear Stamp and Die of the Month
- Sunny Stems – Small Die of the Month
- Cottage Wall – 3D Embossing Club of the Month

How to create the Spellbinders Jan 2026 Embossing Clubs Card #1
Start with a 4-1/4″ x 5-1/2″ panel of Cotton Candy cardstock and emboss it using the Cloud Nine Embossing Folder. Attach the embossed panel to a top-folding A2-sized white card base.
Next, use the Sunny Stems Small Die of the Month and die cut two floral stems in pink and green cardstock. Adhere the florals to the card front.
To finish, white heat-emboss a sentiment from the Best Year Sentiments set onto black cardstock. Die cut or trim the sentiment and add it over the stems at the base of the florals.
This technique is a quick and easy way to add texture, interest, and depth to your card background. You can easily take it a step further by ombre blending three shades of pink, or by covering the panel with Distress Oxide Sprays before embossing for an even more dramatic effect.

Card #2
Emboss a 4-1/4″ x 5-1/2″ black panel using the Cottage Wall embossing folder. Lightly drag a VersaMark ink pad over the raised areas, cover with gold embossing powder, shake off the excess and heat set.
Attach the panel to a top-folding A2-sized white card base.
Next, gold heat-emboss a sentiment from the Best Year Sentiments set onto black cardstock. Die cut or trim the sentiment and add it to the top center of the card.
This look can easily be stepped up by watercoloring a panel first and then using the “BLACKOUT” technique. You could also try ink blending an ombre effect before embossing, or adding color to the embossed image with Copic markers or other coloring mediums for a completely differently finish.
Visit my Card Making PDF Gallery for 350+ more card ideas.

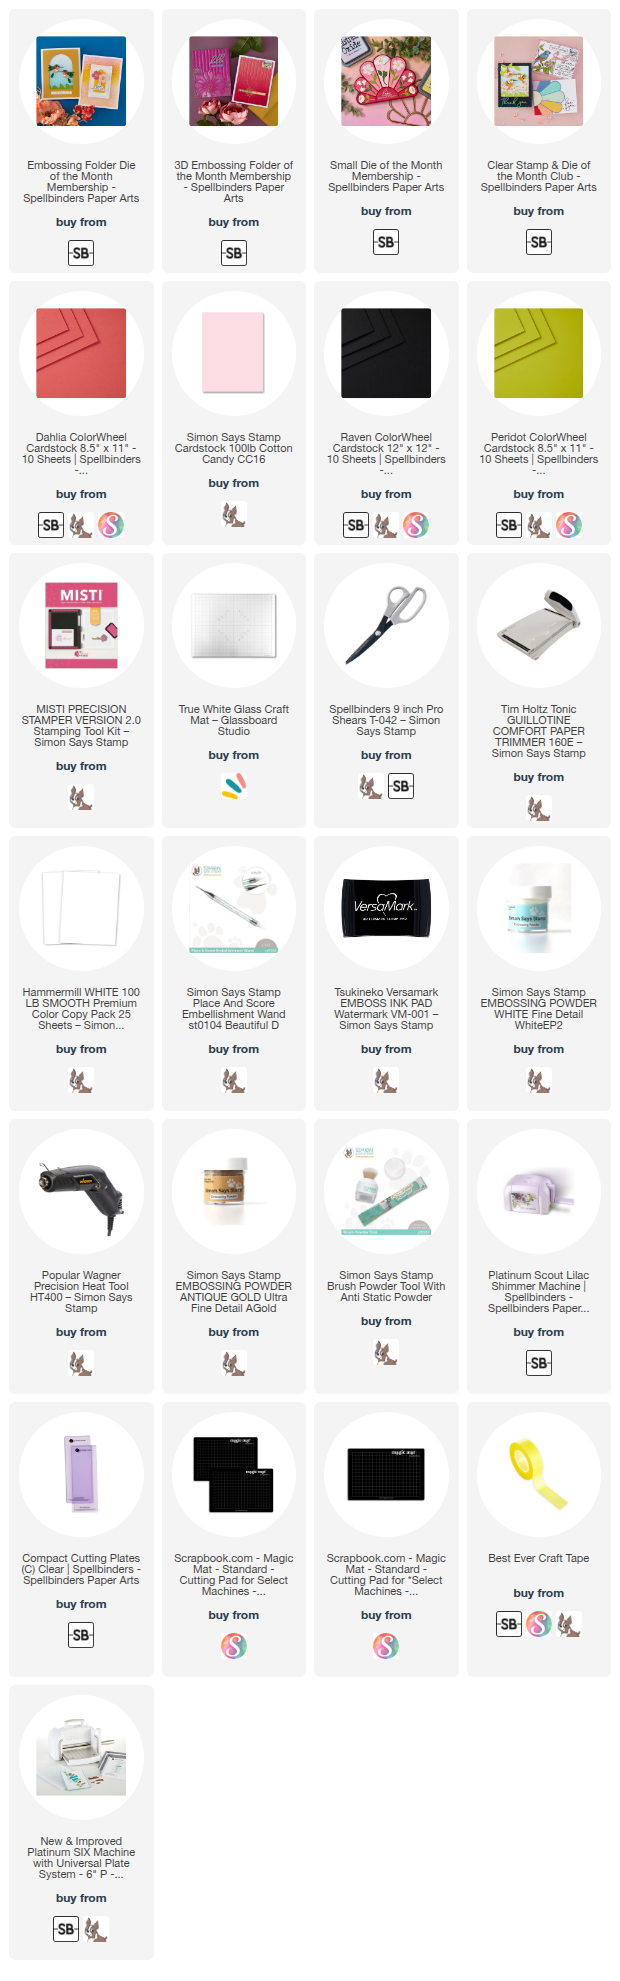
Card Making Supplies used for the Spellbinders Jan 2026 Embossing Clubs Cards:
Here are the products I used today. Compensated affiliate links used were available at no cost to you.
Clicking on a thumbnail link and shopping provides me with a small commission (at no additional cost to you), which supports my website and allows me to continue bringing you new projects and videos. I appreciate your support. Affiliate and product disclosures are found on my disclosure page. All products were personally purchased except for Spellbinders Monthly Club Kits, which were provided/sponsored by the company. I only use and recommend products I love. Click on the icons below each product picture to visit my favorite stores.


-
-
- Follow me on INSTAGRAM
- Join 38,800+ following me on PINTEREST
- Subscribe to my YOUTUBE Channel
- Follow me on FACEBOOK
- JOIN my STAMP OBSESSION Facebook Group
- Check out my FREE PDF Gallery for over 350+ Card Making Tutorials
- How to make a SLIMLINE CARD – Info PAGE
- Do you like to stitch on cards? Then join our NEW FACEBOOK GROUP
-

– LOTS of great Paper Crafting Sales and New Releases going on this week – Check them out here
 Shop my Favorite Brands with my affiliate links
Beautiful cards Sandi! The embossing on both is stunning! 🙂
thank you Amy, they are amazing for sure
Perfect ways to show off embossing, one looks simple and
the other looks so hard!! Love them both!
haha, looks are deceiving, they are both super simple
These are beautiful
thank you Natasha
Amazing Sandi! Both approaches look so cool. The gold on the second is gorgeous!
thank you Lisa