
Hey, card-making friends, welcome back. Today, I’m sharing two Spellbinders Spring House Mouse Cards using new stamps from the Spellbinders line. I just adore these little guys, and they are always so much fun to color. This time, I even masked them off after they were colored and ink-blended the backgrounds.
Affiliate links are used throughout this post at no additional cost to you. This allows me to keep bringing you content. I appreciate your support.

Four new stamps are in the Creative Day Release, and you can buy them individually or as a bundle. These sweet little guys will make you smile as you sit and color them.
I colored mine with Copic Markers:
Brown: E42, E31, E43, E44, Green: YG03, YG17, Yellow: Y11, Y13, Y15, Y19 Pinks: RV10, RV11, RV13, RV14. Pink for ears: RV10, RV21, Teal: BG11, BG13, Blue: B0000, B00, Bg01, B02, B04 Brown for basket: E81, E31, E35. Red for the tulips: R22, R05, R46, R59
Products Used:
- House Mouse Top Notch Birthday
- House Mouse Creative Day
- Nested Postage Labels and Tags Die Set
- Stitched Rectangles Die Set.
- Gina K Designs Masking Magic

How to create the Spellbinders Spring House Mouse Cards #1
Start by using Memento Tuxedo Black Ink to stamp the image onto Hammermill white cardstock.
Next, color with Copic markers and cut the image out with the Stitched Rectangles Dies.
Then, stamp the image again onto Gina K Masking Magic Paper, trim around the image, and lay the mask over the colored image. Ink blend the background with Simon Says Stamp Tidepool, Seafoam, and Ocean inks.
Finally, cut a yellow mat with the one-size-larger Stitched Rectangles Dies. Cut the largest of the Nested Postage Labels dies from Waterfall cardstock and attach that to a top-folding A2-sized white card base. Attach the art piece using foam tape to add a bit of dimension to the card. Then, white heat emboss a sentiment onto a scrap of black cardstock and attach it along the bottom.

Spellbinders Spring House Mouse Cards #2
The instructions on card #1 are basically the same as those on card #1, with the exception of the yellow mat.
This image ended up larger than the first, so I used the larger of the stitched rectangles to cut it out and mount it to the Nested Postage Labels die cut.

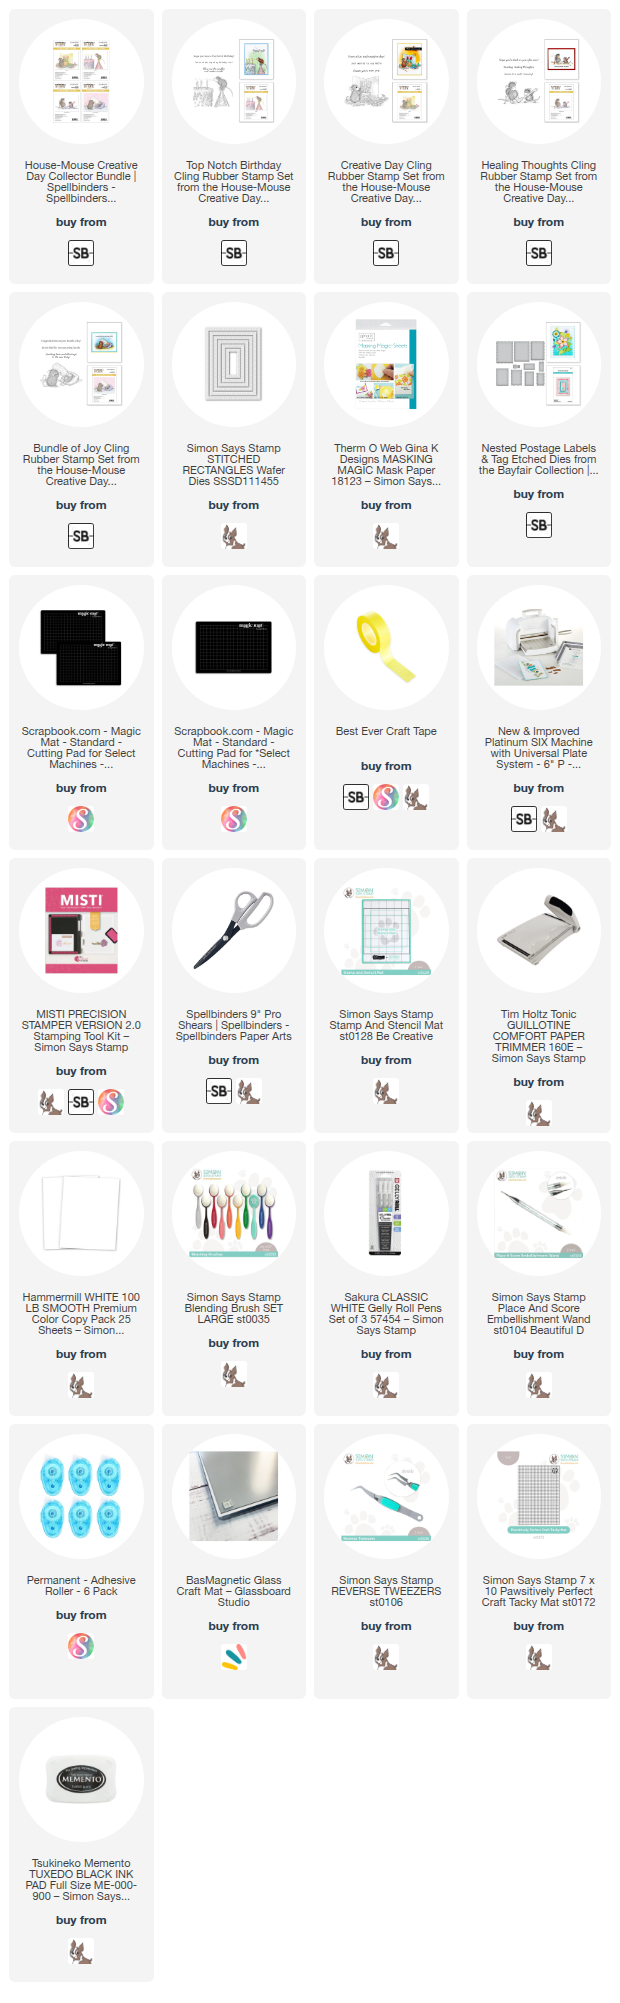
Card Making Supplies used for the Spellbinders Spring House Mouse Cards:
Here are the products I used today. Compensated affiliate links used were available at no cost to you.
Clicking on a thumbnail link and shopping provides me with a small commission (at no additional cost to you), which supports my website and allows me to continue bringing you new projects and videos. Thank you for your support. Affiliate and product disclosures are found on my disclosure page. All products were personally purchased except for the Spellbinders Creative Day Collection release, which was provided/sponsored by the company. As always, I was not paid to do this post. I only use and recommend products I love. Click on the icons below each product picture to go to my favorite stores.


-
-
- Follow me on INSTAGRAM
- Join 38,000+ following me on PINTEREST
- Subscribe to my YOUTUBE Channel
- Follow me on FACEBOOK
- Amazon Store
- Follow my SOURDOUGH BREAD JOURNEY – over on my The Sour Strawberry BLOG
- JOIN my STAMP OBSESSION Facebook Group
- Check out my FREE PDF Gallery for over 350+ Card Making Tutorials
- How to make a SLIMLINE CARD – Info PAGE
- Do you like to stitch on cards? Then join our NEW FACEBOOK GROUP
-

– LOTS of great Paper Crafting Sales and New Releases going on this week – Check them out here
 Shop my Favorite Brands with my affiliate links
If you do place an order using my affiliate links (and thank you if you do) – please email me with the $$ amount before tax and shipping, and which company it was placed through, along with your mailing address and I’ll send you a hand made card as my thank you. [email protected]
The reason I ask for that specific info is the system that tracks the sales only gives us a dollar amount and company name, we do not know who made the sale.
Oh my goodness, how cute!! Love those little mice images, they’re so sweet and you’ve colored them perfectly! 🙂
Thanks so much Amy
This is so sweet! I just love it!
thank you Sharon
the cuteness! I especially love the little mouse tending to his flowers!
aw, thanks my friend