
I’m back again today — just one post though, haha! It’s a busy month around here, so there may still be a few more days of double posts. I’m not ruling it out.
Today I’m sharing a card created with the Crocus Field Embossing Folder from the new Simon Says Stamp Beautiful Moments release. This folder is absolutely gorgeous, and it’s been sitting on my desk for days while I tried to decide how I wanted to use it.
A few techniques crossed my mind — the blackout technique, an ink-blended background, and more — but in the end I decided it was the perfect excuse to do some coloring. I turned on SiriusXM, found a great 70’s rock station, and just zoned out for a couple of hours.
I only used seven Copic markers for this card and I love how it turned out. After a few hours of coloring I was completely relaxed. Cardmaking really does have a way of doing that, doesn’t it?
Let’s jump in and I’ll show you how I created it.

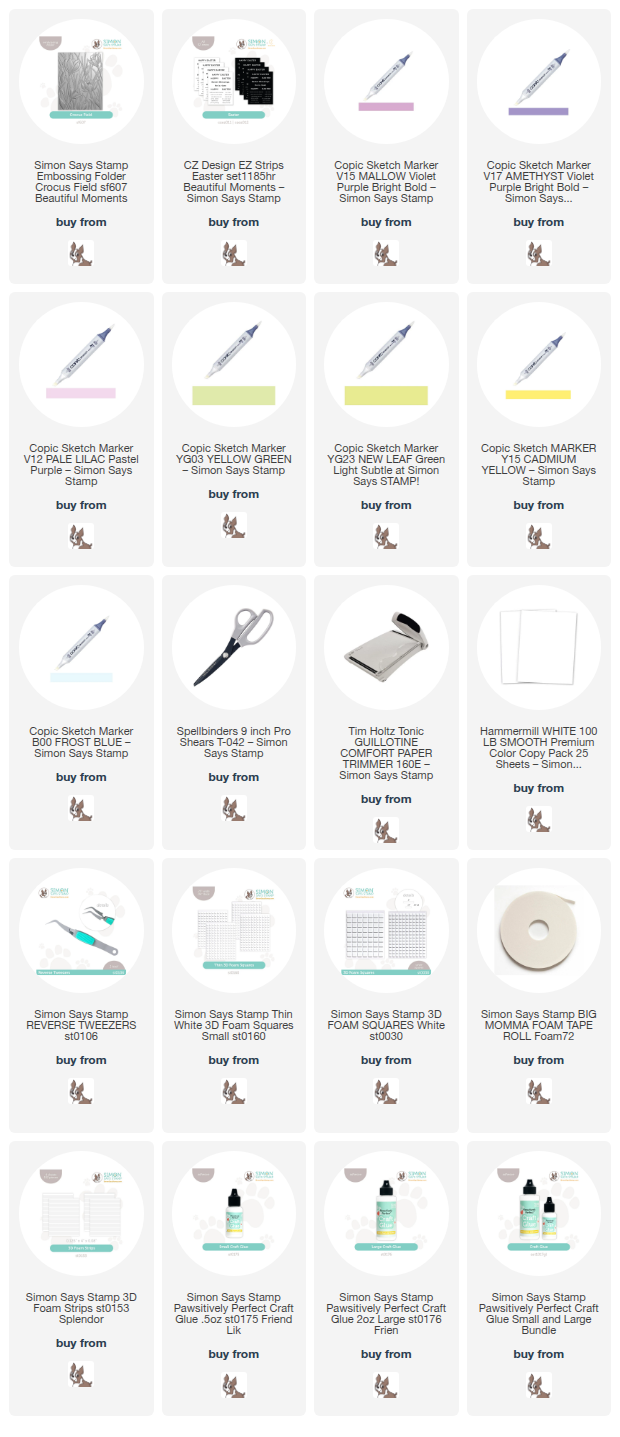
Products used for the Spring Crocus Easter Card Idea | Simon Says Stamp Crocus Field Embossing Folder :
Copic Markers: (linked below)
- Purples: V12, V15, V17
Green: YG03, YG23 - Blue: B00 and Yellow: Y15

How to Color an Embossed Card with Copic Markers
1. Emboss the panel
Start with a 4″ x 5-1/4″ panel of white cardstock and emboss it using the Crocus Field Embossing Folder.
2. Begin coloring the flowers
Color the image with Copic markers, working from light to dark. Start by flooding the entire petal with the lightest marker. Then add shadows and depth using the medium and dark markers. Finally, go back over the area with the lightest marker to blend everything smoothly.
PRO-TIP: Work in bright natural light if possible so you can clearly see all the hills and valleys created by the embossing.
3. Color the leaves and stems
Once the flowers are finished, color the leaves and stems. Use the brush tip of your marker and tilt it slightly so you can color along the raised embossed edges.
PRO-TIP: Turn your paper so the light is closest to the edge you’re coloring. This makes it much easier to see where to place your color. Also try making one smooth edge line rather than lots of tiny strokes — similar to doing “cut-ins” when painting a wall.
4. Add the background color
Color the background using a B00 Copic marker. Make sure your marker is well-inked before you begin so the color goes down smoothly across the larger area. Once you are finished coloring, mount the panel with foam tape to a top-folding A2-sized white card base.
5. Add the sentiment
To finish the card, add both a large and small sentiment from the pre-printed Easter EZ Strips. I absolutely love these! After three hours of coloring, the last thing I want to do is stamp and die cut a sentiment. The EZ Strips are the perfect solution — simply cut them apart and adhere them to your card.

Coloring embossed images is such a fun technique because the raised lines naturally guide your markers, making it easy to add depth and dimension. It’s also incredibly relaxing! If you’d like to recreate this card, you’ll find all the supplies I used linked below.
 Never Miss a Post – Subscribe to my blog posts.
Visit my Card Making PDF Gallery for 350+ more card ideas.

Card Making Supplies used for the Spring Crocus Easter Card Idea | Simon Says Stamp Crocus Field Embossing Folder card:
Here are the products I used today. Compensated affiliate links used were available at no cost to you.
Clicking on a thumbnail link and shopping provides me with a small commission (at no additional cost to you), which supports my website and allows me to continue bringing you new projects and videos. I appreciate your support. Affiliate and product disclosures are found on my disclosure page. All products were personally purchased except for Simon Says Stamp Beautiful Moments Release products, which were provided/sponsored by the company. Click on the icons below each product picture to visit my favorite stores.


-
-
- Follow me on INSTAGRAM
- Join 38,800+ following me on PINTEREST
- Subscribe to my YOUTUBE Channel
- Follow me on FACEBOOK
- JOIN my STAMP OBSESSION Facebook Group
- Check out my FREE PDF Gallery for over 350+ Card Making Tutorials
- How to make a SLIMLINE CARD – Info PAGE
- Do you like to stitch on cards? Then join our NEW FACEBOOK GROUP
-

– LOTS of great Paper Crafting Sales and New Releases going on this week – Check them out here
 Shop my Favorite Brands with my affiliate links
Magnificent! Those colours did the trick!
thank you Sharon
Sandi your crocus card is just stunning & I love it! Copic-coloring a 3D impression is something I’ve never done. It turned out so pretty & I can’t wait to try it! Thx for sharing your amazing talent!
thank you Donna, certainly give it a try, this one happens to be quite easy to color
Oh my goodness, that’s stunning Sandi! Love the embossed flowers! 🙂
Beautiful card, Sandi. Love your Copic choices. Thanks for all the Pro Tips you suggest. They are so helpful. Loved your tutorial on Spellbinders today as well! So precise and easy to follow.
Thank you Gayle. I was very happy with how it came out, but there were a few tricks to getting it looking nice, haha
Gorgeous card, great colouring. I wish there was a stencil to make it easier, maybe? I have this ef on the way, so very excited to see your card today. I need to purchase more copics, do you buy a reinker at the same time? I have a few but no reinkers, so perhaps a future investment, when SSS has a copic sale.
thank you Lynne:
I do buy the reinker every time I purchase a marker, that way I know I can refill it as needed. Give color this folder a try, it is very simple to do.
glorious! the purple and teal are such a winning combination.
Thank you Lisa
Such a beautiful card. With your helpful tips, I am going to give it a try. Thank you for the inspiration and yes, coloring does relax me too.
Thank you Lori, have fun coloring.