
Clean and simple cardmaking is all about knowing when to stop – and today we’re embracing the beauty of white space.
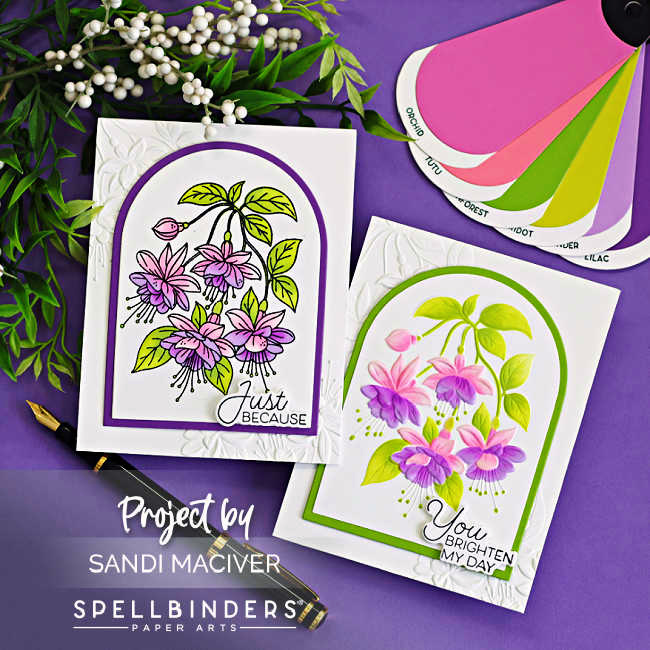
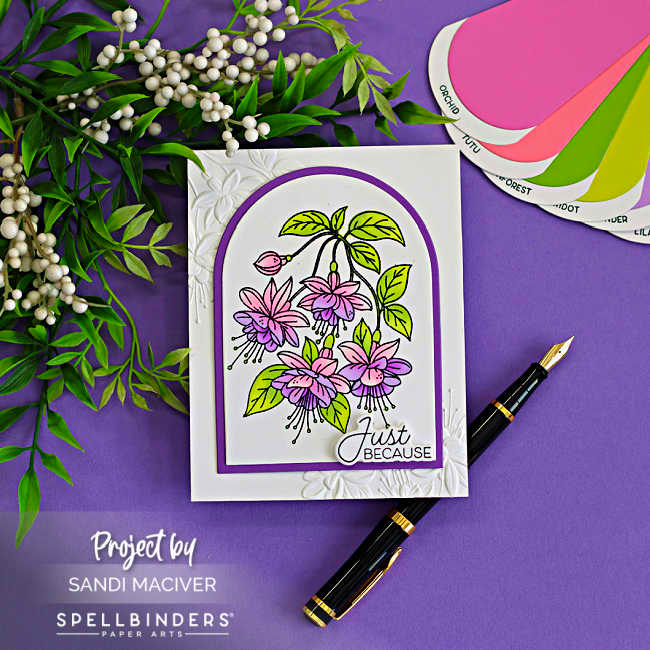
For this project, I’m featuring the Gorgeous Magical Fuchsia release from Spellbinders and Alex Syberia Designs, and instead of filling every inch of the card front, I let the florals shine against a mostly white background.
This approach creates a soft, elegant design that feels fresh, modern and incredibly eye-catching
Tips for Embracing White Space in Your Cardmaking:
- Choose one strong focal point (like these florals)
- Keep your background clean – white or lightly textured
- Add interest with embossing instead of layers to maintain that open, airy feel
- Use frames or arches to define your design area
- Limit embellishments – let your focal image do the work
PS, there is an Instagram Hop today for this release – you can join HERE on my Instragram Page, don’t forget to leave comments at each stop along the way for a change to win a gift card from Alex Syberia Designs
Products used for today’s Cards:
- Layered Magical Fuchsia Stencil
- Magical Fuchsia Press and Foil Plate
- Magical Fuchsia Embossing Folder
How to create the Cardmaking – Embrace the White Space | Clean and Elegant Fuchsia Cards
Create the Card Base:
Start with a piece of white cardstock measuring 4-1/4″ x 11″, score and fold at 5-1/2″ to create an A2 top-folding card base.
Next, cut another piece of white cardstock to 4-1/4″ x 5-1/2″. Place it into your embossing folder at an angle so only the top left corner is embossed. Repeat to emboss the bottom Right corner.
Adhere this panel to the front of your card base.
Create the Art Piece and Frames:
Using the Essential Arches dies, cut:
- The 5th largest from white cardstock
- The 4th largest from your chosen frame color (Purple or green).
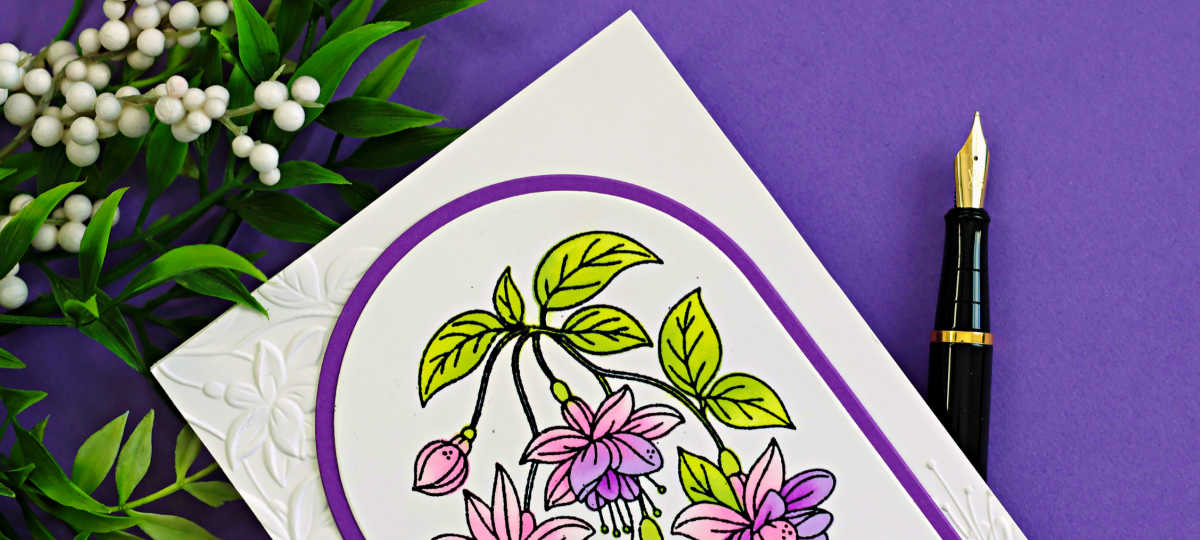
Place the Magic Fuchsia BetterPress plate onto your BetterPress platform, positioning it so the image will fit nicely within the arc. Secure the white arch panel onto the top plate.
Ink the plate with VersaMark Ink, then run it through your Platinum 6 machine.
Carefully remove the panel, cover the image with black embossing powder, shake off the excess and heat set until the black lines are smooth and shiny.
Placed the embossed panel onto a sticky mat, then use the Magical Fuchsia Layering Stencils to ink blend color onto the image.
Inks Used:
Altenew: Pink Diamond, Pinkalicious, Lavender Fields, Midnight Violet, Parrot, and Forest Green
Assemble the Card:
Layer the white arch panel onto the colored frame.
Attach the finished piece to the center of your card front using foam tape for added dimension.
PRO-TIP:
Let your Dies do the Framing:
Using an arched die or frame helps define your design area while still keeping that beautiful white space around it. It’s the perfect way to balance clean design with visual interest.
I absolutely love how these cards turned out–soft, elegant, and a perfect reminder that sometimes less really is more.
If you’ve been feeling stuck or overwhelmed with layers and techniques, try embracing the white space on your next card — you might be surprised how much impact it creates.
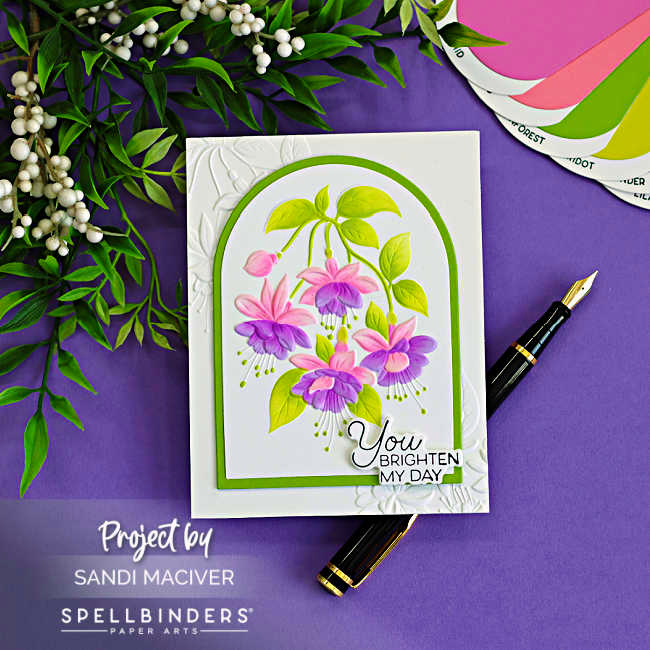
The second card uses all the same steps as the first, with one key difference.
The image is embossed directly into the white arch panel using the Magical Fuchsia Embossing Folder, creating a soft, muted impression in my favorite true-to-life fuchsia colors.


Never Miss a Cardmaking Tutorial
Subscribe to my blog and get the latest cardmaking ideas, tutorials, and inspiration delivered straight to your inbox — plus access to exclusive content and updates you won’t want to miss!

Visit my YouTube channel for 270+ cardmaking tutorials, techniques, and creative ideas to inspire your next project
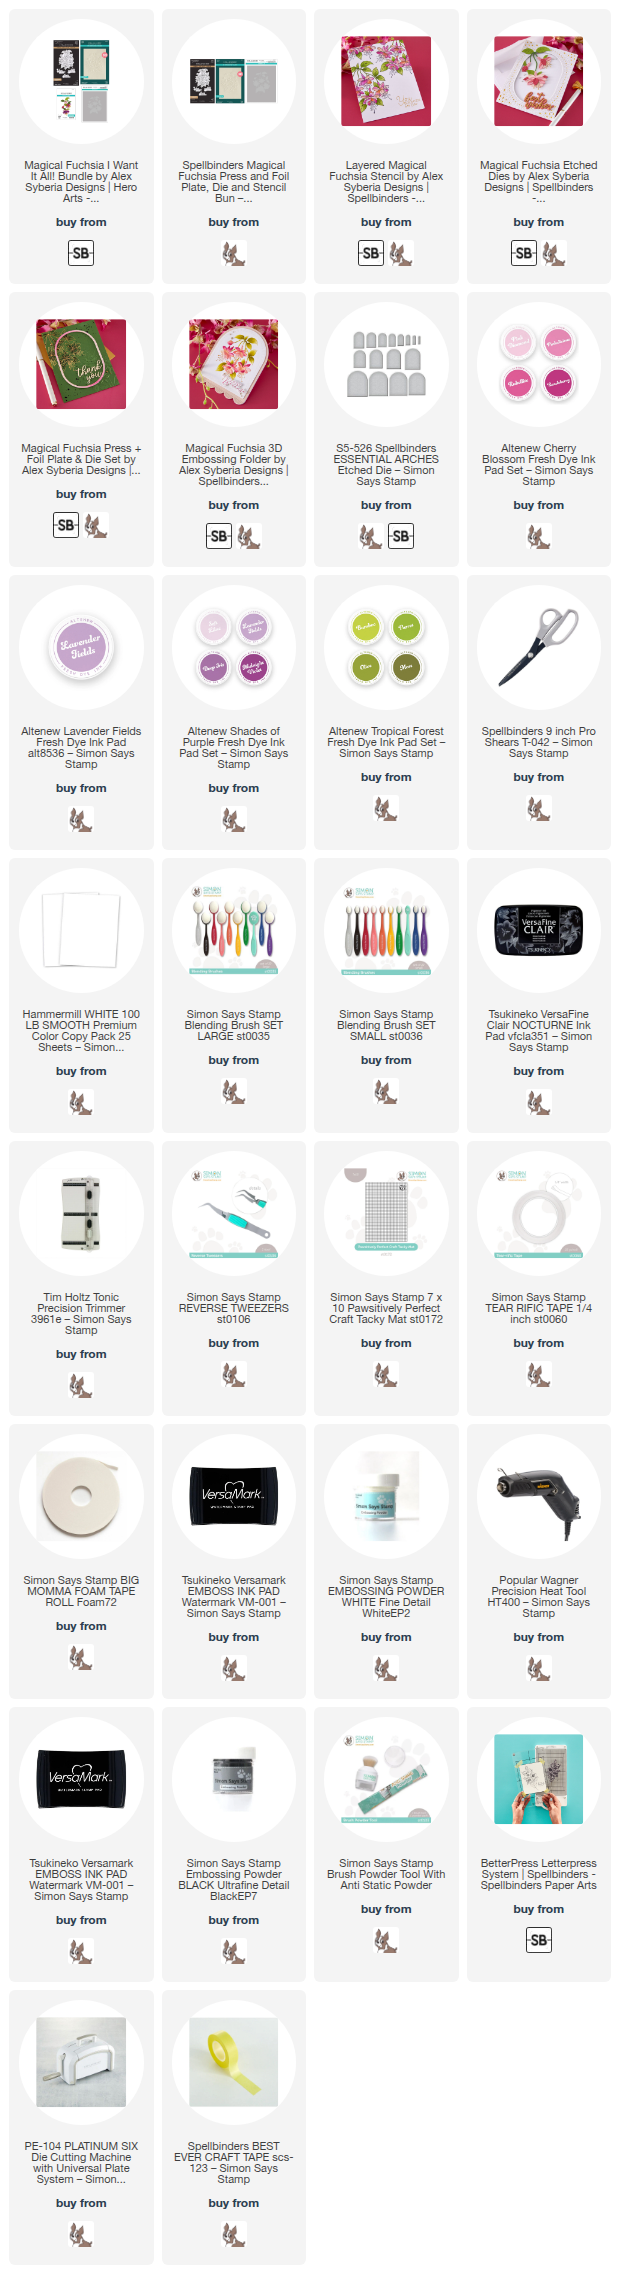
Cardmaking Supplies Used:
Here are the supplies I used to create today’s white space cards.
Many of the links below are compensated affiliate links. This means if you click through and make a purchase, I may receive a small commission at no additional cost to you.
These commissions help support my website and allow me to continue sharing cardmaking tutorials, videos, and inspiration. I truly appreciate your support.
All products were personally purchased unless otherwise noted. Spellbinders products were provided by the company for design purposes.
You can find my full affiliate disclosure on my disclosure page.
Click the icons below each product to shop my favorite stores.
Let’s Connect & Get Inspired
Follow along for more cardmaking ideas, techniques, and tutorials:
- Follow me on Instagram
- Join 38,800+ creatives on Pinterest
- Subscribe to my YouTube Channel
- Follow me on Facebook
- Join my Cardmaking Obsession Facebook Group
FREE Cardmaking Tutorials Library
Looking for more inspiration? Explore my FREE PDF GALLERY with 359+ cardmaking tutorials — packed with ideas, techniques, and step-by-step projects to spark your creativity.

Don’t Miss This Week’s Deals
Lot’s of great paper crafting sales and new releases happening now — check them out here!

Shop My Favorite Craft Brands
Browse my Go to Brands and supplies using my affiliate links.
Such pretty cards! Love the floral images, perfect colors too! 🙂
thank you Amy
Fantastic colours to stand out on the white and the embossing! So perfect for spring!
Thank you Sharon, makes we want to go and buy some hanging baskets, haha
Gorgeous! So funny – we went with arches and same colours lol!
haha, I think we share a brain stem,