Welcome back cardmaking friends. Today I have Spellbinders Christmas Blooms to share with you in a Slimline Card.
This is my second post using the new Circle Kaleidoscope Slimline Dies, and as I promised, I used them in a different way.
You can see the original post here for more inspiration using these fabulous new dies.
Thumbnail links for all products I have used today are located at the bottom of this post.

How to create the Spellbinders Christmas Blooms Slimline Card:
This time I decided to use just the ornaments to create a card and incorporate the New Christmas Blooms Die Set to decorate them.

Start by choosing three gradient colors of pink cardstock and die cut the Circle Kaleidoscope Slimline pieces.

Next, use the Bearly Art Glue to stack the three kaleidoscope layers to create the ornament.
The precision tip on the Bearly Art Glue makes this step very easy.

Cut the card front from white cardstock and use the Slimline Flora embossing folder from Spellbinders to emboss the piece.

Finally, create the card base by cutting a white piece at 7 x 8-1/2″, scoring the 7″ side at 3-1/2.
Cut the medium and light colors of pink 1/4″ larger than the embossed card front to create the mats.
Layer all of these and attach to the card base.

Creating the Sentiment and Embellishing the card:
Gold is my color of choice with pink cards. The ornament hanger is cut from gold mirror card, the string is fancy gold and the rhinestones in the center are gold.
Use Mirror Gold Cardstock to die cut the Create a Christmas Sentiment dies to add to the bottom of the card.
One layer is fine, but three is more dramatic and attach with the Bearly Art Glue in the bottom right corner.

Finally, use the Spellbinders new Christmas Blooms dies to cut all the greenery for the top of the card and around the top of the ornament.
Greens are Peridot and Rainforest cardstock from Spellbinders.
Before I go, there is a HUGE sale on over at Spellbinders.

check out the amazing selection of dies in this BOGO SALE – so many of my favorites are in there, whoo hoo.

and before you check out, CHECK the great deals at the new Clearance Markdowns…..I saw a great selection of Christmas and Holiday items in there at fabulous prices
Visit my PDF Gallery for 300+ more card ideas

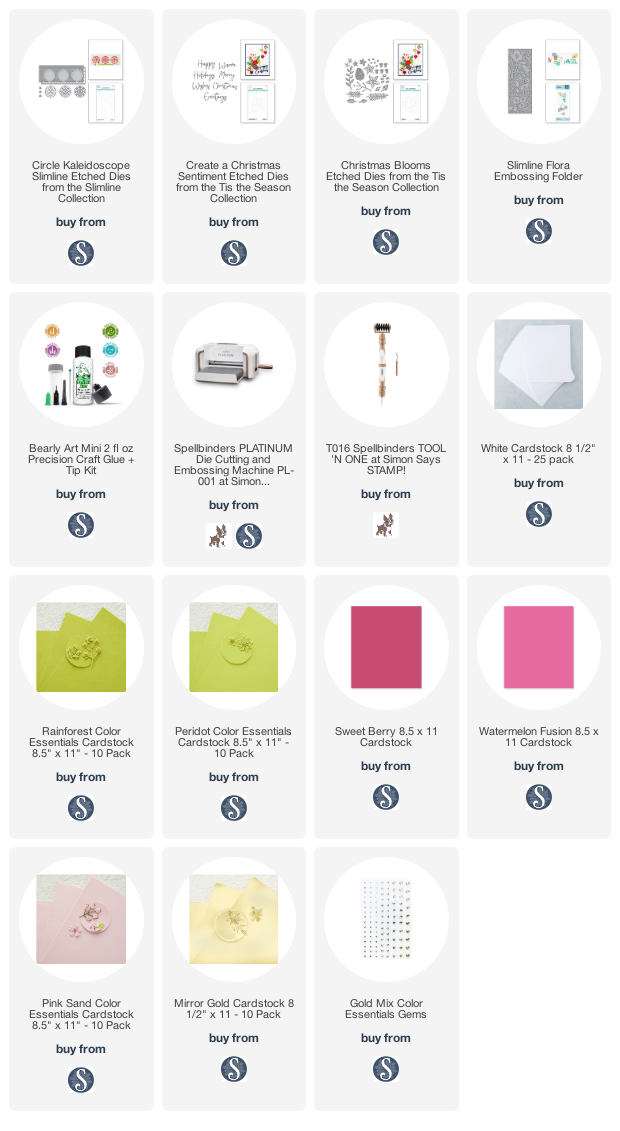
used for the Spellbinders Christmas Blooms card:
Here are the products I used today. Compensated affiliate links used where available at no cost to you.
When you click on a thumbnail link and shop you are supporting my website allowing me to continue bringing you new projects and videos. Thank you.

-
- Follow me on INSTAGRAM
- Join 37,700+ following me on PINTEREST
- Subscribe to my YOUTUBE Channel
- Follow me on FACEBOOK
- Check out my FREE PDF Gallery for over 300+ Card Tutorials
- How to make a SLIMLINE CARD – Info PAGE
 – LOTS of great sales and New Releases going on this week – Check them out here
 <<<<Click to shop through me at my favorite brands


I love this design!!!!!!!!! Gorgeous colors!
thank you Natasha, these are my christmas colors on one of my trees anyway, haha
So pretty Sandi! Love the colors and the layering is fantastic!!
thanks Amy, my favorite colors
So beautiful!!! Love your colour choices and the combination of die sets!!!
thanks Bonnie, they all work so well together, I couldn’t resist, LOL
GORGEOUS! I absolutely love this card and I must have that slimline embossing folder!
thanks Marisela, if you love this one, you are going to go Crazy for the Large, Small and GLimmer of the month kits just released, check my next blog post this morning