
Hi cardmaking friends – welcome back!
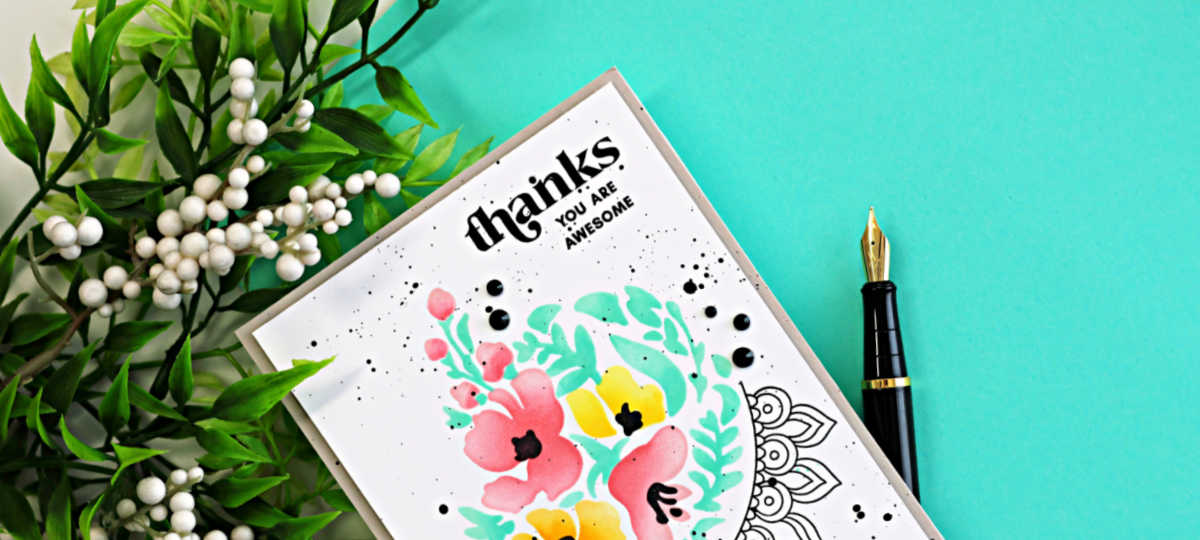
Today I’m sharing an Altenew soft ink-blended floral card featuring soft, ink-blended florals paired with a coordinating outline stamp set for a quick, clean and simple design. The Altenew Dynamic Duo Crescent Flowers Stamp and Stencil Set includes two beautiful stencil designs, a coordinating outline stamp set with a fun arch detail, and a wonderful selection of sentiments for a variety of occasions.
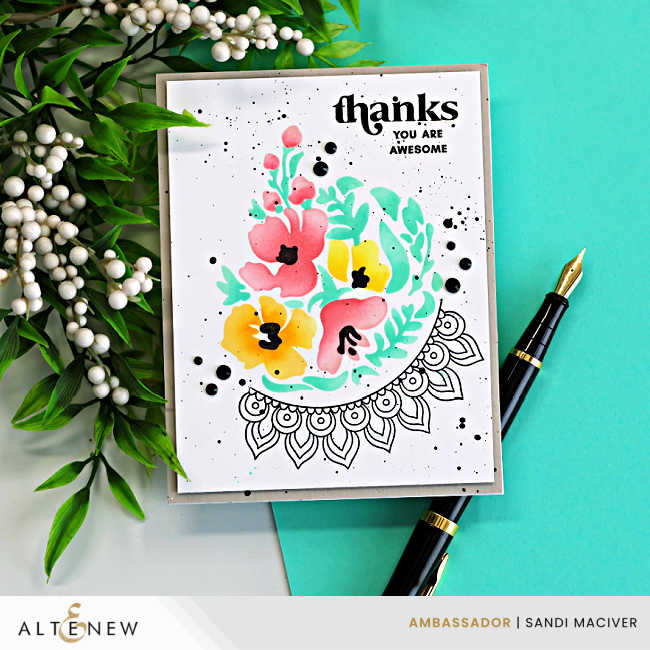
I kept the colors soft and airy, then finished the card with black splatter and a few gems for extra interest — and I even impressed myself by creating a flat card, LOL, something I never do!
Products used for today’s Altenew Soft Ink Blended Floral Card:
Dynamic Duo Crescent Flowers Outline Stamp and Stencil Set
How to create the Altenew Soft Ink Blended Floral Card:
Create the Card Base:
Trim a panel of Sagestone cardstock to 4-1/4″ x 5-1/2″ and attach it to the front of a top-folding A2-sized white card base.
Create the Art Panel:
Next, trim a panel of white cardstock to 4″ x 5-1/4″ and secure it to your sticky mat. Using Mini Ink Blending Brushes, blend the base layer of color onto each of the four sections of the stencil design.
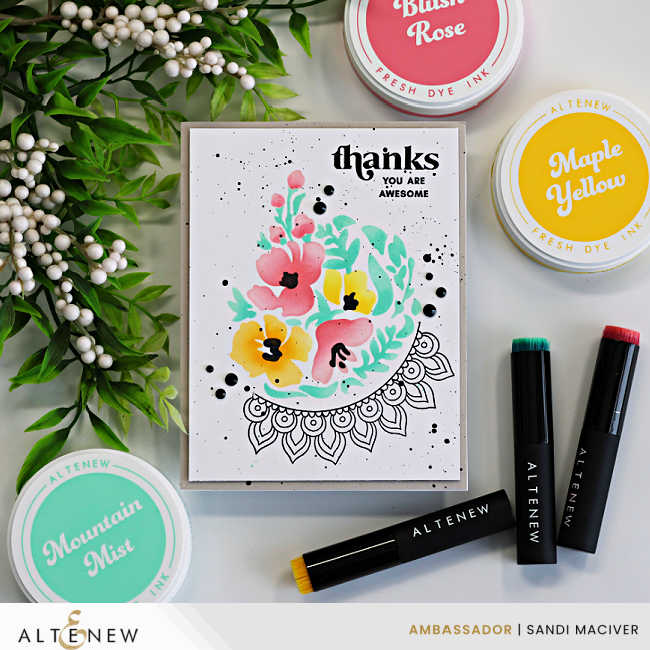
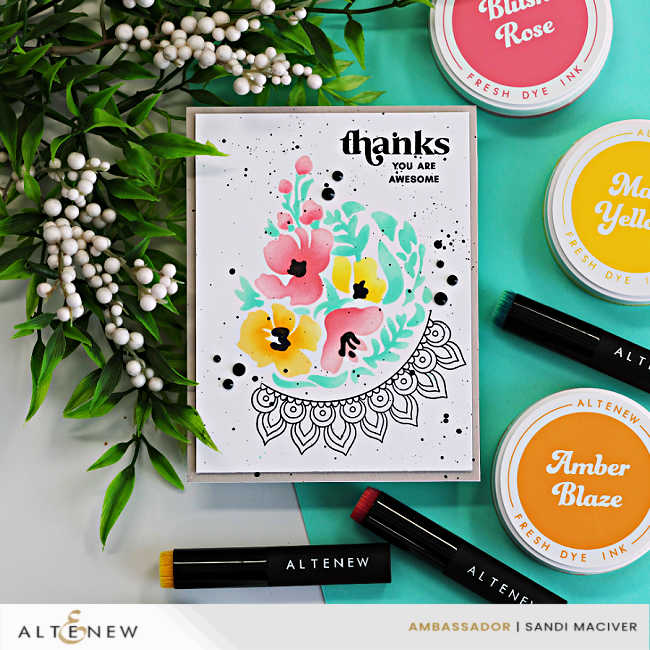
Altenew Ink Used:
- Obsidian Pigment Ink
- Mountain Mist/Volcano Lake
- Dusty Pink/Blush Rose
- Golden Honeycomb/Amber Blaze
- Citrus Burst/Fresh Lemon
PRO-TIP – Clean the stencil between each layer to avoid transferring ink where you don’t want it.
Go back over each section using a detailed blending brush and a darker shade of ink for each color, concentrating the color near the centers of the flowers to add depth and dimension.
Place the panel inside your Misty stamping tool and stamp the decorative arch around the lower right side of the floral design. Stamp the sentiments in the upper right corner using Obsidian Pigment Ink.
PRO-TIP – if you are going to finish the card right away, then heat set the Obsidian Black Ink, as it’s pigment ink, it takes a while to dry.
Assemble the Card:
Attach the completed white panel to the card front using foam squares to add dimension.
Place the card inside a splat box and add black ink splatter across the panel. Once dry, finish the card with Black Onyx Gems for a touch of sparkle and shine.


Never Miss a Cardmaking Tutorial
Subscribe to my blog and get the latest cardmaking ideas, tutorials, and inspiration delivered straight to your inbox — plus access to exclusive content and updates you won’t want to miss!

Visit my YouTube channel for 270+ cardmaking tutorials, techniques, and creative ideas to inspire your next project
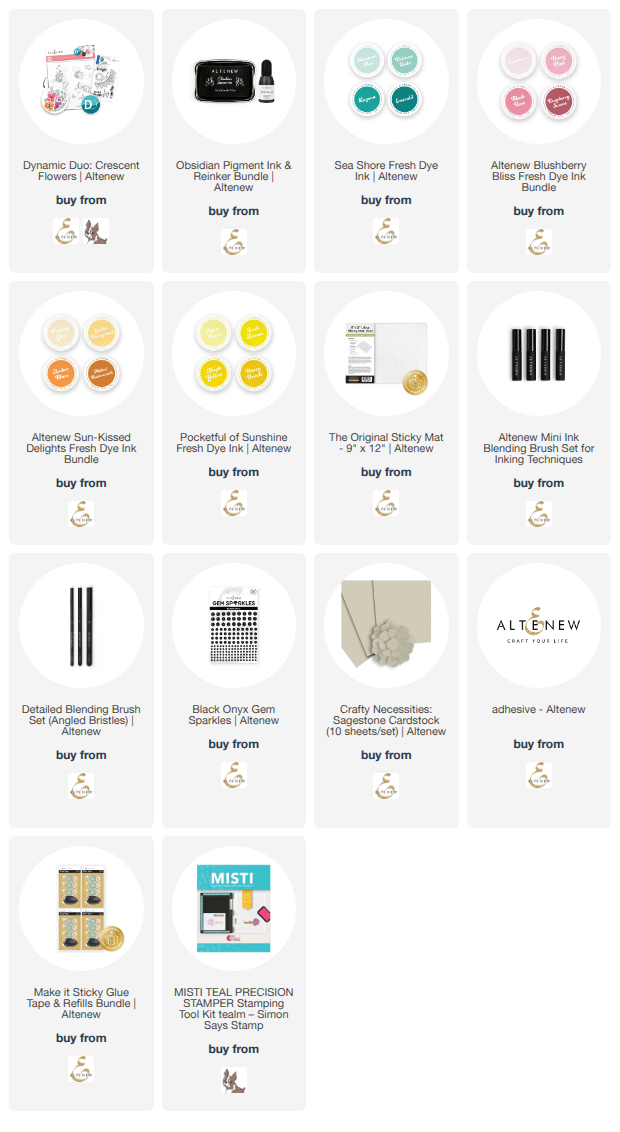
Cardmaking Supplies Used:
Here are the supplies I used to create today’s Altenew Soft Ink Blended Floral Card.
Many of the links below are compensated affiliate links. This means if you click through and make a purchase, I may receive a small commission at no additional cost to you.
These commissions help support my website and allow me to continue sharing cardmaking tutorials, videos, and inspiration. I truly appreciate your support.
All products were personally purchased unless otherwise noted. Altenew products were provided by the company for design purposes.
You can find my full affiliate disclosure on my disclosure page.
Click the icons below each product to shop my favorite stores.
Let’s Connect & Get Inspired
Follow along for more cardmaking ideas, techniques, and tutorials:
- Follow me on Instagram
- Join 38,800+ creatives on Pinterest
- Subscribe to my YouTube Channel
- Follow me on Facebook
- Join my Cardmaking Obsession Facebook Group
FREE Cardmaking Tutorials Library
Looking for more inspiration? Explore my FREE PDF GALLERY with 359+ cardmaking tutorials — packed with ideas, techniques, and step-by-step projects to spark your creativity.

Don’t Miss This Week’s Deals
Lot’s of great paper crafting sales and new releases happening now — check them out here!

Shop My Favorite Craft Brands
Browse my Go to Brands and supplies using my affiliate links.
Just beautiful Sandi! Love the touches of black with the pretty floral images! 🙂
thank you Amy
This is very pretty and yes, flat! No die cuts either!!!
I know right, haha, just stamping and stenciling
These are beautiful
thank you Natasha
such a unique stencil set. great card!