
Hey cardmaking friends – welcome back! Today, I’m excited to be joining HERO ARTS for their May 2026 My Monthly Hero Kit: Yay Day Instagram Hop. I’m sharing a fun and festive birthday balloon shaker card that’s full of cheerful color and celebration!
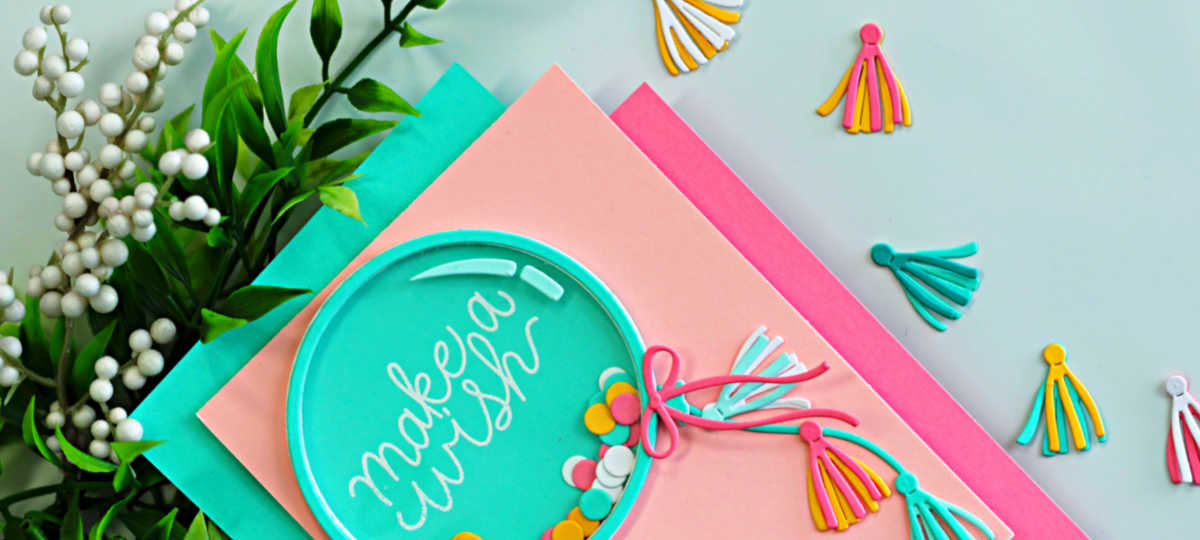
This birthday-themed kit is packed with playful icons, party elements, and versatile Sentiments to help you create cards that truly feel like a party. I couldn’t resist diving straight into the Big Balloon Shaker Die Set — you know I love a good shaker card! And those tiny tassel dies? Completely irresistible….I’m in LOVE.
I challenged myself to stick with the cardstock included in the kit for this project. As you probably know, soft pastels are a bit outside my comfort zone (give me bold any day! LOL), but I have to say — I’m really loving how these subtle tones came together. And of course, the cardstock is that beautiful Spellbinders quality, which always makes crafting a dream.
You’ll find all the details for this birthday balloon shaker card below, and if you’d like to hop along for even more inspiration, you can start over on my INSTAGRAM PAGE.

Psst – Hero Arts just announced a great sale – save up to 40% on select Flora Products
Products used for today’s Birthday Balloon Shaker Card:
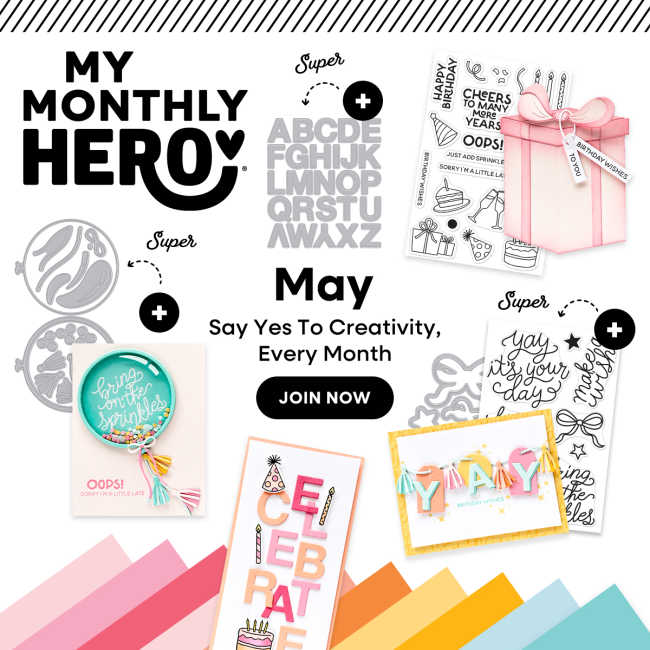
Get the May 2026 My Monthly Hero Here
Get the May 2026 My Monthly Super Hero Here:
The Super Hero kit has the add-ons that have the round black plus sign beside them
How to create the Birthday Balloon Shaker Card:
Create the Card Base:
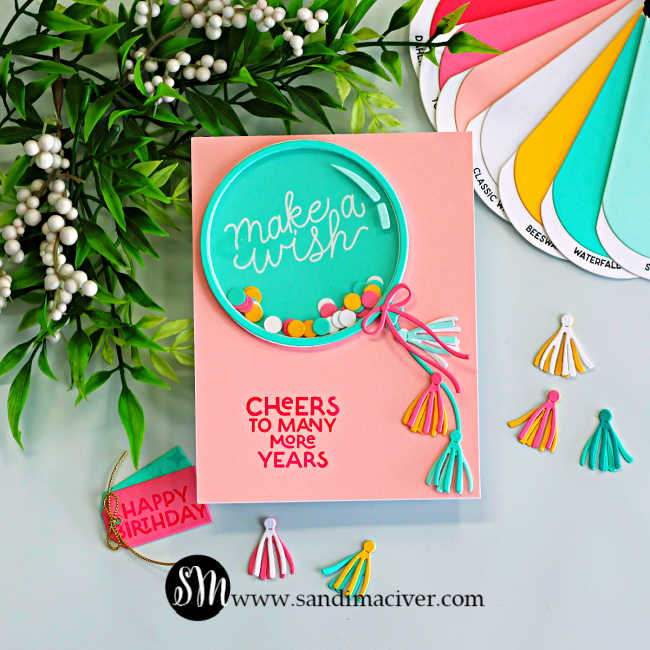
Trim a panel of Blush cardstock to 4-1/4″ x 5-1/2″ and adhere it to a side-folding A2-sized white card base. Stamp the sentiment in Peony ink and set aside.
Create the Balloon Shaker and Tassels:
Die cut all the balloon and tassel pieces from the cardstock included in the kit.
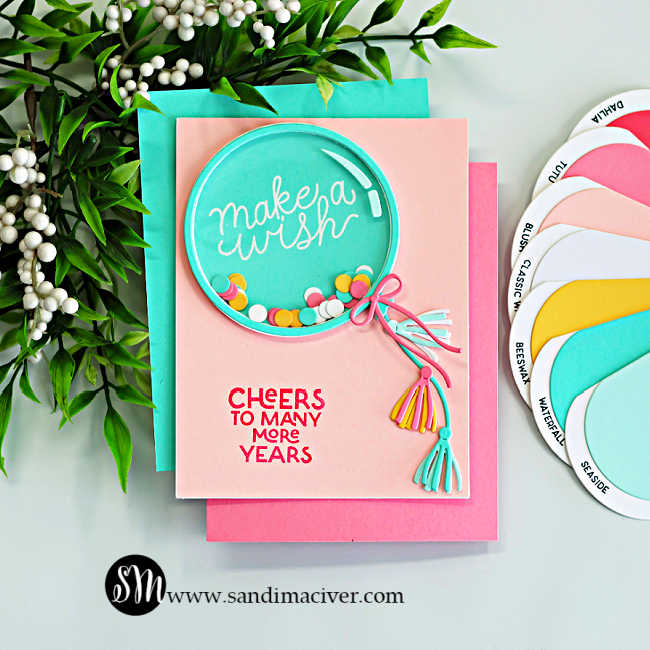
To build the shaker, die cut the balloon outline from the Waterfall panel, then die cut the same outline eight additional times from white cardstock. Adhere a die-cut piece of clear acetate behind the Waterfall Panel, then stack and glue the eight white die cuts to the back to create dimension and space for the shaker elements.
White heat emboss a sentiment from the Make a Wish Stamp and Cut set onto the balloon back panel.
Place the balloon front face down on your work surface, add the die cut shaker circles, then apply glue around the outer edge. Carefully place the solid balloon back panel on top to seal everything in.

Assemble the Card:
Adhere the complete birthday balloon shaker card element to the upper left corner of the card front using liquid glue. Attach the die cut string, then add the tassels for a festive touch. Finish by die cutting a bow from Tutu Cardstock and adhering it to the base of the balloon.
I have listed all the supplies below for you.

Never Miss a Cardmaking Tutorial
Subscribe to my blog and get the latest cardmaking ideas, tutorials, and inspiration delivered straight to your inbox — plus access to exclusive content and updates you won’t want to miss!

Visit my YouTube channel for 270+ cardmaking tutorials, techniques, and creative ideas to inspire your next project
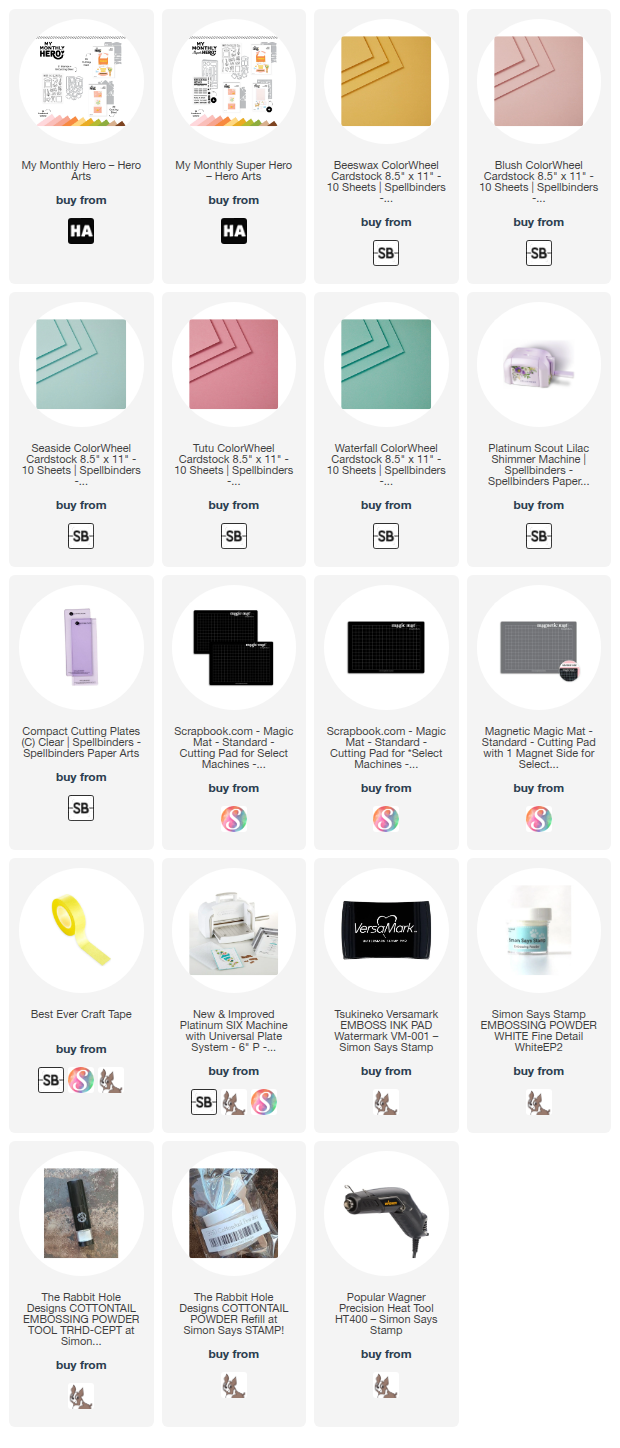
Cardmaking Supplies Used:
Here are the supplies I used to create today’s Birthday Balloon Shaker Card.
Many of the links below are compensated affiliate links. This means if you click through and make a purchase, I may receive a small commission at no additional cost to you.
These commissions help support my website and allow me to continue sharing cardmaking tutorials, videos, and inspiration. I truly appreciate your support.
All products were personally purchased unless otherwise noted. Simon Says Stamp In My Heart products were provided by the company for design purposes.
You can find my full affiliate disclosure on my disclosure page.
Click the icons below each product to shop my favorite stores.
Let’s Connect & Get Inspired
Follow along for more cardmaking ideas, techniques, and tutorials:
- Follow me on Instagram
- Join 38,800+ creatives on Pinterest
- Subscribe to my YouTube Channel
- Follow me on Facebook
- Join my Cardmaking Obsession Facebook Group
FREE Cardmaking Tutorials Library
Looking for more inspiration? Explore my FREE PDF GALLERY with 359+ cardmaking tutorials — packed with ideas, techniques, and step-by-step projects to spark your creativity.

Don’t Miss This Week’s Deals
Lot’s of great paper crafting sales and new releases happening now — check them out here!

Shop My Favorite Craft Brands
Browse my Go to Brands and supplies using my affiliate links.
Such a cute card Sandi! Love the little shaker bits and the tassels are the perfect embellishment! 🙂
thank you amy
This is cute and the “pastel” colours are pretty!
thank you Sharon, it’s a super fun die set
eeeep! such a fun kit this month. love a shaker, especially a balloon!
aw, thank you Lisa, it’s a super fun kit this month for sure and I’m filling up my Birthday Card stash quickly.