
After my Embrace the White Space post last week, one of my readers asked me to explain what I meant by tone-on-tone embossing–so in today’s embrace white space cards tutorial, I’m sharing two easy ways to explore that idea. Well one embossed card, and then a different tone-on-tone idea.
I’ll be honest….I’m still not very good at the #4 – ” do nothing and leave it white” approach, but I had so much fun playing with tone-on-tone texture for these designs.
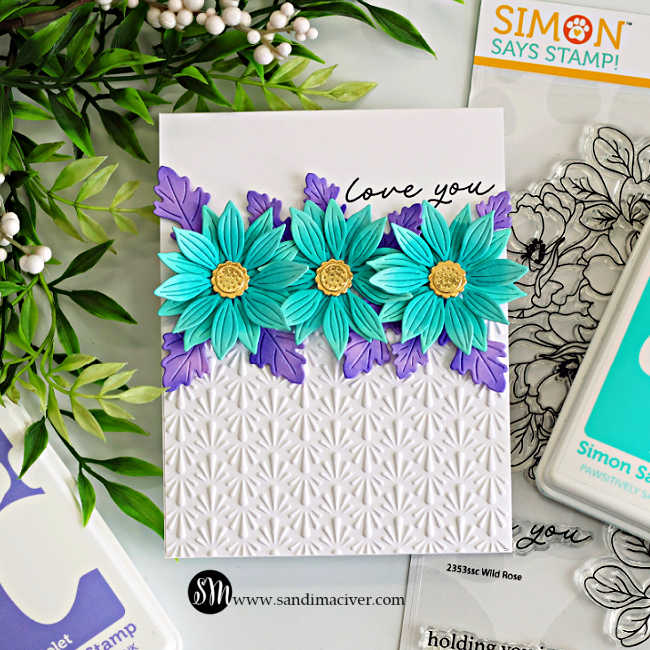
For the first card, I kept things simple by embossing a smaller panel and adding it to the front of the card for a subtle, textured background.
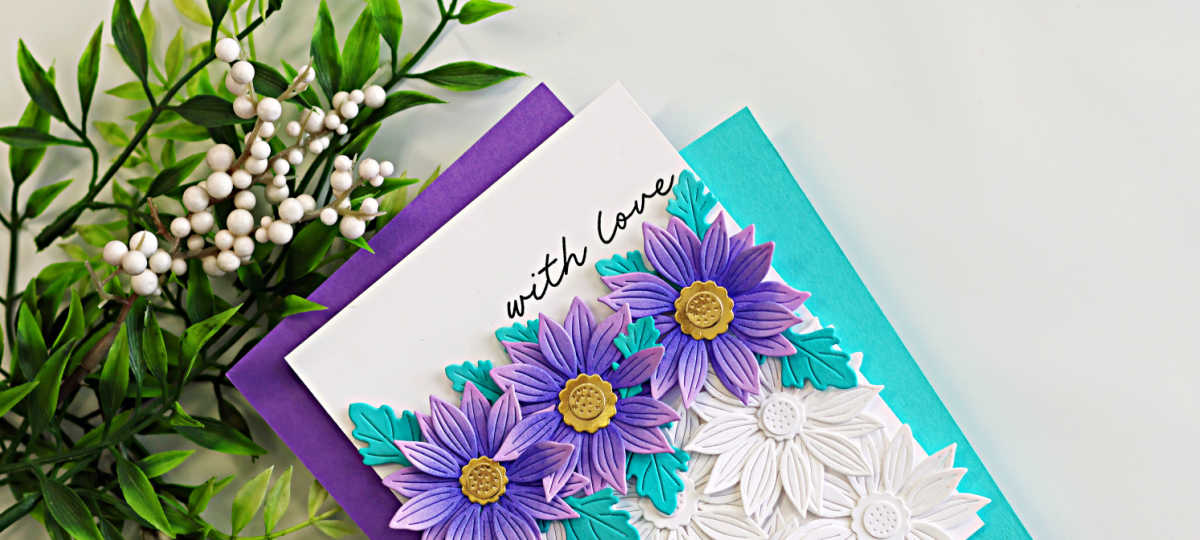
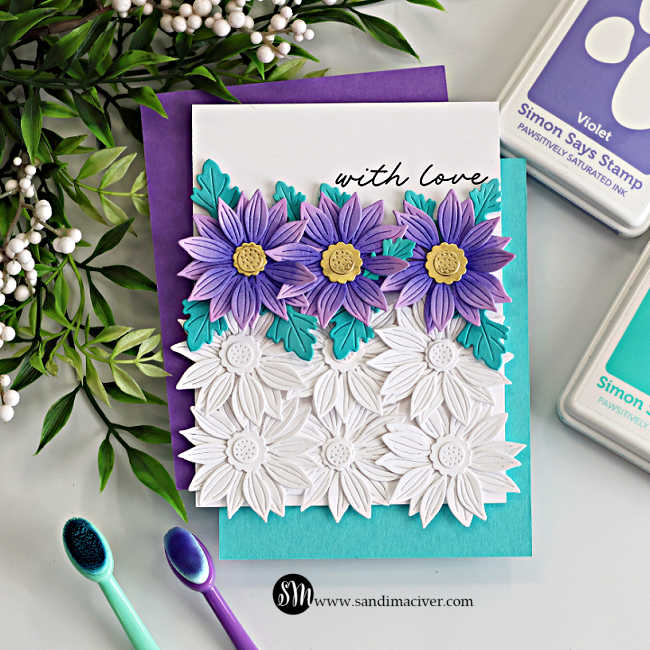
For the second card, I die cut six additional layered flowers in white and arranged them across the bottom third of the card. I was inspired by a wedding dress I saw a while back with this beautiful, dimensional detail, so this became my take on a soft, elegant wedding card.
Keep reading–I’ll walk you through both designs step-by-step below.
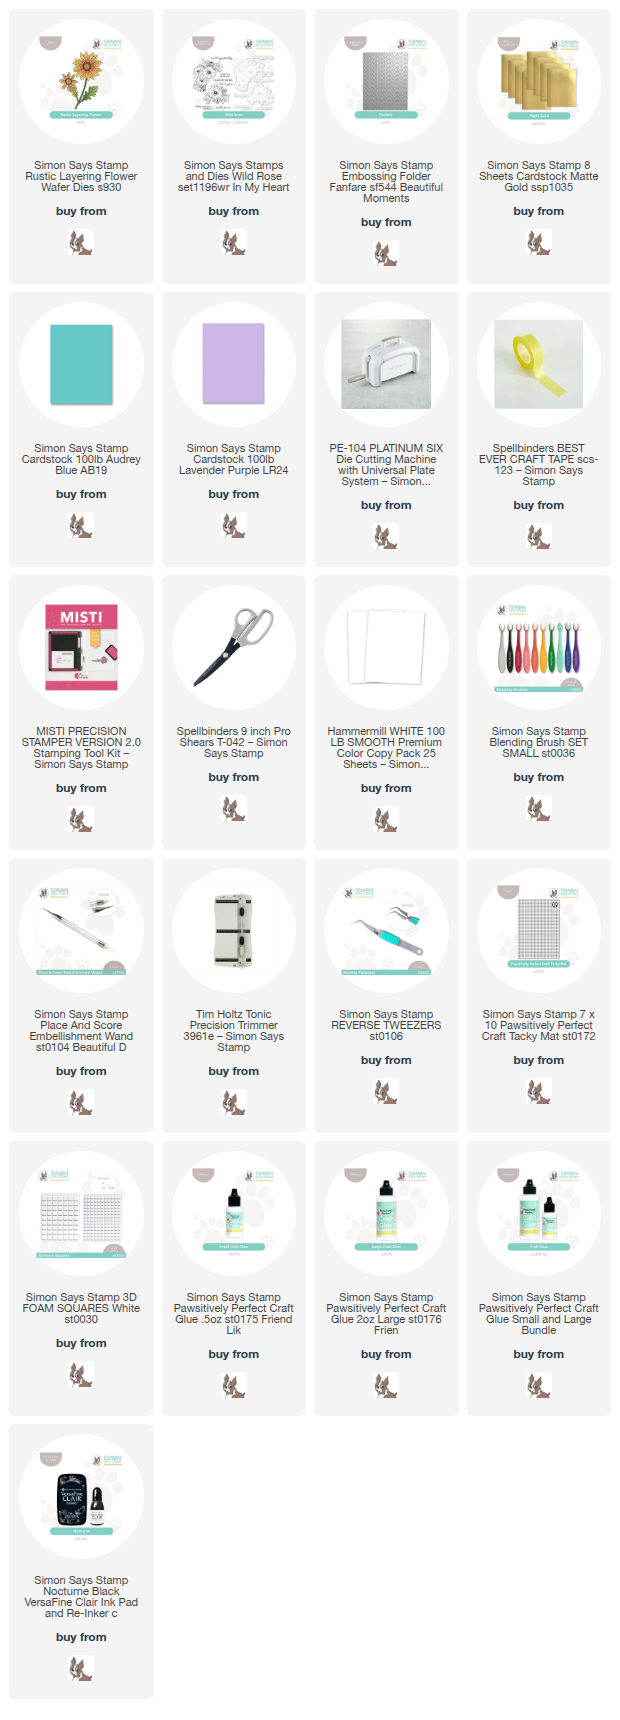
Products used to create today’s Cards:
- Simon Says Stamp Rustic Layering Flower Die
- Simon Says Stamp Wild Rose stamp set
- Simon Says Stamp Fanfare Embossing Folder
How to Create the Embrace the White Space #2 Embossed Card.
Create the Card Base:
Trim a white cardstock panel to 3-1/2″ high and 4-1/4″ wide. Emboss it with the Fanfare Embossing Folder then adhere it to a white, top-folding A2-sized card base.
Die Cut and Ink Blend the Florals:
Die cut the flowers and leaves from Audrey Blue and Lavender cardstock and cut the flower centers from gold cardstock. Add depth and dimension by ink blending the pieces with violet and surf ink.
Stamp the Sentiment:
Place the card into your Misti and dry fit the flowers across the panel to determine placement. Once you’re happy with the layout, stamp the sentiment from the Wild Rose Stamp and Die Set.
Assemble the Card:
Use foam squares to attach the flowers across the middle third of the card, then tuck and adhere the leaves in behind to complete the arrangement.
How to Create the Embrace the White Space #2 -Die Cut Tone-On-Tone:
Create the Card Base:
Trim a panel of white cardstock to 4-1/4″ x 5-1/2″ and adhere it to a white, top-folding A2-sized card base.
PRO-TIP: With the weight of all the die cuts, this extra layer helps keep your card sturdy and prevents it from bowing.
Die Cut and Ink Blend the Florals:
Repeat the above steps for the colored flowers and leaves. The die cut six additional sets of flowers from white cardstock for the tone-on-tone background.
Stamp the Sentiment:
Place the card into your Misti and dry fit the flowers across the panel to determine placement. Once you’re happy with the layout, stamp the sentiment from the Wild Rose Stamp and Die Set.
Assemble the Card:
Start at the bottom of the card and add the two layers of the white flowers, slightly overlapping them to create a full textured base. Next, add the purple flowers across the top and tuck in the leaves, adhering them in place to complete the design.


Never Miss a Cardmaking Tutorial
Subscribe to my blog and get the latest cardmaking ideas, tutorials, and inspiration delivered straight to your inbox — plus access to exclusive content and updates you won’t want to miss!

Visit my YouTube channel for 270+ cardmaking tutorials, techniques, and creative ideas to inspire your next project
Cardmaking Supplies Used:
Here are the supplies I used to create today’s embrace white space card.
Many of the links below are compensated affiliate links. This means if you click through and make a purchase, I may receive a small commission at no additional cost to you.
These commissions help support my website and allow me to continue sharing cardmaking tutorials, videos, and inspiration. I truly appreciate your support.
All products were personally purchased unless otherwise noted. Simon Says Stamp In My Heart products were provided by the company for design purposes.
You can find my full affiliate disclosure on my disclosure page.
Click the icons below each product to shop my favorite stores.
Let’s Connect & Get Inspired
Follow along for more cardmaking ideas, techniques, and tutorials:
- Follow me on Instagram
- Join 38,800+ creatives on Pinterest
- Subscribe to my YouTube Channel
- Follow me on Facebook
- Join my Cardmaking Obsession Facebook Group
FREE Cardmaking Tutorials Library
Looking for more inspiration? Explore my FREE PDF GALLERY with 359+ cardmaking tutorials — packed with ideas, techniques, and step-by-step projects to spark your creativity.

Don’t Miss This Week’s Deals
Lot’s of great paper crafting sales and new releases happening now — check them out here!

Shop My Favorite Craft Brands
Browse my Go to Brands and supplies using my affiliate links.
Just beautiful Sandi! Love those flowers, perfect colors and layering! 🙂
thank you Amy
I love them both! They each have some whte space!
thank you Sharon, yes they do, lots of it, haha
Well Sandi I just loved this blog post.
While I pop over here for most of your post I’m terrible at leaving a comment.
I just want to thank you for all the hard work here. Gorgeous photos and so much information.
Crafty hugs
aw, thank you Lisa, I appreciate you taking the time to leave such a kind comment
Both are beautiful but I especially love the card that is partially embossed. Love the pop of color against the white. Thanks for the terrific inspiration!
thank you Carmen, so glad you enjoyed them
Beautiful cards Sandi, I love all the white elements!
thank you Lisa