
Hey cardmaking friends! Today I’m sharing my MemoryDex Challenge #17 – Under the Water project. I’ve been working on these on my Sundays (my day off from design team work), and I’m just having so much fun with them. They’re the perfect bite-sized little piece of art that you can complete in a day – although I have to admit, this one may hold the record for the biggest mess ever while making such a tiny card…..haha
You can get all the details about the AALL & CREATE MemoryDex Challenge HERE:
Card-making product affiliate links are used throughout this post at no additional cost to you. Your support enables me to continue providing you with content, and I genuinely appreciate your support!

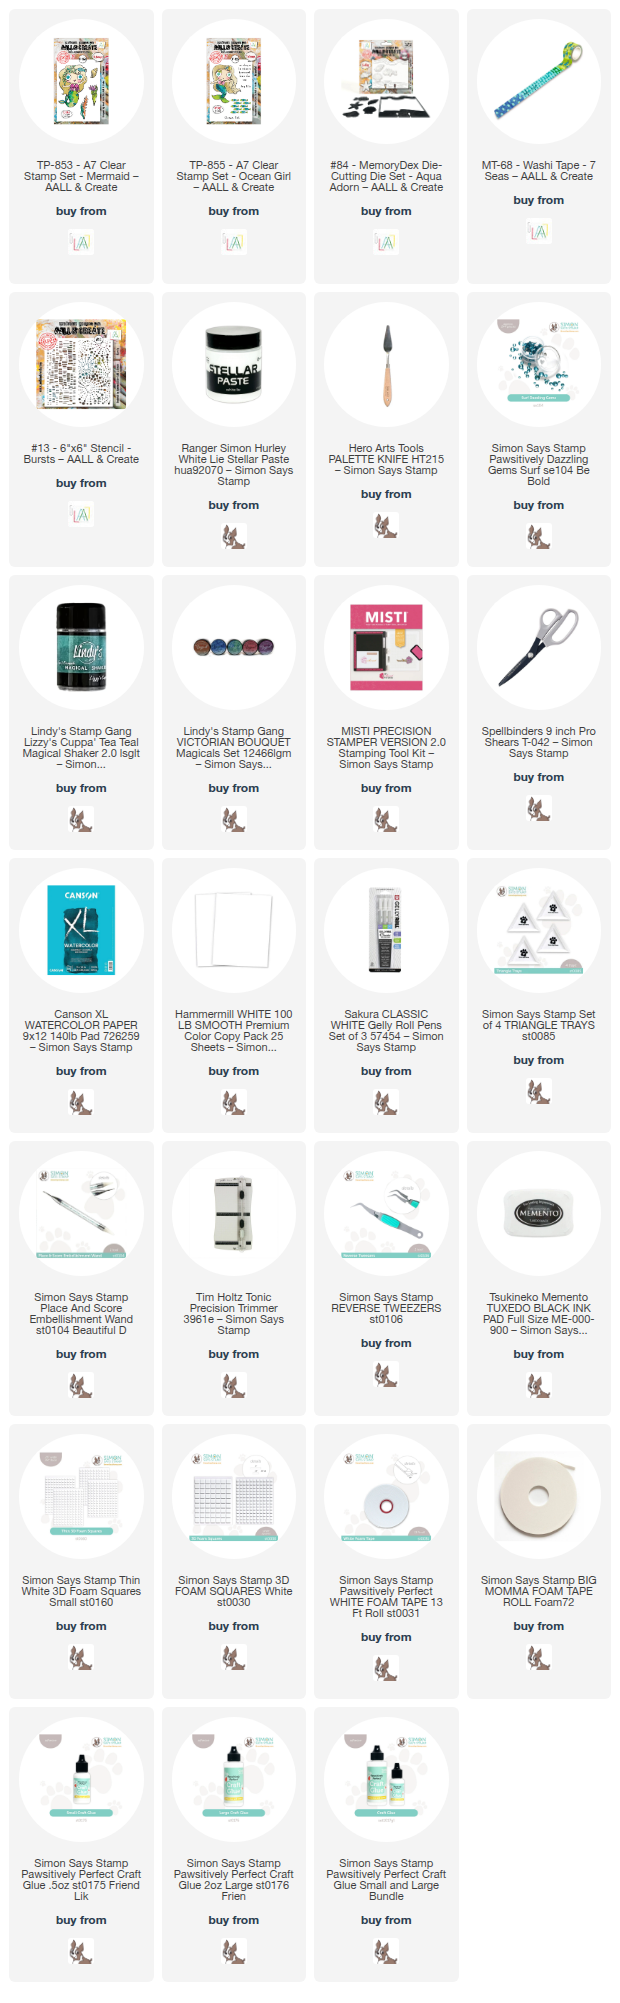
Products used for the MemoryDex Challenge #17 Under the Water Card:
- D1-84 Aqua Adorn MemoryDex Die
TP-853 Mermaid
TP-855 Ocean Girl - Stencil #13 – Bursts
- Washi Tape #68
- White Embossing Paste and Gems

How to create the MemoryDex Challenge #17 Under the Water Card:
Creating the base
Start by die cutting the Aqua Adorn D1-84 Die from watercolor paper. Place the panel on a protected work surface and spritz it generously with water. Sprinkle on Lindy’s Magicals in Lizzy’s Cuppa Tea Teal and Lucky Shamrock Green, then spritz again to activate the pigments. Tilt the paper to help the colors flow and blend until the entire surface is covered.
Once dry, splatter the panel with white and blue paint for added texture. Next use the #13 Bursts Stencil and White Embossing Paste to add random bubble details across the background. Allow the paste to dry completely.
Add a strip of the #68 Washi Tape across the bottom edge and trim out the tabs. Finally, die cut the same shape from black cardstock and adhere it to the back for a clean, finished look. I’m also signing and dating these so in the future I can look back on when I made them.
Create the Art Pieces
Using a Misti, stamp the images in Memento Black Ink onto Hammermill cardstock. Color the images with Copic markers, then fussy cut them out. Use a black marker to darken all the cut edges for a polished finish.
Color with Copic Markers and then fussy cut out. Use a black marker to cover all the cut edges.

Attach the mermaid with foam squares to add dimension, then adhere the remaining elements using foam tape as well. To finish the card, add a trail of bubbles using blue gems.

Visit my Card Making PDF Gallery for 350+ more card ideas.

Card Making Supplies used for the AALL & CREATE MemoryDex Challenge #17 Under the Water:
Here are the products I used today. Compensated affiliate links used were available at no cost to you.
Clicking on a thumbnail link and shopping provides me with a small commission (at no additional cost to you), which supports my website and allows me to continue bringing you new projects and videos. I appreciate your support. Affiliate and product disclosures are found on my disclosure page. All products were personally purchased. I only use and recommend products I love. Click on the icons below each product picture to visit my favorite stores.


-
-
- Follow me on INSTAGRAM
- Join 38,800+ following me on PINTEREST
- Subscribe to my YOUTUBE Channel
- Follow me on FACEBOOK
- JOIN my STAMP OBSESSION Facebook Group
- Check out my FREE PDF Gallery for over 350+ Card Making Tutorials
- How to make a SLIMLINE CARD – Info PAGE
- Do you like to stitch on cards? Then join our NEW FACEBOOK GROUP
-

– LOTS of great Paper Crafting Sales and New Releases going on this week – Check them out here
 Shop my Favorite Brands with my affiliate links
so lovely! the little trail of fish behind is so fun. the whole thing is a little work of art!
aw, thank you. THese are my Sunday/Fun Day cards, and I love creating them
WOW! This one really pops! Love the scene and all the colours!
And the mermaid is just adorable!
thank you Sharon, it was a fun one to create, seeing as I’m a pisces LOL
Such a fun scene! AWESOME
thank you Natasha