
Hi, card-making friends. A lot is going on today. I have a new card-making video—More 3D Embossing Folder Techniques—and you will LOVE this one—it’s so fast, easy, and artsy. Also, it’s Day 2 of the You Are My Favorite Simon Says Stamp Release Blog Hop, and there are prizes, too.
Affiliate links are used throughout this post at no additional cost to you. This allows me to keep bringing you content. I appreciate your support.

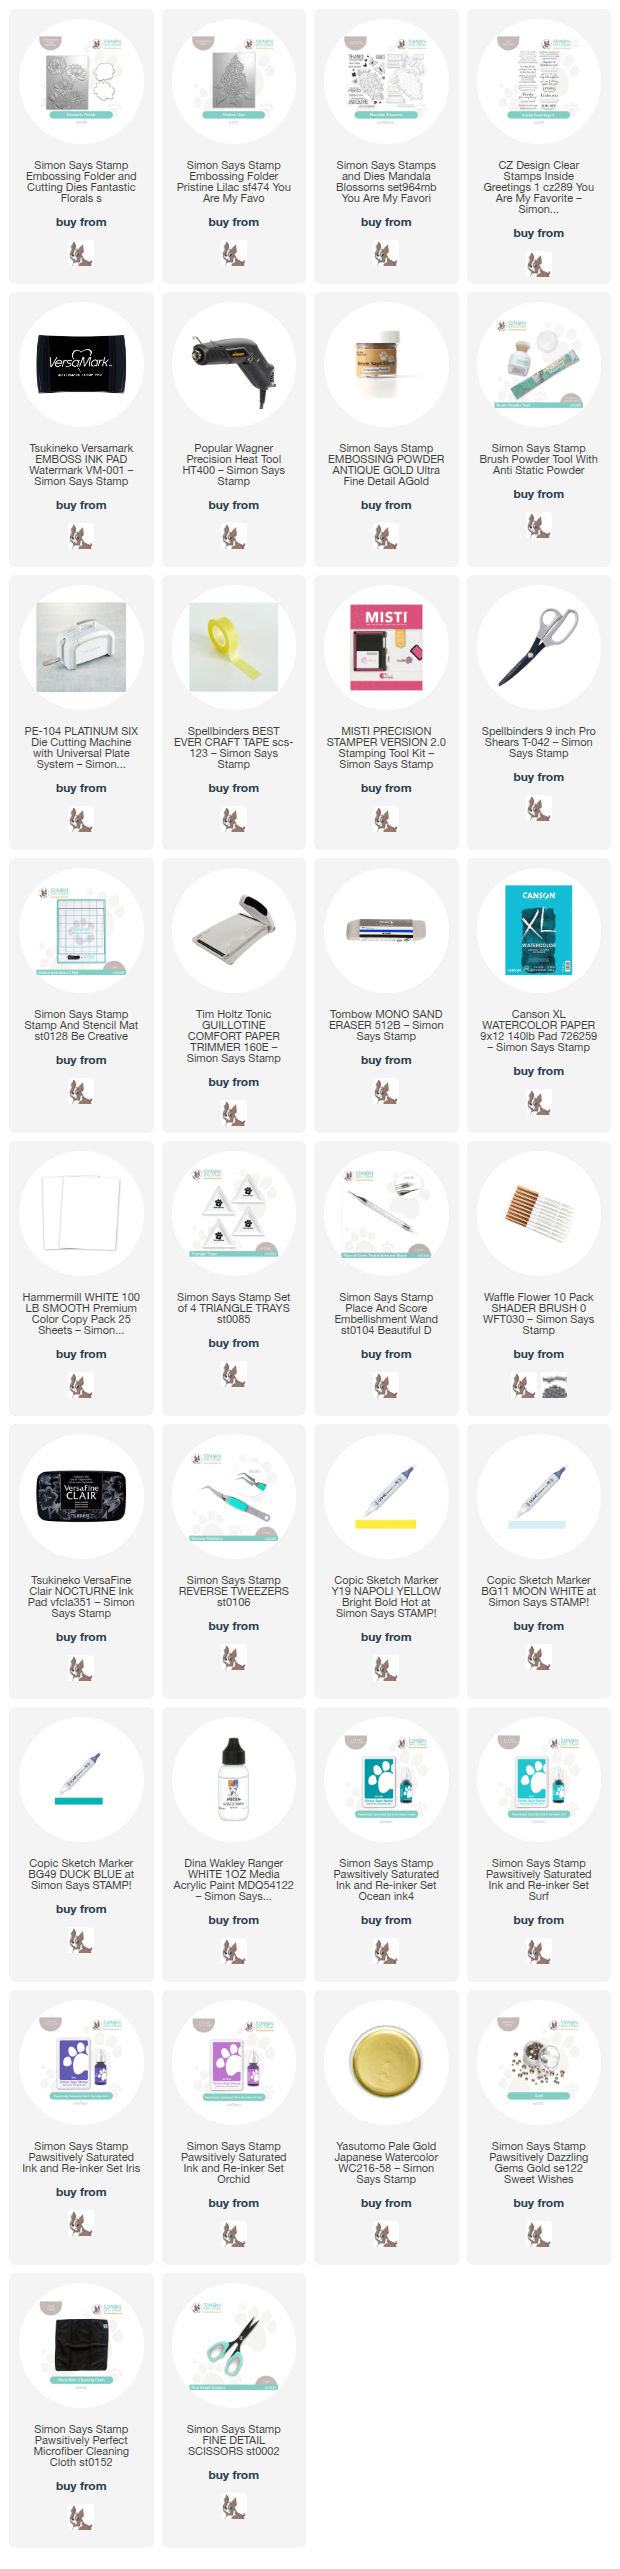
Products Used:
- Pristine Lilac 3D embossing folder
- Fantastic Florals embossing Folder
- Simon Says Stamp Pawsitively Saturated Ink Pads: Surf, Ocean, Orchid, and Iris
- Copic Markers: BG11, BG49, Y19
- Inside Greetings #1 Stamp Set
- Mandala Blossoms Stamp and Die Set

More 3D Embossing Folder Techniques – Pristine Lilac
I won’t go into great detail as there is a video, but here are the basic steps.
Cut watercolor paper 4-1/4″ x 5-1/2″ or 4″ x 5-1/4″ if you want the white border.
Spritz both sides with water before placing inside the embossing folder and running it through the die-cut machine.

Then, use a heat tool to dry it thoroughly.
Pro-TIP: By wetting both sides of the paper, you allow the paper to stretch more without tearing, achieving maximum depth in the embossing.

Adding the ink to the images.
Using small round blending brushes and ink pads, add color to the flowers and leaves on the DEBOSSED (indented) side of the image. Color the stems and stamens with the Copic markers.
Next, spritz with water. As the ink is water-based, it will run and blend a little, creating a watercolor-like effect.
Then, use a heat tool to dry both sides of the art piece again.

Finally, lay the art piece flat on a scrap of paper, and run the background ink pad down the piece three times to cover the background. This will also add highlights and dimension to the embossed image.
Once the ink is dry again, place it inside a splat box and splatter it with white and gold ink before attaching it to a white card base.
Use the Mandala Blossoms stamp and die set to gold emboss sentiments onto scraps of black cardstock and attach with foam squares.
Embellish with Gold Pawsitively Dazzling Gems around the sentiment.
Here is today’s card-making Video: MORE 3D Embossing Folder Techniques. Don’t forget to subscribe to my YouTube Channel so you can be notified the next time I upload a video.
And now it’s time to hop. Next on the list is Alberto Gava. If you get lost along the way, here is the entire blog hop list.
HOP ORDER:
Simon Says Stamp Blog
Nina-Marie Trapani
Suzy Plantamura
Laura Bassen
Cathy Zielske
Nichol Spohr
Amy Rysavy
Debby Hughes
Heather Ruwe
Bibi Cameron
Sandi MacIver – you are here
Alberto Gava
Caryn Davies
Kath Stewart
Revati Panickar
Carol Hintermeier

Card Making Supplies used for the Simon Says Stamp More 3D Embossing Folder Techniques cards:
Here are the products I used today. Compensated affiliate links used were available at no cost to you.
Clicking on a thumbnail link and shopping provides me with a small commission (at no additional cost to you), which supports my website and allows me to continue bringing you new projects and videos. Thank you for your support. Affiliate and product disclosures are found on my disclosure page. All products were personally purchased except for Simon Says Stamp You are My Favorite products which were provided/sponsored by the company. As always, I was not paid to do this post. I only use and recommend products I love. Click on the icons below each product picture to go to my favorite stores.


-
-
- Follow me on INSTAGRAM
- Join 38,000+ following me on PINTEREST
- Subscribe to my YOUTUBE Channel
- Follow me on FACEBOOK
- Amazon Store
- Follow my SOURDOUGH BREAD JOURNEY – over on my The Sour Strawberry BLOG
- JOIN my STAMP OBSESSION Facebook Group
- Check out my FREE PDF Gallery for over 350+ Card Making Tutorials
- How to make a SLIMLINE CARD – Info PAGE
- Do you like to stitch on cards? Then join our NEW FACEBOOK GROUP
-

– LOTS of great Paper Crafting Sales and New Releases going on this week – Check them out here
 Shop my Favorite Brands with my affiliate links
If you do place an order using my affiliate links (and thank you if you do) – please email me with the $$ amount before tax and shipping, and which company it was placed through, along with your mailing address and I’ll send you a hand made card as my thank you. [email protected]
I ask for that specific information because the system that tracks the sales only gives us a dollar amount and company name; we do not know who made the sale.
Your flower cards are spectacular! I love the effect. They are just magical…
Beautiful cards. Love the colour combo.
Absolutely gorgeous, Sandi! TFS
Beautiful cards using this technique! Love them.
beautiful cards! Great job!
Amazing set of cards! So bold and colorful.
I love your color choice
amazing set of cards Sandi, fantastic techniques and beautiful colours!
Sandi, these cards are AMAZING!! The colors you chose are PERFECT!!
Thank you sharing your talent with the rest of us!!
Beautiful cards and colors 😍
Love the color variations. Beautiful cards.