
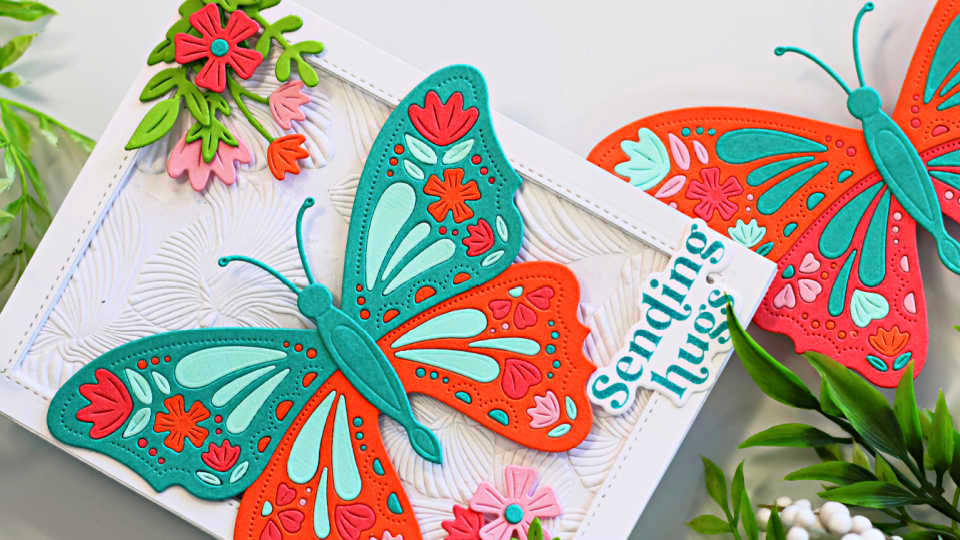
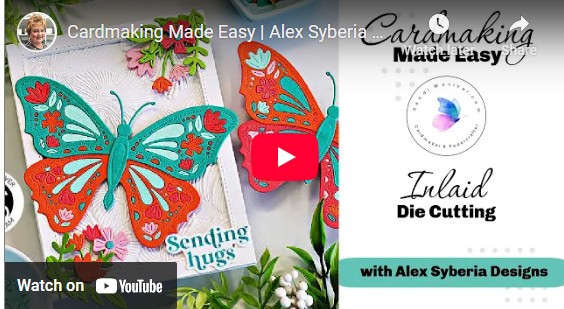
Hi friends! I’m so excited to hop along with the Alex Syberia Design Team today and celebrate their gorgeous new release. For my project, I used the stunning new butterfly die set to make this vibrant Alex Syberia Designs Butterfly Bliss Inlaid Die Cut Card—perfect for showcasing die-cutting and inlay techniques. In today’s video tutorial, I walk you through each step so you can create your own inlaid butterfly card with the Butterfly Bliss collection. I hope you’ll give it a try and craft along with me!
You can view the entire new release here:
Alex Syberia Designs – USA SHOP
Alex Syberia Designs – UK SHOP
Giveaway info:
Alex Syberia Designs is giving away a $15 (or £15) gift card to four lucky winners.
Open internationally. All 4 winners will be drawn from the entrants that have played along with this Blog hop by midnight BST July 10th, 2025. Winners will be announced on the Alex Syberia Designs blog ‘Giveaway Winners’ page on July 11th, 2025.
Card-making product affiliate links are used throughout this post at no additional cost to you. Your support enables me to continue providing you with content, and I genuinely appreciate your support!
Products Used in Today’s Alex Syberia Designs Butterfly Bliss Inlaid Die Cut Card
- Butterfly Bliss Die Set
- Alex Syberia Designs Essential Sentiments
- Abstract Floral Background Plate
- Stitched Rectangle Wafer Dies
How to create the Alex Syberia Designs Butterfly Bliss Inlaid Die Cut Card:
To create this vibrant die-cut butterfly card:
To start, choose five coordinating colors of cardstock. I used Bazzill cardstock in Crepe (#300145), Pizzazz (#372592), Coral Sunset (#372620), Turquoise Mist (#301089), and Ocean Oasis (#300706).
Next, die cut the top butterfly wings five times from each color. Sort the small pieces by color in a watercolor tray or dish.
Then, repeat the same die cutting for the lower wings.
Next, add Scotch tape to the back of the main butterfly panel to secure the inlaid pieces.
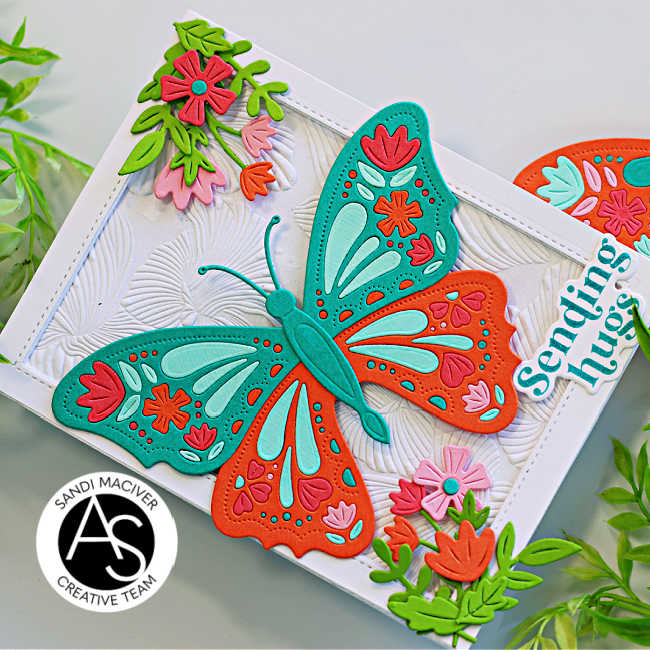
Then, use a wax-tipped embellishment wand to inlay each colorful piece into the wings one by one.
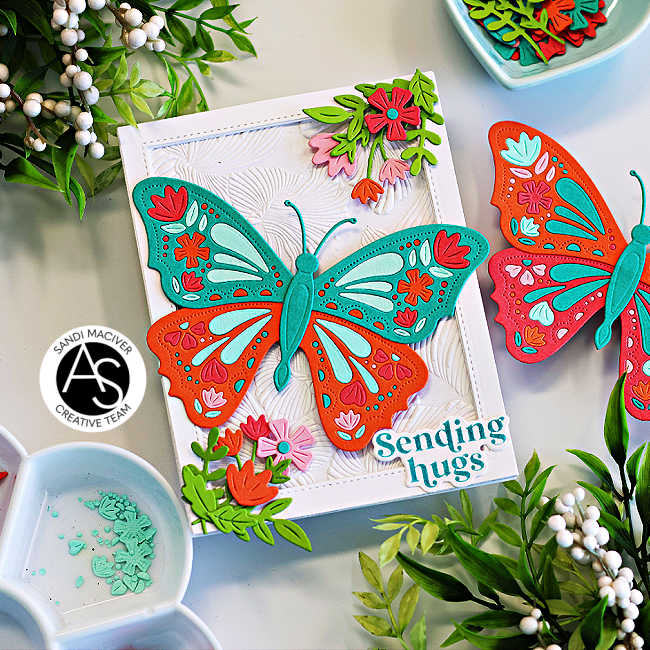
Finally, finish by die cutting the butterfly body and gluing all the pieces together to complete your beautiful butterfly.
Adding the Sentiment:
Start by inking the new Essential Sentiments BetterPress Plates with Malachite (turquoise) ink and press them to create crisp, detailed sentiments.
Next, die cut the sentiments using the coordinating dies.
Pro Tip: I like to press and die cut all the sentiments at once—this way I have extras for future projects or a quick swap without extra cleanup!
Then, emboss the 4.25″ x 5.5″ card front using the Abstract Floral Background plate and embossing mat to add texture, then attach the embossed panel to the card base.
Next, die cut three frames with the Stitched Rectangle Wafer Dies, stack them, and adhere with white glue to build a dimensional frame on the card front.
Finally, finish by adding the butterfly, floral die cuts, and sentiment with foam squares for a beautifully layered look.
Here is today’s Alex Syberia Designs Butterfly Bliss Inlaid Die Cut Card Video:
Now it’s time to hop and check out what the rest of the design team has to share with you. Next on the hop is Sylvie and if you get lost along the way, here is the entire list.

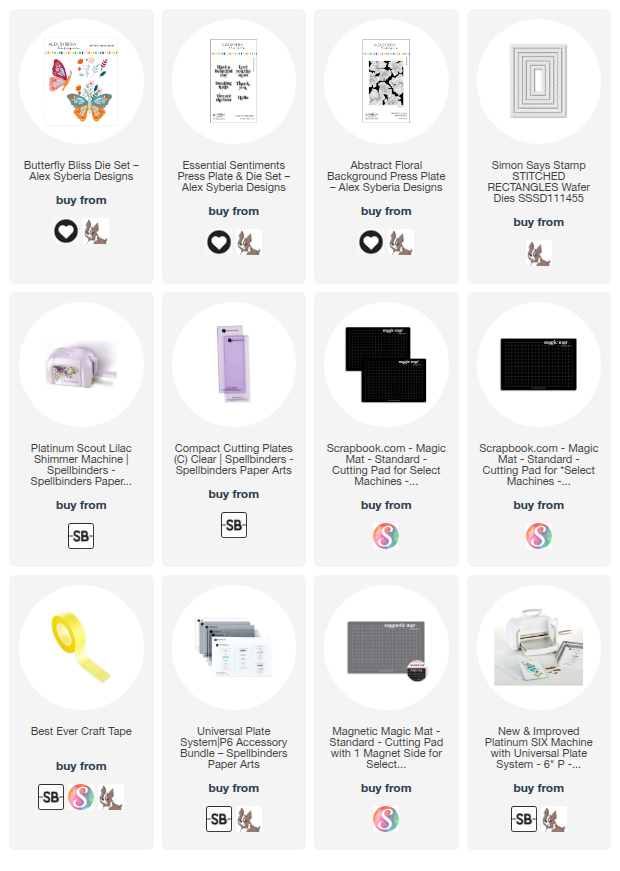
Card Making Supplies used for the Alex Syberia Designs Butterfly Bliss Inlaid Die Cut Card:
Here are the products I used today. Compensated affiliate links used were available at no cost to you.
Clicking on a thumbnail link and shopping provides me with a small commission (at no additional cost to you), which supports my website and allows me to continue bringing you new projects and videos. I appreciate your support. Affiliate and product disclosures are found on my disclosure page. All products were personally purchased except for Alex Syberia Designs July Release plates and dies, which were provided/sponsored by the company. I only use and recommend products I love. Click on the icons below each product picture to visit my favorite stores.


-
-
- Follow me on INSTAGRAM
- Join 38,000+ following me on PINTEREST
- Subscribe to my YOUTUBE Channel
- Follow me on FACEBOOK
- Amazon Store
- Follow my SOURDOUGH BREAD JOURNEY – over on my The Sour Strawberry BLOG
- JOIN my STAMP OBSESSION Facebook Group
- Check out my FREE PDF Gallery for over 350+ Card Making Tutorials
- How to make a SLIMLINE CARD – Info PAGE
- Do you like to stitch on cards? Then join our NEW FACEBOOK GROUP
-

– LOTS of great Paper Crafting Sales and New Releases going on this week – Check them out here
 Shop my Favorite Brands with my affiliate links
Your colors are so different and cool! I am going to try some new combos like these. Nice job.
Your colors look so cool. I love the combo, and all of the cut out details.
thank you Sharon
This butterfly is amazing! I LOVE the colors!
thank you Meghan
So pretty and vibrant! Thank you for the tip with the scotch tape:)
thank you Rebecca, yes, it makes it super easy to inlay the pieces
Gorgeous card! Very unique and pretty color scheme.
thank you Sarah
Gorgeous colors and textures! Love this beautiful butterfly and the flowers!
Thank you Denise, it was really fun to make
So beautiful, Sandi 💜
thanks so much Marisela
Wow! Your card is absolutely gorgeous! I love the colors and texture!
This card and color scheme is WOW!
Oh my goodness, those butterflies are stunning Sandi! Love the colors and those little flowers ad the perfect accent! 🙂
thanks so much Amy
Beautiful and so full of detail!
Thank you Sharon, yes, it took a minute to inlay all those little dots, haha
those colors create a lovely unique punch – I like.
gorgeous colours, beautiful layout. stunning details. bravo!
Wow, this is such a rad idea for a card! you could use this all year round!
thank you Lizzy, I’m so glad you like it, and yes, it’s timeless for sure