
Hey card-making friends, welcome back! I’m thrilled to share this project featuring the Simon Says Stamp ILYSM Card and even more excited to join the team for Day 2 of the Happy Camper Release Blog Hop. There’s loads of inspiration waiting for you—plus a FREE GIFT with purchase!
You can view the entire Happy Camper Release HERE.
Today’s design showcases five brand-new products from the release: ILYSM Stamp Set, ILYSM Sentiment Die Blossom Bursts, 3D Embossing Folder, Beautiful Branches Die Set, and the Fun Birdie Die Set
Be sure to visit the Simon Says Stamp Blog Gallery for even more creative ideas using this fabulous release.
🎁 Giveaway Alert! The amazing team at Simon Says Stamp is giving away a $25 coupon at every stop on the hop! Just leave a comment to enter. Winners will be announced on the Simon Says Stamp Blog on Wednesday, August 6th, and can email SSS to claim their prize.
Let’s jump in—I’ll walk you through how I created this quick and easy handmade card!
BTW – ILYSM = I LOVE YOU SO MUCH
Products Used for today’s Simon Says Stamp ILYSM Card:
- ILYSM Stamp Set
- ILYSM Sentiment Die
- Blossom Burst 3D Embossing Folder
- Beautiful Branches Die Set
- Fun Birdie Die Set

How to create the Simon Says Stamp ILYSM Card:
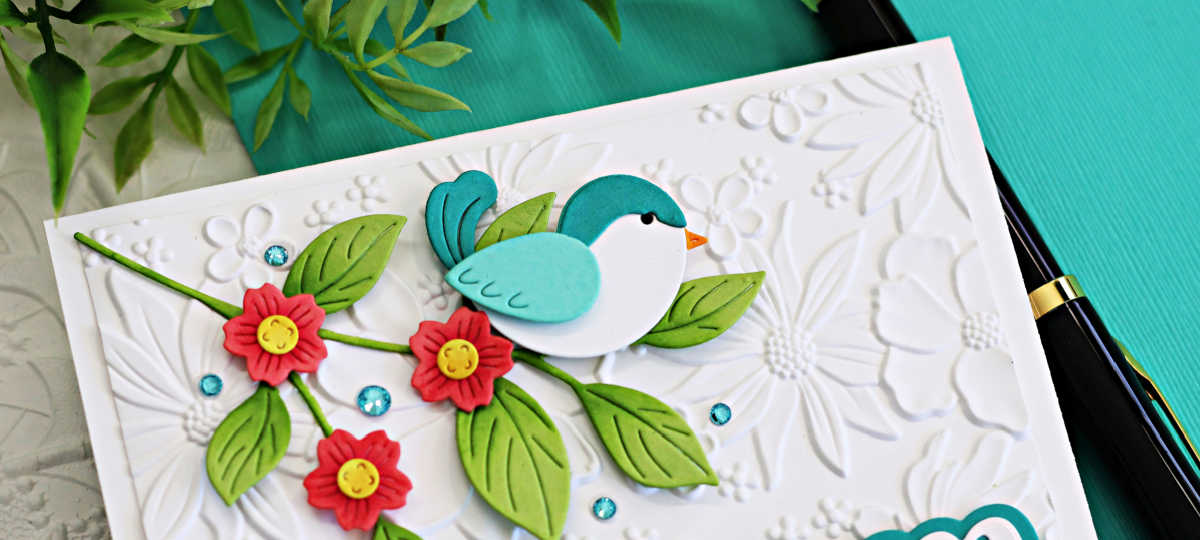
Start with a 4″ x 5-1/4″ piece of white cardstock and emboss it using the Blossom Bursts 3D Embossing Folder. Attach the panel to a top-folding A2-sized card base (5-1/2″ x 8-1/2″, scored and folded at 4-1/4″).
Next, die-cut the Fun Birdie and assemble the pieces using liquid craft glue.
Then, use the Beautiful Branches Die Set to cut your foliage and florals. Cut the leaves from Green Apple cardstock and add shading with Pearfection Ink. Cut the flowers from a medium pink cardstock, with Watermelon Ink blended over the centers for dimension. Cut the flower centers from white cardstock and ink blend with Sunbeam and Honey Ink for a warm, sunny finish.

Adding the Sentiment:
Start by die-cutting the large sentiment from white cardstock, and cut the shadow layer from Audrey Blue cardstock and glue them together.
Next, using the ILYSM stamp set, white heat emboss the smaller sentiment onto a scrap of the same Audrey Blue cardstock. Trim it down and adhere both sentiments to the bottom right corner of the card front using foam squares for added dimension.
Then, attach the leaf stem and flowers with foam squares, followed by the assembled bird.
Finally, embellish the design with Surf Pawsitively Dazzling Gems for a touch of sparkle.
Now it’s time to hop along to the next blog: Tina Smith. If you get lost along the way, I have added the entire list below for you:
HOP ORDER:
Simon Says Stamp Blog
Nina-Marie Trapani
Suzy Plantamura
Cathy Zielske
Laura Bassen
Debby Hughes
Lisa Addesa
Emily Midgett
Heather Ruwe
Sandi MacIver – you are here
Tina Smith
Hanh Nguyen
Barb Engler
Anna-Karin Evaldsson
Karin Åkesdotter
Rosemary Dennis
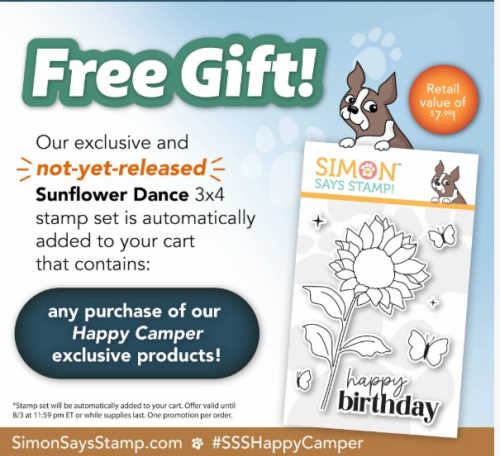
Receive a FREE Sunflower Dance Stamp Set with any Happy Camper Purchase

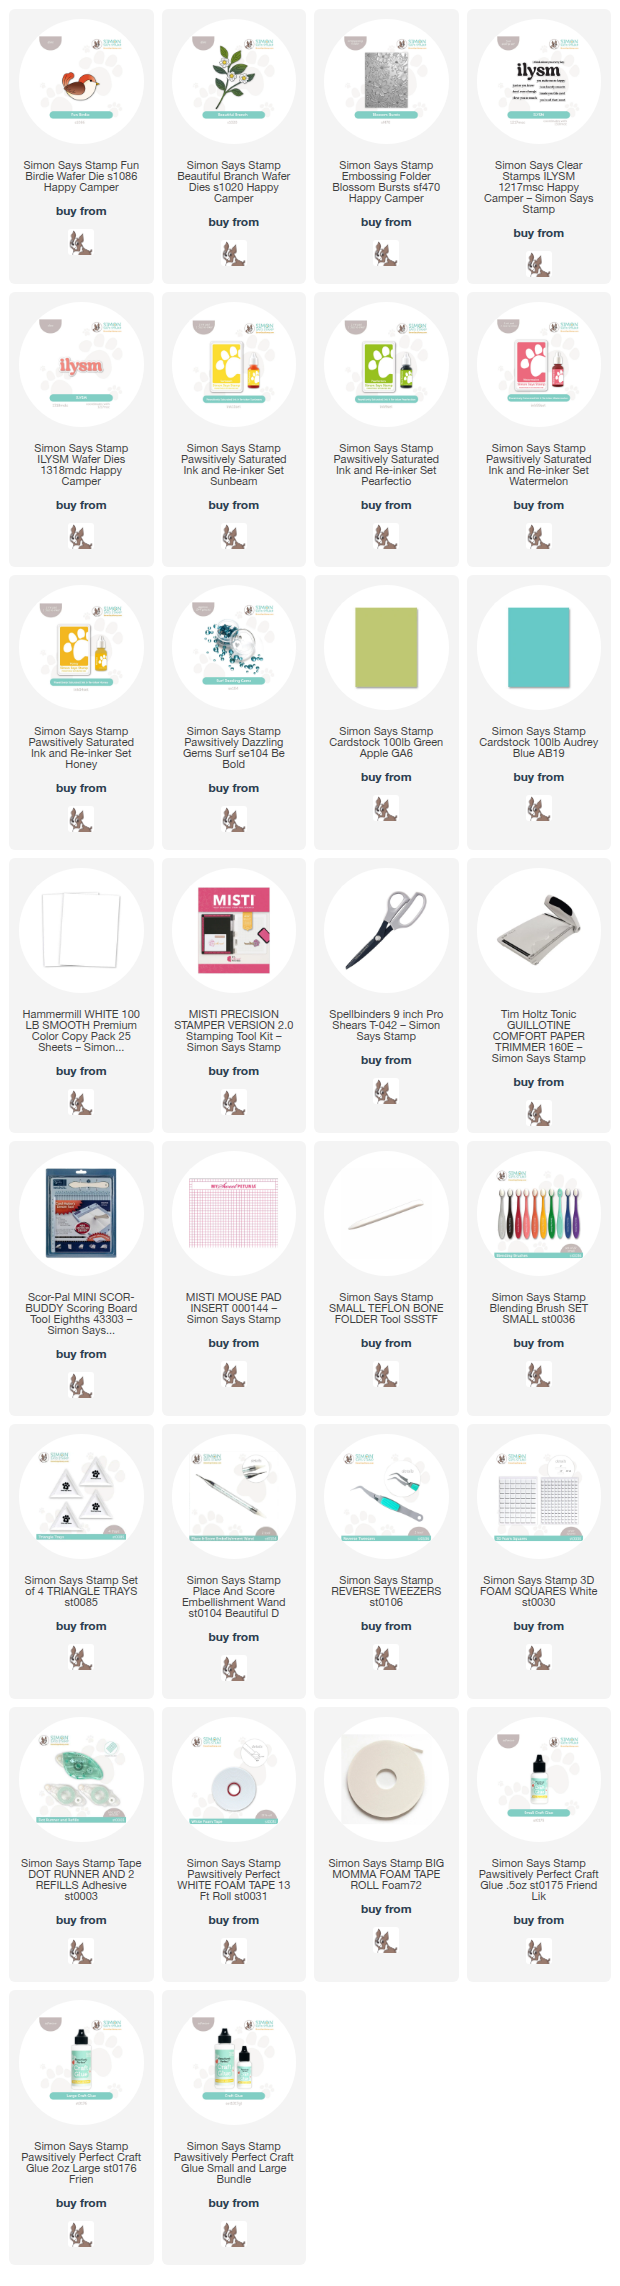
Card Making Supplies used for the Simon Says Stamp ILYSM card:
Here are the products I used today. Compensated affiliate links used were available at no cost to you.
Clicking on a thumbnail link and shopping provides me with a small commission (at no additional cost to you), which supports my website and allows me to continue bringing you new projects and videos. I appreciate your support. Affiliate and product disclosures are found on my disclosure page. All products were personally purchased except for Simon Says Stamp Happy Camper Release Products, which were provided/sponsored by the company. I only use and recommend products I love. Click on the icons below each product picture to visit my favorite stores.


-
-
- Follow me on INSTAGRAM
- Join 38,000+ following me on PINTEREST
- Subscribe to my YOUTUBE Channel
- Follow me on FACEBOOK
- Amazon Store
- Follow my SOURDOUGH BREAD JOURNEY – over on my The Sour Strawberry BLOG
- JOIN my STAMP OBSESSION Facebook Group
- Check out my FREE PDF Gallery for over 350+ Card Making Tutorials
- How to make a SLIMLINE CARD – Info PAGE
- Do you like to stitch on cards? Then join our NEW FACEBOOK GROUP
-

– LOTS of great Paper Crafting Sales and New Releases going on this week – Check them out here
 Shop my Favorite Brands with my affiliate links
What a beautiful card, Sandi!
This is so beautiful!!! I love that darling little bird!
Oh, I love that bird die-cut so much! The 3D dry emboss background is so pretty!
Oh Sandi! This card really got me! I love the simplicity of it. The stark white background really lets the little bird and the pretty colors shine!
This card is so stunning I can’t stand it!!! Thank you so much for sharing!!
The Fun Birdie die really is fun. Very nice colors you chose too.
Your color choices for this card are really beautiful! Love the design with the embossed background! Gorgeous.
Love the embossing folder and the litte bird!!
Gorgeous card, I love the embossed background and birdy.
What a beautiful card! I love the embossed background and the blue and green shades you selected for the card. TFS 🙂
Very pretty! I like the bird against your background and the sentiment. Wonderful!
That’s a great card. Clean and simple but not simplistic. Fabulous!
I adore your use of a white embossing base fo rhe colorful words and cute little bird. Everything feels fresh about this card.
Gorgeous card with the embossed background and colors used for the card.
I love THIS so much! those birds have my heart! fabulous Sandi
Beautiful! I love the contrast of the sharp white with the pop of colors.
Is there anything more darling than that Fun Birdie die? Love your card!
Beautiful card–that bird is so pretty–love the colors!