
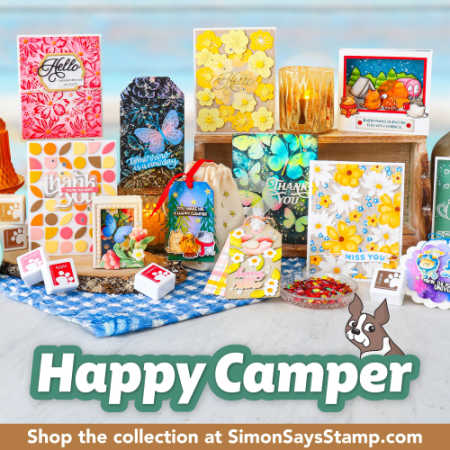
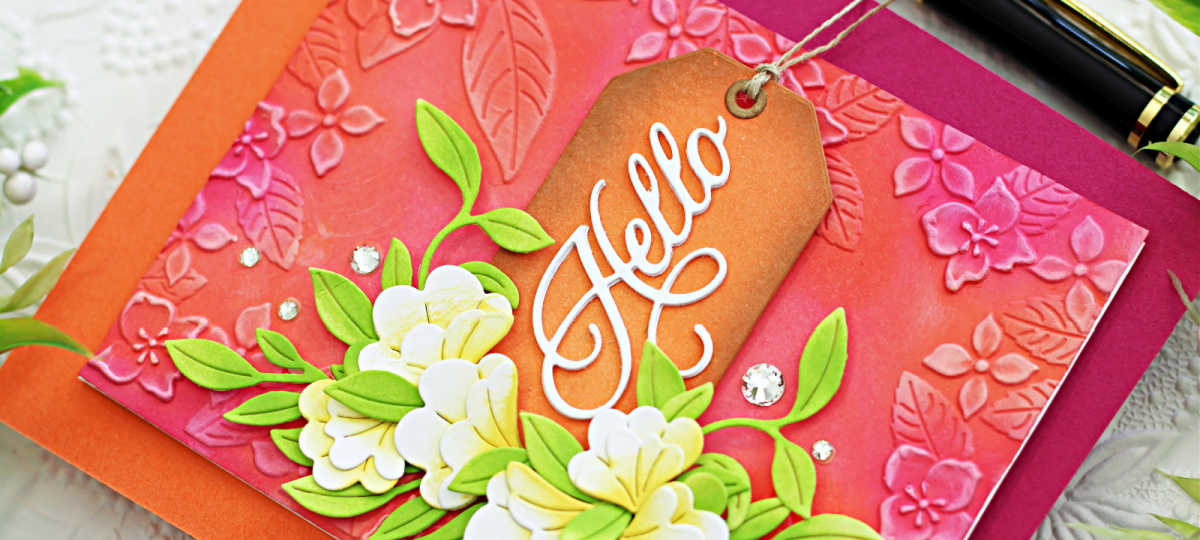
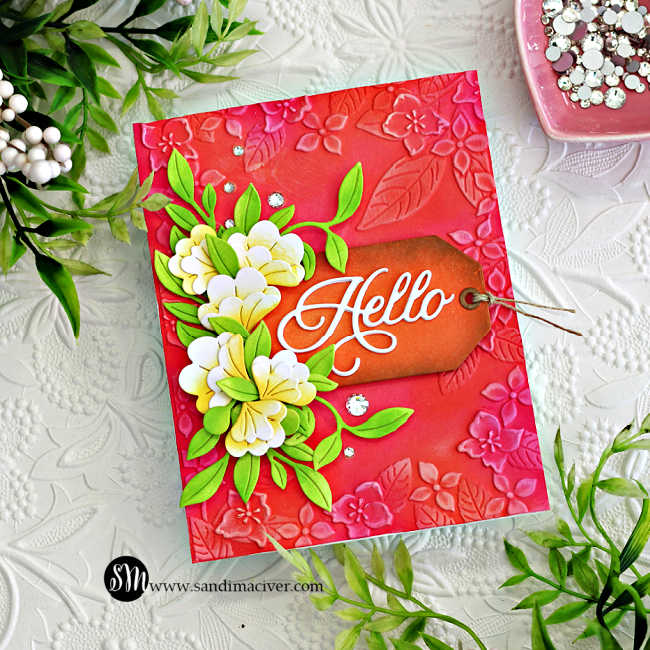
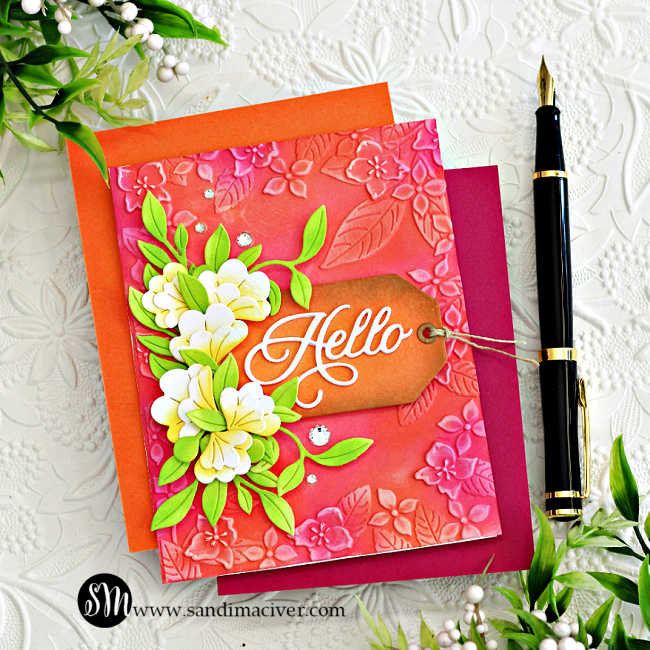
Hey cardmaking friends! I’m thrilled to share this Simon Says Stamp Fantasy Bouquet Card with you today, created with goodies from the brand-new Happy Camper Release—available tonight at Simon Says Stamp!
This vibrant and cheerful card features four exciting new products. Below, I’ll walk you through how I used each one to bring this design to life.
The Happy Camper Release is bursting with creative inspiration—perfect for both cardmakers and scrapbookers. If you love memory keeping, be sure to check out the Big Bus and Hotdog dies—so fun for documenting summer camping adventures!
You can explore the entire new release [HERE].
Card-making product affiliate links are used throughout this post at no additional cost to you. Your support enables me to continue providing you with content, and I genuinely appreciate your support!
Products for the Simon Says Stamp Fantasy Bouquet Card:
The Fantasy Bouquet Dies for the layered floral arrangement
The Fun Floral Frame Embossing Folder for the textured card front
The Nested Tags Dies for the soft ink-blended tag
And the Nuvelli Script Hello Die for that gorgeous, swoopy sentiment—I’m absolutely smitten with this font!
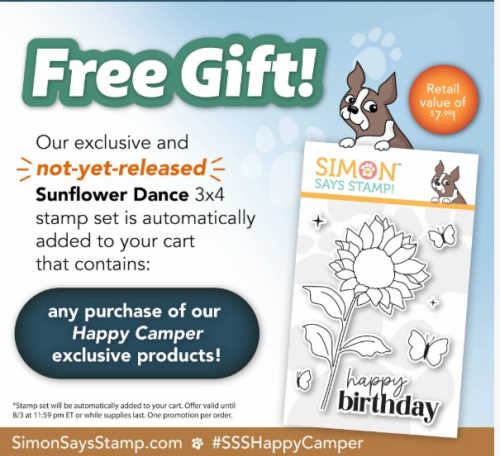
Free gift with your purchase of any Happy Camper exclusive products.
the Sunflower Dance Stamp Set will automatically be added to your cart

How to create the Simon Says Stamp Fantasy Bouquet Card.
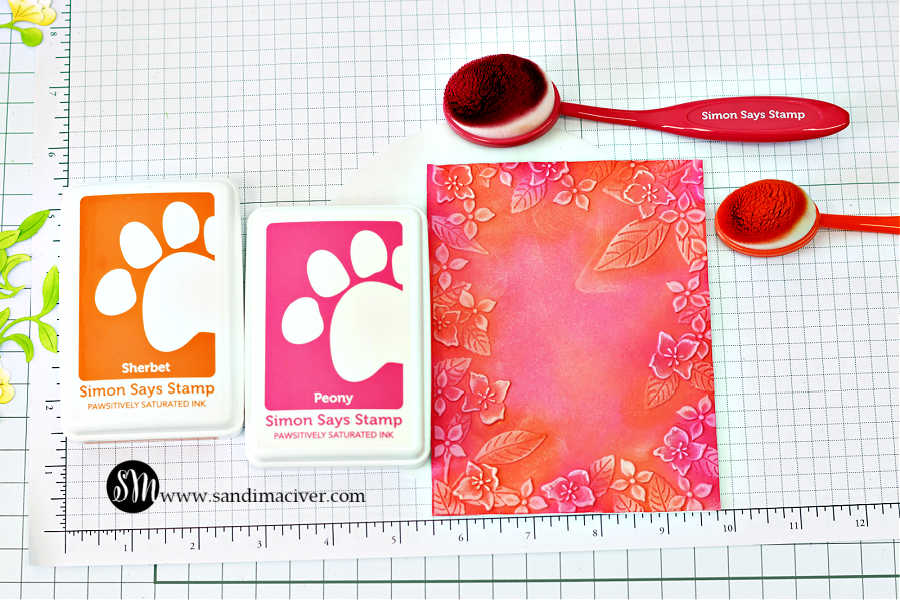
Start with a piece of white Hammermill cardstock 4-1/4″ x 5-1/2″. Ink blend with Peony and Grapefruit Ink from Simon Says Stamp.
PRO TIP: Don’t stress about perfectly smooth blending—subtle variation adds depth and interest.
Place the panel in the Fun Floral Frame Embossing Folder and run it through your die-cutting machine. Lightly blend more pink and orange ink over the raised areas to enhance the texture. Once the ink is dry, gently swipe a white pigment ink pad around the edges to catch the high points and highlight the embossed design.
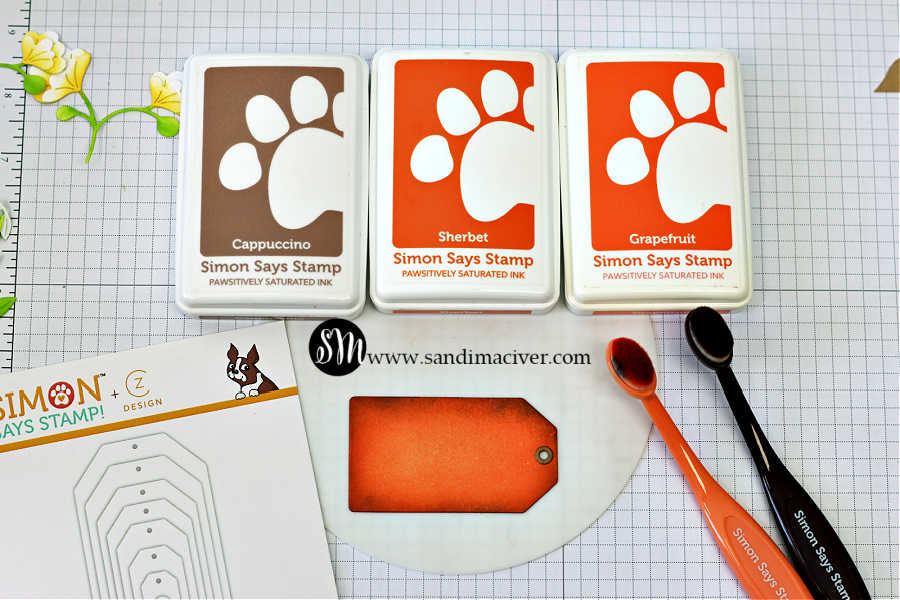
How to create the Tag:
Die cut a tag from white cardstock using the third smallest die from the new Nested Tags Die Set. Cut the hole reinforcer from kraft cardstock.
Next, ink blend the tag with Sherbet and Grapefruit ink, then add Cappuccino ink around the edges for a soft, vintage look. Adhere the kraft reinforcer in place, and thread a piece of jute twine through the hole.
Attach the finished tag to the center of the card front using foam squares to add dimension.
To finish, die cut the Nuvelli Script Hello sentiment three times, stack and glue the layers together for dimension, and adhere it to the tag.
Embellishing the Simon Says Stamp Fantasy Bouquet Card:
Start by die cutting the Fantasy Bouquet dies three times from white cardstock.
Next, use Zest ink to blend color onto portions of the flowers, and Pearfection ink for the stems and leaves.
Then, layer the flower pieces for dimension. Trim the stems and adhere the blooms to the left side of the tag using foam squares. Arrange and attach the remaining leaves around the flowers to complete your Fantasy Bouquet.
Finally, embellish with five Clear Pawsitively Dazzling Gems for a touch of sparkle.
Visit my Card Making PDF Gallery for 350+ more card ideas.

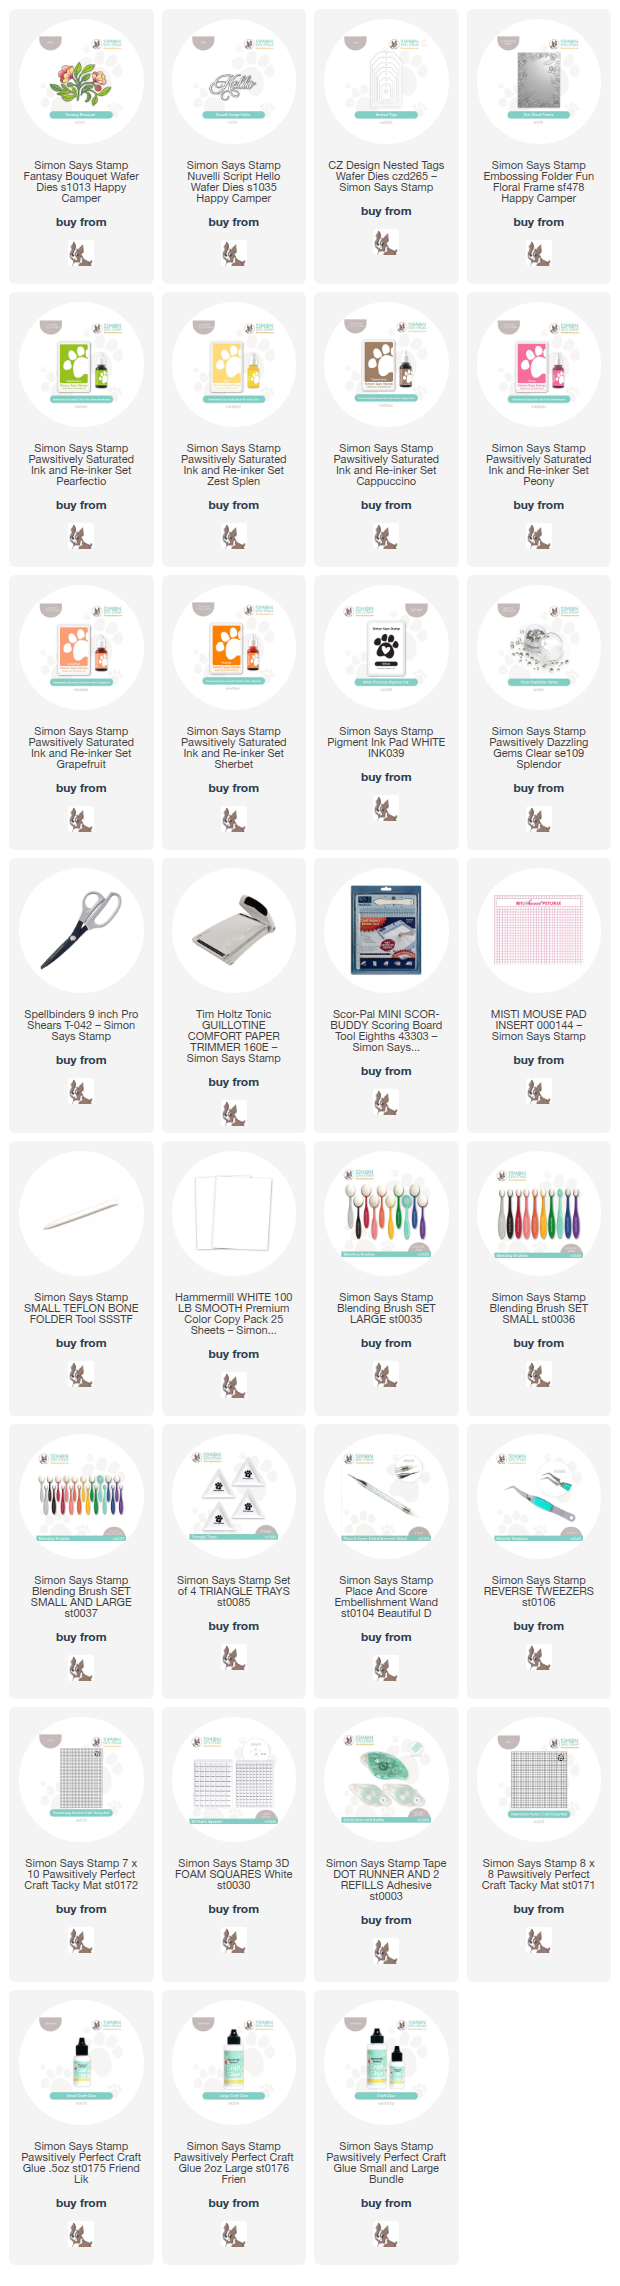
Card Making Supplies used for the Simon Says Stamp Fantasy Bouquet card:
Here are the products I used today. Compensated affiliate links used were available at no cost to you.
Clicking on a thumbnail link and shopping provides me with a small commission (at no additional cost to you), which supports my website and allows me to continue bringing you new projects and videos. I appreciate your support. Affiliate and product disclosures are found on my disclosure page. All products were personally purchased except for the Simon Says Stamp Happy Camper Release products, which were provided/sponsored by the company. I only use and recommend products I love. Click on the icons below each product picture to visit my favorite stores.


-
-
- Follow me on INSTAGRAM
- Join 38,000+ following me on PINTEREST
- Subscribe to my YOUTUBE Channel
- Follow me on FACEBOOK
- Amazon Store
- Follow my SOURDOUGH BREAD JOURNEY – over on my The Sour Strawberry BLOG
- JOIN my STAMP OBSESSION Facebook Group
- Check out my FREE PDF Gallery for over 350+ Card Making Tutorials
- How to make a SLIMLINE CARD – Info PAGE
- Do you like to stitch on cards? Then join our NEW FACEBOOK GROUP
-

– LOTS of great Paper Crafting Sales and New Releases going on this week – Check them out here
 Shop my Favorite Brands with my affiliate links
Just beautiful Sandi! Love the delicate floral die cuts and the embossed background is perfect! 🙂
thank you Amy
Beautiful and bright, Sandi!
Thanks so much Sharon, it was super fun to make
Oh Sandi!!!! This is Gorgeous!!!!
thank you Maureen
ABSOLUTELY gorgeous
thank you friend
so gorgeous! love all those bright colours and the textured background Sandi.
haha, you know me well, all my favorite colors