
Happy Weekend! – I’m sliding in this morning with a sweet Simon Says Stamp Retro Daisies Bunny Card. I’m using more goodies from the New Beautiful Moments release and I’m truly having a blast creating with them. Spring is my favorite season, and Easter is especially dear to my heart – so this entire release just makes me giddy.
Today’s card is another quick and easy design that really lets the products do all the work. A little stenciling for contrast, some embossing for added texture and interest, and a charming die-cut bunny nestled in a garden of flowers – simple, sweet, and full of Spring.
Card-making product affiliate links are used throughout this post at no additional cost to you. Your support enables me to continue providing you with content, and I genuinely appreciate your support!

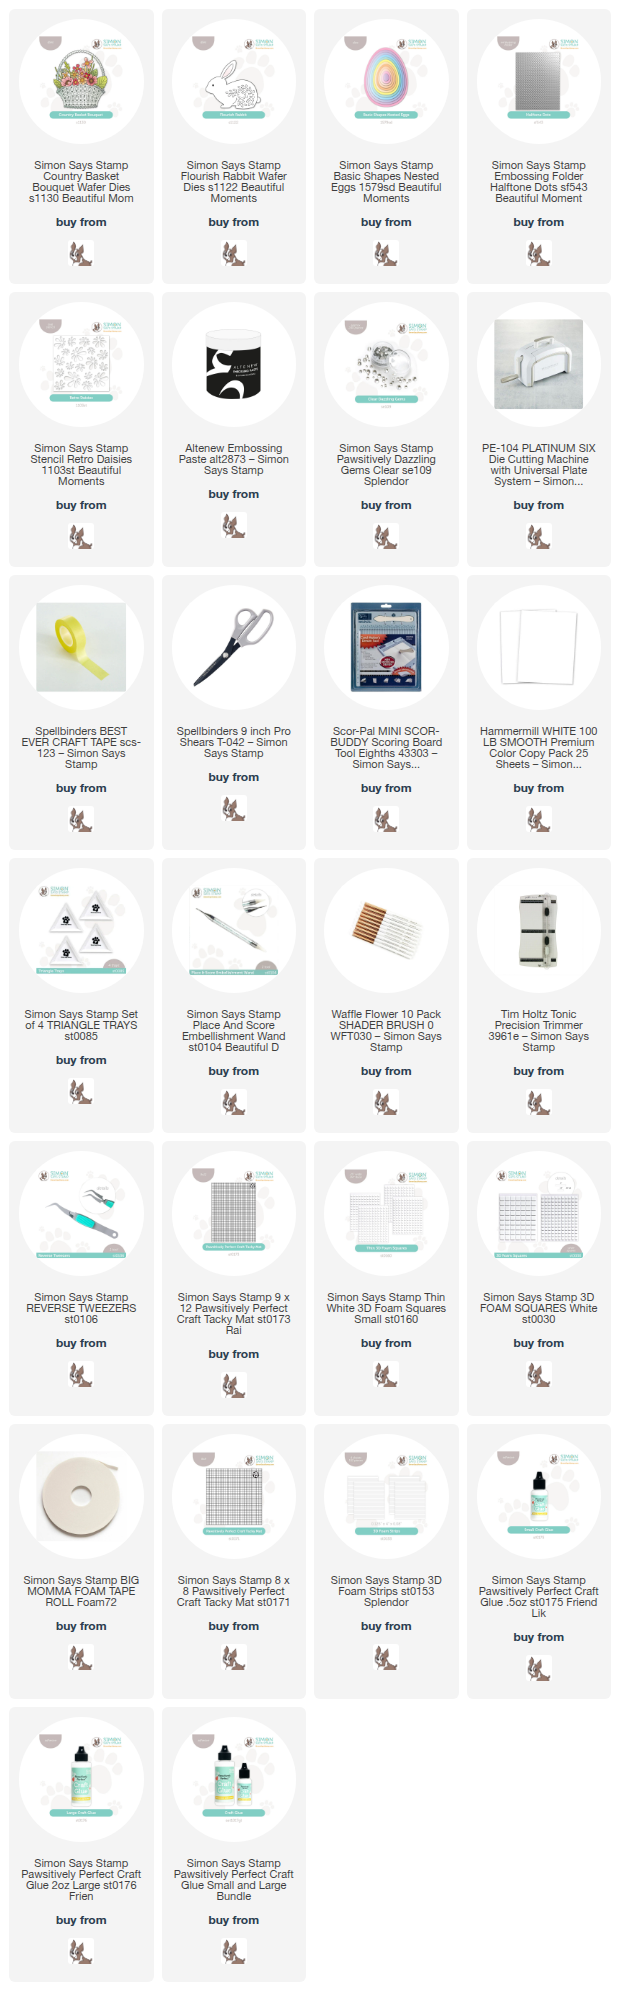
Products used for the Simon Says Stamp Retro Daisies Bunny Card:
- Flourish Rabbit Die
- Country Basket Bouquet Die Set
- Basic Shapes – Nested Eggs Dies
- Halftone Dots Embossing Folder
- Clear Dazzling Gems
- Retro Daisies Stencil

How to create the Simon Says Stamp Retro Daisies Bunny Card
Start with a top-folding white A2-sized card base.
Next, trim a panel of Cotton Candy cardstock 4-1/4″ x 5-1/2″. Emboss it with the Halftone Dots Embossing Folder, then attach it to the card front.
Cut a second panel of Cotton Candy cardstock to 4-1/4″ x 5-1/2″, secure it to a protected work surface. Place the Retro Daisies Stencil over the panel and use a palette knife to spread white embossing paste through the stencil. Be sure to wash the knife and stencil immediately Set the panel aside to dry completely.
While the panel is drying, die cut the Flourish Rabbit along with the flower and leaves from the Country Basket Bouquet Die Set. Use small blending brushes to softly add color to the flowers and leaves before assembling them.
Once the stenciled panel is dry, die cut an egg shape from it and attach it to the center of the card using foam squares.
Finish by adhering the bunny and floral arrangement with additional foam squares for dimension. Add a light sprinkle of Clear Dazzling Gems for just a touch of sparkle.
Inks used: Honey, Watermelon, Perfection, and Cheeky.

 Never Miss a Post – Subscribe to my blog posts.
Visit my Card Making PDF Gallery for 350+ more card ideas.

Card Making Supplies used for the Simon Says Stamp Retro Daisies Bunny Card:
Here are the products I used today. Compensated affiliate links used were available at no cost to you.
Clicking on a thumbnail link and shopping provides me with a small commission (at no additional cost to you), which supports my website and allows me to continue bringing you new projects and videos. I appreciate your support. Affiliate and product disclosures are found on my disclosure page. All products were personally purchased except for the Simon Says Stamp Beautiful Moments Products, which were provided/sponsored by the company. Click on the icons below each product picture to visit my favorite stores.


-
-
- Follow me on INSTAGRAM
- Join 38,800+ following me on PINTEREST
- Subscribe to my YOUTUBE Channel
- Follow me on FACEBOOK
- JOIN my STAMP OBSESSION Facebook Group
- Check out my FREE PDF Gallery for over 350+ Card Making Tutorials
- How to make a SLIMLINE CARD – Info PAGE
- Do you like to stitch on cards? Then join our NEW FACEBOOK GROUP
-

– LOTS of great Paper Crafting Sales and New Releases going on this week – Check them out here
 Shop my Favorite Brands with my affiliate links
Splendid! It’s really so pretty!
thank you Sharon
That’s so pretty Sandi! Love the little bunny die cut with the greenery details. Great design! 🙂
thank you Amy
Love your card Sandi! Beautiful colors, & the sweet bunny is so cute nestled in the flowers!
thank you Donna
Love that sweet bunny nestled amongst the flowers. Lovely Easter card Sandi!
thank you Lisa