
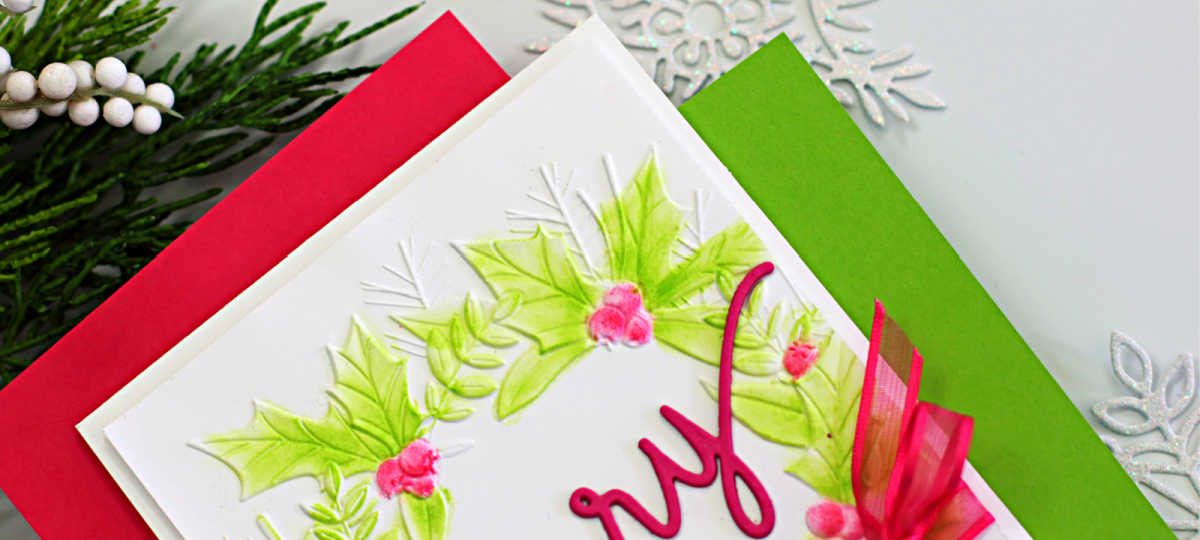
Hi cardmaking friends! I’m back with another Simply Elegant Festive Wreath Christmas Card. This one is super simple and easy to make using the beautiful Festive Wreath 3D embossing folder from Simon Says Stamp. I added a bright pink ribbon bow, but it looks fabulous without it, or you could use a die-cut bow.
Card-making product affiliate links are used throughout this post at no additional cost to you. Your support enables me to continue providing you with content, and I genuinely appreciate your support!
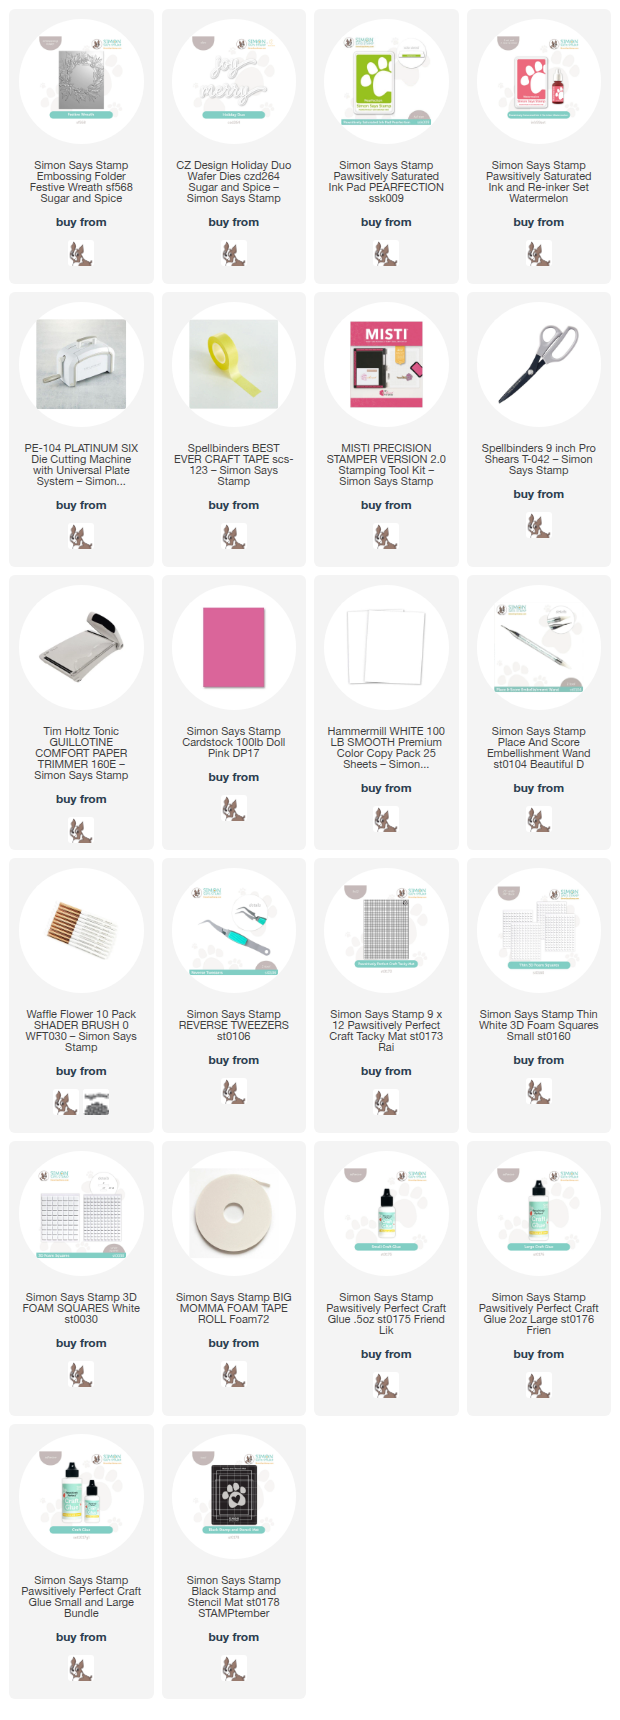
Products Used to Create the Simply Elegant Festive Wreath Christmas Card:
- Simon Says Stamp 3D Festive Wreath
- Simon Says Stamp Holiday Duo sentiment dies czd264
- Pawsitively Saturated Ink in Watermelon and Pearfection
- 00 Waffle Flower Blending Brushes

How to create the Simply Elegant Festive Wreath Christmas Card:
1 – Emboss the Background
Cut a piece of white cardstock to 4″ x 5-1/4″. Place it inside the Festive Wreath Embossing Folder and run it through your die-cutting machine to deeply emboss the beautiful wreath design.
2 – Add Soft Ink Blending
Next, use the 00 blending brushes from Waffle flower to gently apply ink to the embossed leaves and berries to bring the wreath to life with soft natural color.
3 – Create the Sentiment
Die-cut the word “merry” three times using the Simon Says Stamp Holiday Duo Die Set. Stack and glue the layers together for dimension, then adhere the sentiment at a slight angle across the center of the wreath.
4 – Assemble the Card
Add foam tape to the back of the embossed panel and remove the protective liner. Wrap a length of sheer pink ribbon around the panel so it adheres to the foam, then attach the panel to a top-folding a2-sized white card base (4-1/4″ x 11″ score and fold at 5-1/2).
5 – Finish with a Bow
Tie the ribbon into a neat bow and secure it to the lower right corner of the card with small glue dots.
A simple yet elegant design that combines rich texture, delicate color, and classic holiday charm!


Card Making Supplies used for the Simon Says Stamp Simply Elegant Festive wreath Christmas Card:
Here are the products I used today. Compensated affiliate links used were available at no cost to you.
Clicking on a thumbnail link and shopping provides me with a small commission (at no additional cost to you), which supports my website and allows me to continue bringing you new projects and videos. I appreciate your support. Affiliate and product disclosures are found on my disclosure page. All products were personally purchased except for Simon Says Stamp Sugar and Spice products, which were provided/sponsored by the company. I only use and recommend products I love. Click on the icons below each product picture to visit my favorite stores.


-
-
- Follow me on INSTAGRAM
- Join 38,800+ following me on PINTEREST
- Subscribe to my YOUTUBE Channel
- Follow me on FACEBOOK
- JOIN my STAMP OBSESSION Facebook Group
- Check out my FREE PDF Gallery for over 350+ Card Making Tutorials
- How to make a SLIMLINE CARD – Info PAGE
- Do you like to stitch on cards? Then join our NEW FACEBOOK GROUP
-

– LOTS of great Paper Crafting Sales and New Releases going on this week – Check them out here
 Shop my Favorite Brands with my affiliate links
Just beautiful Sandi! Love the white on white background, perfect for that stunning wreath image!
thanks so much Amy
Love it. Good to see a ribbon!!!
I know, it’s been a while since I used ribbon, and I have a ton of it, haha
Absolutely gorgeous Sandi! So elegant
thank you friend
you can’t beat a wreath! and traditional Christmas colours are always beautiful.
Thank you Lisa, I’m a big fan of pink and green for christmas