
I’m back, with more Spellbinders Layered Wildflowers to share with you. Lisa Horton designed this release from Spellbinders, and I love the details she has placed into the die-cuts to add such great depth and detail without additional work. They are truly amazing. I created the first card with the Gladiolus, which you can see here. Today I’m playing with the Bachelor’s Buttons. This particular flower brings back good childhood memories for me. My mom had a HUGE perennial garden, and she would let the bachelor’s Buttons seed each fall, so they came up everywhere in the spring. They were nice and tall, and their big shot of purple contrasted with the other light colors of the spring flowers she loved so much.
Affiliate links are used throughout this post at no additional cost to you. This allows me to keep bringing you content. I appreciate your support.

Products Used:
- Layered Wildflowers
- Very Best Wishes Sentiments
- Scallop & Stitched Edge Ovals
- Script Text – BetterPress Plate

How to create the Spellbinders Layered Wildflowers Bachelor’s Buttons Card:
Start with a 4-1/4″ x 11″ piece of white cardstock—score at 5-1/2″ to create the card base.
Next, cut a piece of Lavender cardstock 4-1/4″ x 5-1/2″. Place the Script Text into the BetterPress and ink it with VersaFine Clair Fantasia ink (purple), then run it through the machine. Use the largest of the stitched oval dies and cut an oval in the center before attaching it to the white card base.
TIP – You could also cut the oval and lay it over the card front if you don’t want to cut the oval out of it.

Adding the art pieces:
Start by die-cutting the Bachelor’s Button flowers three times in Lavender, Rainforest, and Lilac card stock. The base of the flower has a black overlay, and I did one of the flowers in the opposite color just for some contrast.
Next, die-cut the two layers of sentiments and the word “warm” from the Very Best Wishes Sentiment die set.
Then, glue the flowers together and attach them to the left side of the card with foam squares to pop them up for added dimension.
Add the sentiments across the bottom, and embellish with some purple gems.
 View my first card from this release here.
Visit my Card Making PDF Gallery for 350+ more card ideas.

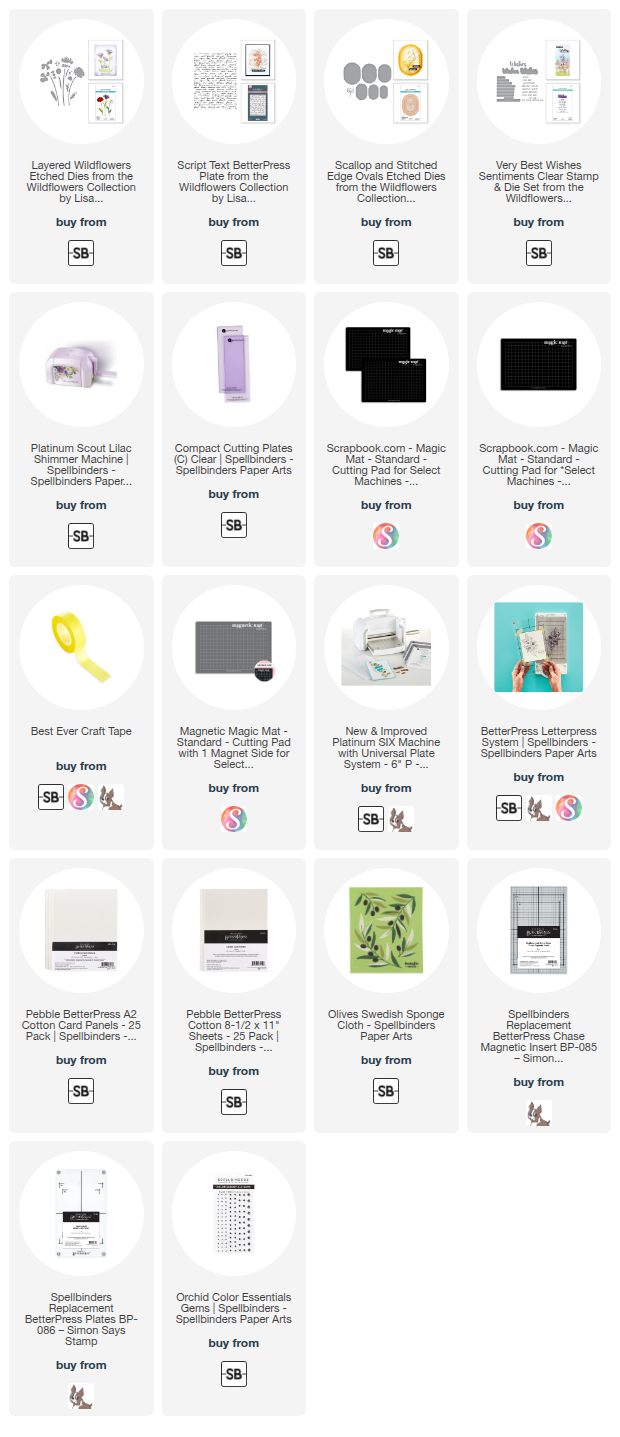
Card Card-making supplies used for the Spellbinders Layered Wildflowers card:
Here are the products I used today. Compensated affiliate links used were available at no cost to you.
Clicking on a thumbnail link and shopping provides me with a small commission (at no additional cost to you), which supports my website and allows me to continue bringing you new projects and videos. I appreciate your support. Affiliate and product disclosures are found on my disclosure page. All products were personally purchased except for the Spellbinders Layered Wildflowers suite, which was provided/sponsored by the company. I only use and recommend products I love. Click on the icons below each product picture to visit my favorite stores.


-
-
- Follow me on INSTAGRAM
- Join 38,000+ following me on PINTEREST
- Subscribe to my YOUTUBE Channel
- Follow me on FACEBOOK
- Amazon Store
- Follow my SOURDOUGH BREAD JOURNEY – over on my The Sour Strawberry BLOG
- JOIN my STAMP OBSESSION Facebook Group
- Check out my FREE PDF Gallery for over 350+ Card Making Tutorials
- How to make a SLIMLINE CARD – Info PAGE
- Do you like to stitch on cards? Then join our NEW FACEBOOK GROUP
-

– LOTS of great Paper Crafting Sales and New Releases going on this week – Check them out here
 Shop my Favorite Brands with my affiliate links
Just beautiful Sandi! Love the flower die cuts and your layered sentiment is perfect! 🙂
thank you amy
Gorgeous, Sandi, and what a beautiful combo!
Thank you Sharon, super easy to make and I really love purple and green together
beautiful colourss as always sandi and I lovely design!