
Hey card-making friends, welcome back. Today, I have Spellbinders Little Smiles Hand Made Cards to share with you. I created three of them covering all the elements of the new release. This newly released collection of dies is so much fun to create with. You can make baby cards, birthday cards for small children, and birth announcements (love the stork). Each set has a great variety of dies, and you can mix and match them, too.
Affiliate links are used throughout this post at no additional cost to you. This allows me to keep bringing you content. I appreciate your support.

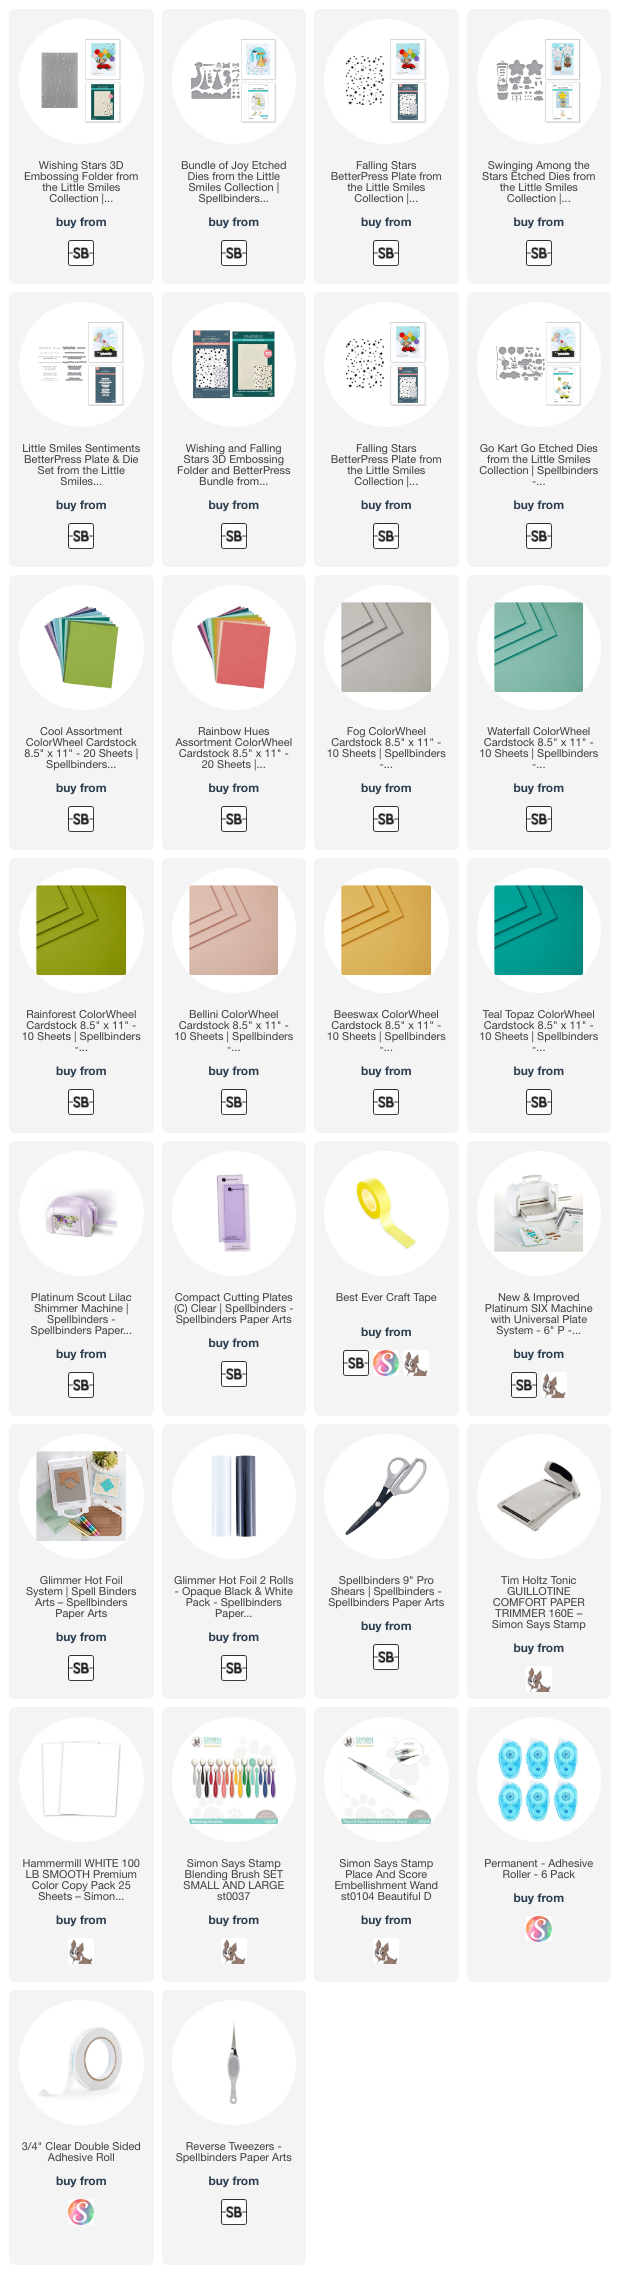
Products Used:
- Little Smiles Go Kart
- Wishing Stars Embossing Folder
- Little Smiles Sentiments BetterPress Plate
- Arches Dies
- Little Smiles Swinging Among the Stars
- Falling Stars BetterPress Plate
- Little Smiles Bundle of Joy

Spellbinders Little Smiles – Bundle of Joy
Two of the three cards are A2 top folding white card bases 4-1/4″ x 11″, score and fold at 5-1/2″. The middle one is an easel card.
I’m also using the Arches Dies in each of my cards today. I love how they frame out the die cuts and still allow the embossed backgrounds to peek through.
Next, a card front in FOG – my new favorite color of cardstock: 4-1/4″ x 5-1/2″
Then, a piece of white 4″ x 5-1/4″ embossed with the Wishing Stars Embossing Folder before attaching to the card front.
Next, using the largest Arches dies, cut the larger one from Fog, the other from white. Emboss the white one with the Wishing Stars embossing folder and then gently ink blend some Broken China Distress Oxide Ink.
Then, using the cloud die, cut one each in blue, white and fog. Ink blend a bit of Broken China Ink to the edges of the blue one before gluing them to the bottom of the arches and trimming off any excess.
Die cut the stork and baby, glue all the pieces together before adding foam squares to the back and attaching them to the arch.
Finally, die cut some stars from pale yellow cardstock and sprinkle them throughout the sky. Use the Little Smiles Sentiments BetterPress Plate, and black glimmer foil the sentiments onto a white piece of cardstock. Use the coordinating die set to cut them out (all at once which is awesome), and attach one at the center bottom of the card.

Spellbinders Little Smiles – Swinging Among the Stars.
For some reason, this card just wanted to be an easel card, LOL . I used the larger of the Arches dies to make that front panel as large as I could while still maintaining the arch, and it allowed me to have the star pop outside the arch which I really like. The card still folds flat and fits inside an a2 sized envelope.
Start by creating the A2 sized waterfall colored card base, 4-1/4″ x 11″, score at 5″ and 2.75″ to create the easel fold.
Score and Fold so it stands this way:

Next, die cut the arches in Fog and Waterfall. Using the Little Smiles Falling Stars BetterPress plate, white glimmer foil the waterfall arch before attaching it to the Fog colored one, then attach it to the 2-3/4″ folded panel on the base.
Then, cut panels for the bottom of the easel card as the “door stop”,
The Fog piece is 2-1/2 x 4″, the Waterfall piece is 2-1/4″ x 3-3/4″, and this one is also white glimmer foiled with the Falling Stars BetterPress Plate.
Glue them together and attach them to the bottom front of the card base.
Finally, cut all the pieces for the art piece, gluing them all together, add foam squares to the back and attach it on an angle to the card. Cut out some additional clouds and stars and glue them on as well.
Black Glimmer foil the Little Smiles Sentiments onto a piece of pale yellow cardstock. Die cut the sentiments out and add one to the “doorstop”, at the bottom of the card along with more yellow stars.
If you need instructions on making Easel Cards, I shared a recent video on how to make them here:
 Spellbinders Little Smiles – Go Kart.
Instructions for this card are basically the same as the first card, with these changes.
For the white arched panel, I die cut the long cloud die (from the Bundle of Joy Die Set), from a scrap of white and used that as a stencil, and ink blended clouds using the Broken China Distress Oxide Ink.
Next, I added a strip of grass at the bottom of the arch, made by clipping it with my scissors.
Then, die cut and glue together the bunny driving the go kart and the balloon and use foam squares to attach them to the card to add dimension.
Finally, the sentiment is black glimmer foiled onto white cardstock.
You can find the entire Spellbinders LITTLE SMILES release here, and it’s also listed in the thumbnails at the end of this blog post.
Visit my Card Making PDF Gallery for 350+ more card ideas.

Card Making Supplies used for the Spellbinders Little Smiles Cards:
Here are the products I used today. Compensated affiliate links used were available at no cost to you.
Clicking on a thumbnail link and shopping provides me with a small commission (at no additional cost to you), which supports my website and allows me to continue bringing you new projects and videos. Thank you for your support. Affiliate and product disclosures are found on my disclosure page. All products were personally purchased except for Spellbinders Little Smiles Products which were provided/sponsored by the company. As always, I was not paid to do this post. I only use and recommend products I love. Click on the icons below each product picture to go to my favorite stores.


-
-
- Follow me on INSTAGRAM
- Join 38,000+ following me on PINTEREST
- Subscribe to my YOUTUBE Channel
- Follow me on FACEBOOK
- Amazon Store
- Follow my SOURDOUGH BREAD JOURNEY – over on my The Sour Strawberry BLOG
- JOIN my STAMP OBSESSION Facebook Group
- Check out my FREE PDF Gallery for over 350+ Card Making Tutorials
- How to make a SLIMLINE CARD – Info PAGE
- Do you like to stitch on cards? Then join our NEW FACEBOOK GROUP
-

– LOTS of great Paper Crafting Sales and New Releases going on this week – Check them out here
 Shop my Favorite Brands with my affiliate links
If you do place an order using my affiliate links (and thank you if you do) – please email me with the $$ amount before tax and shipping, and which company it was placed through, along with your mailing address and I’ll send you a hand made card as my thank you. [email protected]
The reason I ask for that specific info is the system that tracks the sales only gives us a dollar amount and company name, we do not know who made the sale.
Oh my goodness, how cute are those cards?!? Love the little critter die cuts, perfect for your fun cards! 🙂
thanks so much Amy, now I need to find someone pregnant to send them to haha
What fun sets! These are gorgeous!
thank you Sharon, they are so fun to create, really great die sets.
So, so adorable! Especially love the pink elephant in the basket! Great idea to use it for other than baby card!
I’m running the gamut of card designs this month for sure, LOL, but these were a really cute change from floral cards
Oh my cuteness! they are lovely Sandi and i love how you framed each one in an arch. Such sweet designs!
thank you Lisa