
Hey card making friends and welcome back. It’s New Release Day over at Spellbinders and I’m playing with one of the fabulous new Christmas products today, the Scenic Poinsettia Embossing Folder. This is one of two embossing folders released for the Holiday 3/D Folders and it’s Lovely. Today’s card, the Spellbinders Scenic Poinsettia Slimline Card shows one of the many ways you can use this embossing folder.
The Scenic Poinsettia and the Essential Diamond. Both are the new 5.50 x 8.50 versatile 3D Embossing Folders which can be used to create various sizes from A2, 5 x 7, up to a full sized slimline. For the most detailed impression, lightly mist the cardstock on both sides with water before embossing.
PLEASE NOTE: This post contains affiliate links. See below for my full disclosure

NOTE: The NEW Universal Plate System is longer than the original one and makes cutting longer dies like Slimline, and/or these new larger embossing folders quick and easy
*Sandwich for embossing is: From the Bottom, place Platform Base (A), add 3D Embossing Folder with Paper Inside, and top with Adapter Plate (D)
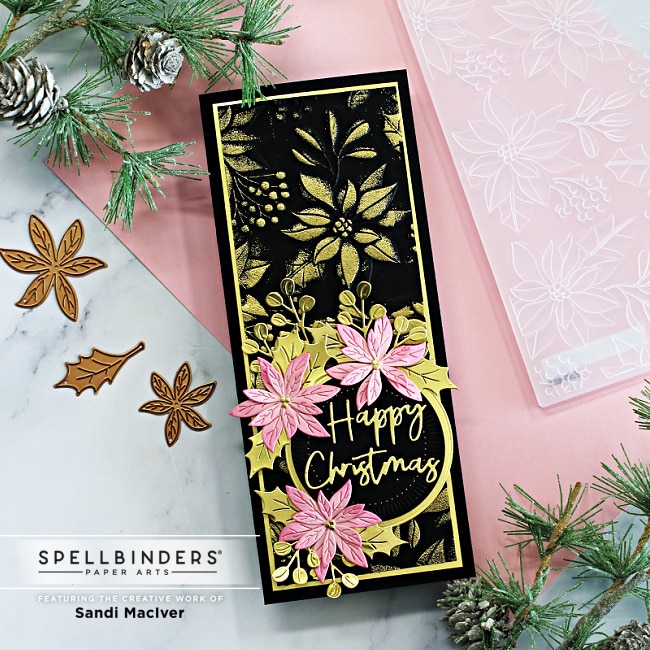
How to create the Spellbinders Scenic Poinsettia Slimline Card.
Start by cutting a 3 x 8 piece of black cardstock
Next, spritz both sides with water and run it through the embossing folder for a nice deep impression.
When dry, run the embossing ink pad lightly over the raised image. Cover with gold embossing powder, shake off the excess and heat set.
Then, mat to a 3-1/8 x 8-1/8 piece of gold mirror cardstock before attaching to a black card base 7 x 8-1/2, scored and folded at 3-1/2.
Learn more about SLIMLINE CARDS here.
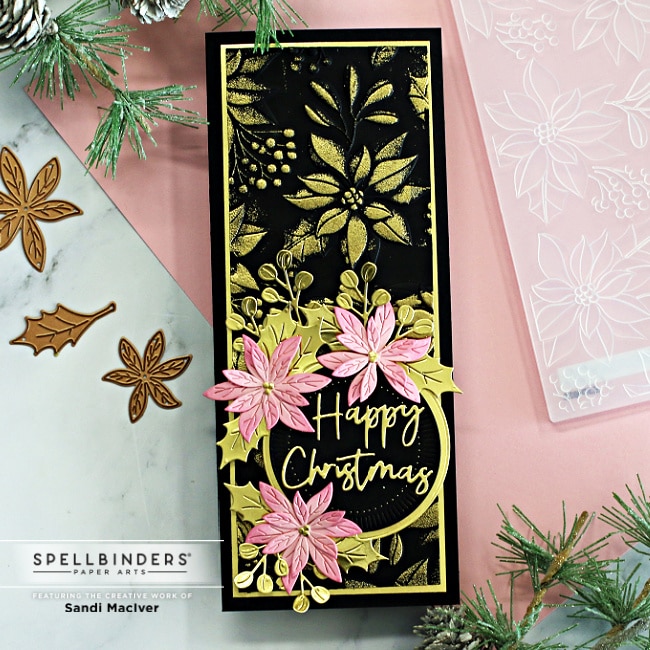
Adding the Art Elements.
Use the fluted Classic Circles dies to die cut the black circle and gold mat. Attach to the bottom section of the card.
Next, use the Create a Christmas Sentiment set to die cut the sentiment and use the Fine Tip on the Bearly Art Glue to attach.
Finally, using the Holiday Blooms die set, die cut the Poinsettias in pink, add pink ink to the tips before layering them.
Then, die cut holly leaves and springs in the mirror gold cardstock and add around the poinsettias.
VIEW THE NEW RELEASE HERE – There are so many fun new products to create with.
 Never Miss a Post – Subscribe to my blog posts.
Visit my Card Making PDF Gallery for 350+ more card ideas

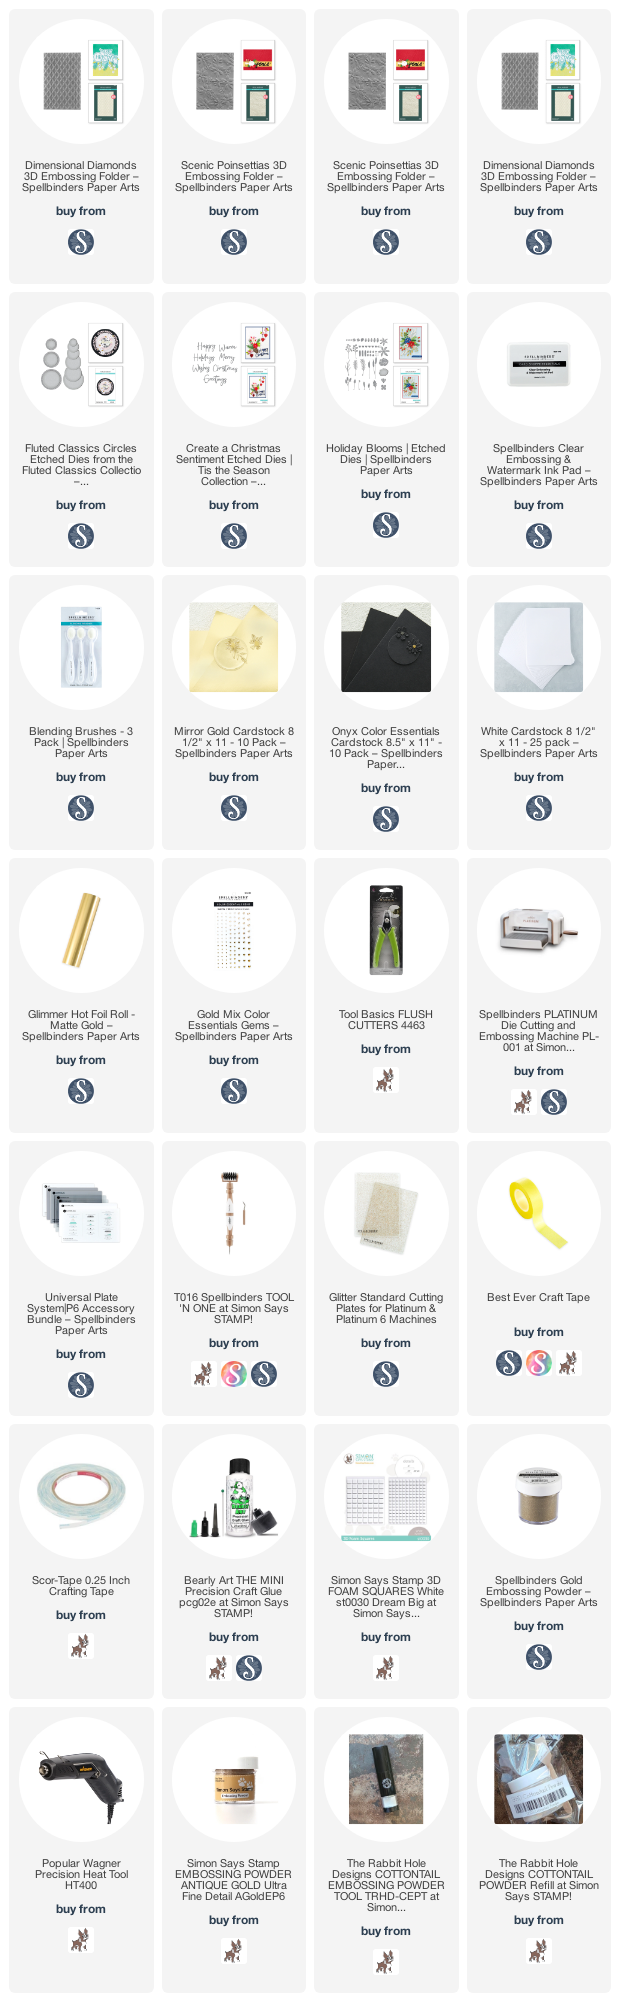
Card Making Supplies used for the Spellbinders Scenic Poinsettia Slimline Card:
Here are the products I used today. Compensated affiliate links used where available at no cost to you.
Clicking on a thumbnail link and shopping supports my website and allows me to continue bringing you new projects and videos. Thank you for your support. Affiliate and product disclosure are found on my disclosure page. All products were personally purchased except for Spellbinders Scenic Poinsettia embossing folder which was provided/sponsored by the company. As always, I was not paid to do this post. I only use and recommend products I love. Click on the icons below each product picture to go to my favorite stores.


– LOTS of great Paper Crafting Sales and New Releases going on this week – Check them out here
 Shop my Favorite Brands
I love this ! Gorgeous!!!
Thanks Bonnie, LOVE this new embossing folder
Wow Sandi! That’s stunning!! 😀 The colors are perfect, love the background and those delicate poinsettia die cuts! 🙂
Thanks Amy, it’s a beautiful embossing folder and I can’t wait to use it again
WOW! Stunning! Really pops on the black!
hank you Sharon, I sure had fun with it
Beautiful card Sandi !
thank you Margaret, this new embossing folder is amazing
Another stunning card you’ve created. That luscious gold against the black background is stunning! SB is producing lots of wonderful 3D embossing folders in that new versatile size.
Thanks so much Mary, and I agree, the new embossing folders are amazing and I love that I can make any size card with them
It’s beautiful Sandi, so Christmassy!
Thanks Lisa, it’s my new favorite embossing folder
Incredibly beautiful! Love how you made the sparkly background!
thank you Natasha, isn’t it a fabulous folder, I love it