
Hi cardmaking friends, welcome back!
Today I’m sharing a beautiful Windmill & Tulips Press & Foil Card Idea created with the stunning Press and Foil Plate designed by Yana Smakula for Spellbinders. This design was inspired by her recent trip to Holland—and I have to admit, I’m a little jealous! Visiting the windmills and tulip fields has always been on my dream travel list.
In today’s cardmaking tutorial, I’ll walk you through exactly how I created this card, including the colors and step-by-step process I used with the layering stencils to ink blend the design. Once the panel was complete, I framed it using the Nested Postage Labels Dies to give it a finished, polished look—almost like a beautifully stamped piece of art. Don’t you think it makes the perfect frame?

Oh, and if you didn’t catch my post on my FACEBOOK PAGE yesterday, Spellbinders beautiful Colorwheel cardstock is on sale. I use it exclusively now, such beautiful colors and nice and thick. Check it out HERE

Products used for today’s Windmill and Tulips Press and Foil Card Idea:
- Windmills and Tulips Press and Foil and Stencil Bundle
Bouquet of Hugs Press and Foil and Die Cut Sentiments - Nested Postage Labels and Tags
- BetterPress
- Glimmer Hot Foil Machine

How to Create the Windmill & Tulips Press & Foil Card
Start by using VersaMark Ink to press the image onto a 4-1/4″ x 5-1/2″ panel of white Hammermill cardstock. Cover the panel with black embossing powder, tap off the excess, and heat set until smooth and shiny.
Place the panel onto a Craft Tacky Mat and begin ink blending with the layering stencils.
Stencil #1
Bottom: Ink blend the tulip heads using Peachy, Guava, and Sunshine inks
Top: Lightly color the windmill sails with Seafoam ink, then add a touch of Violet for depth
Stencil #2
Bottom: Fill in the tulip leaves using Pearfection and Field inks
Top: Ink the windmill blades with Woodsy Brown ink
Stencil #3
Bottom: Ink the background behind the tulips with Artichoke ink
Top: Color the top and base of the windmills using Taffy ink
Stencil #4
Bottom: Ink the tulip stems with Pearfection ink
Top: Fill in the bushes beside the windmills using Pearfection ink
Stencil #5
Top: Color the main body of the windmills using Peachy and Guava inks, then deepen the shadows with Cherry ink. The clouds are included in this layer—leave them white for contrast.
Stencil #6
Top: Ink blend the sky using Seafoam, Violet, and Taffy inks, blending them together to create a soft sunset effect.
Pro Tip: Work from light to dark when ink blending to build smooth color transitions, and use a light hand when layering colors for the most natural-looking results.

Putting the Card Together
Card Cuts:
Card Base: White cardstock cut to 4-1/4″ x 11″, scored and folded at 5-1/2″ to create a top-folding A2 card.
Card Front: Black cardstock cut to 4-1/4″ x 5-1/2″, then die cut using the largest Nested Postage Labels die. Adhere to the card base.
Art Panel: Die cut the finished panel using the largest stitched edge die from the Nested Postage Labels Die Set. Attach to the card front using foam tape to add dimension between the layers.
Sentiment: Cut a 3″ x 1-1/2″ piece of black cardstock and gold foil the sentiment using the Bouquet of Hugs Press & Foil and Die Set from the Yana’s Tulips Bundle. Die cut the sentiment and adhere it to the card using foam squares for added depth.

💡 Pro Tips for a Beautiful Finish
-
Work Light to Dark: Start with your lightest ink colors and gradually build depth with darker shades for smooth, seamless blending.
-
Use a Light Hand: Especially with layering stencils, less ink is better—you can always add more, but it’s harder to take it away.
-
Keep the Clouds White: Leaving the clouds uncolored adds contrast and helps the vibrant sky really pop.
-
Add Dimension: Use foam tape and foam squares between layers to give your card that polished, professional finish.
-
Frame Your Design: The Nested Postage Labels Dies create a bold, graphic frame that makes your focal panel stand out beautifully.
Finishing Touches
This Windmill & Tulips card is such a fun way to combine BetterPress, ink blending, and layering stencils into one vibrant spring design. I love how the bold sky and colorful tulip field bring the whole scene to life, and the postage-style frame really makes it feel like a piece of art.
If you give this technique a try, I’d love to see what you create! Be sure to tag me so I can check out your beautiful cards.
 Never Miss a Post – Subscribe to my blog posts.
Visit my Card Making YOUTUBE Channel for 270+ more card ideas.

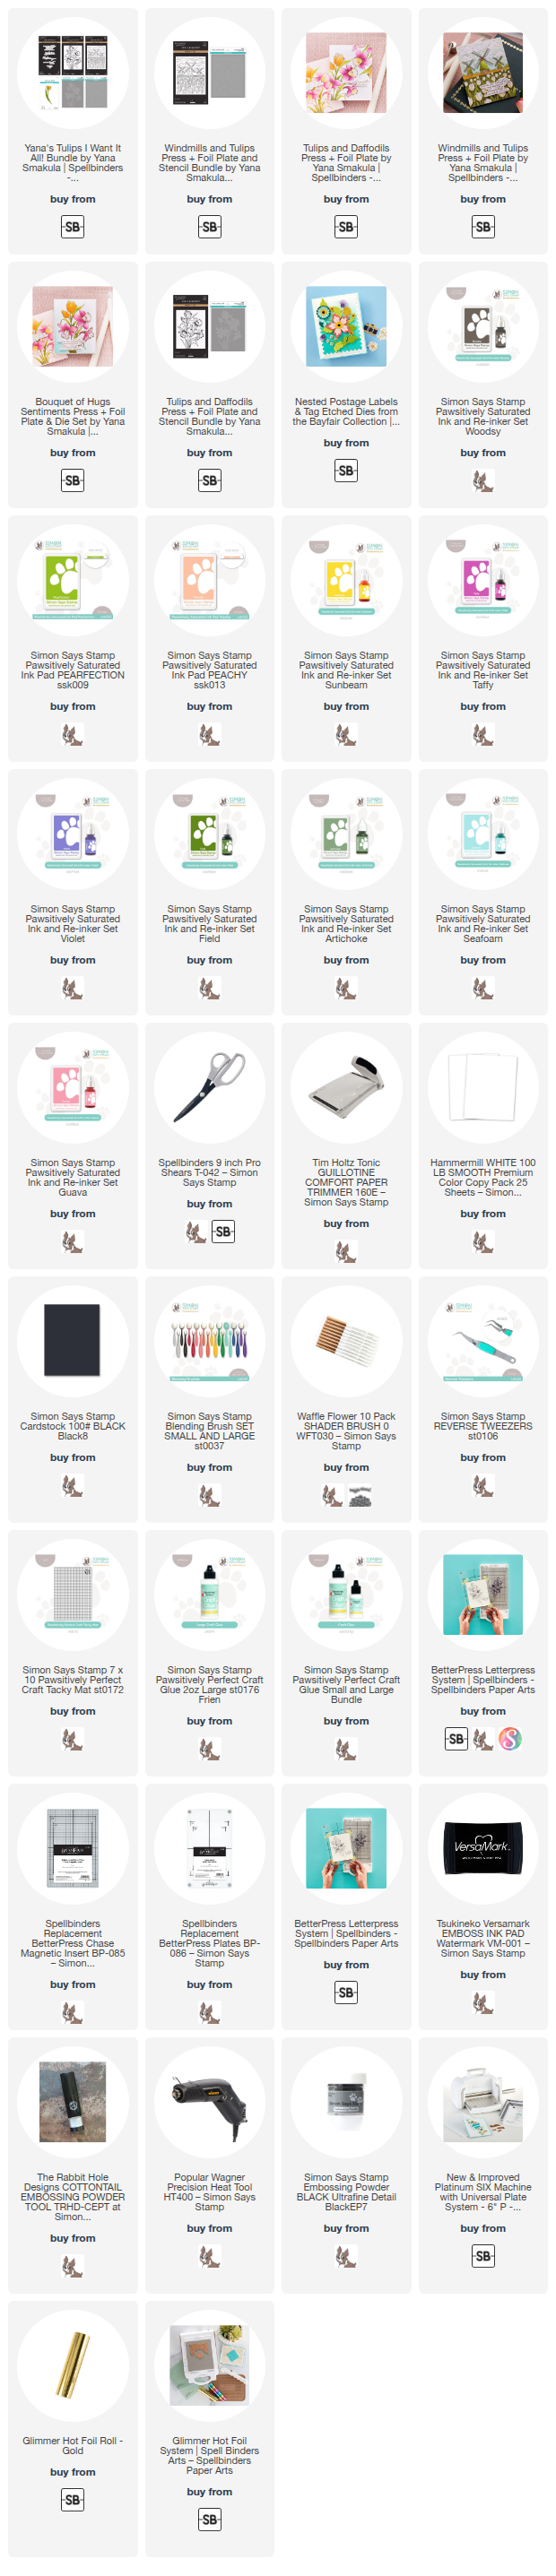
Card Making Supplies used for the Windmill and Tulips Press and Foil Card Idea | Spellbinders Tutorial:
Here are the products I used to create today’s project. Some of the links below are compensated affiliate links, which means if you click through and make a purchase, I may receive a small commission at no additional cost to you.
These commissions help support my website and allow me to continue sharing cardmaking projects, tutorials, and videos. I truly appreciate your support.
All products were personally purchased unless otherwise noted. Yana’s Tulip Release from Spellbinders was provided by the company for design purposes. You can find my full affiliate and product disclosure details on my disclosure page.
Click the icons below each product image to shop at my favorite stores.


-
-
- Follow me on INSTAGRAM
- Join 38,800+ following me on PINTEREST
- Subscribe to my YOUTUBE Channel
- Follow me on FACEBOOK
- JOIN my STAMP OBSESSION Facebook Group
- Check out my FREE PDF Gallery for over 350+ Card Making Tutorials
- How to make a SLIMLINE CARD – Info PAGE
- Do you like to stitch on cards? Then join our NEW FACEBOOK GROUP
-

– LOTS of great Paper Crafting Sales and New Releases going on this week – Check them out here
 Shop my Favorite Brands with my affiliate links
Just beautiful Sandi! The tulips and windmill image is stunning, perfect colors! 🙂
thank you Amy
So full of colour, just like the fields of tulips in Holland!
I have never seen them in real life, but I sure would like to
Absolutely gorgeous – the sky is so beautiful!
THank you Lisa