
Hey, card-making friends. Today, I have 3 cards to share with you all with a Crayon Teacher Cards theme. I’m working again with Spellbinders Monthly Club kits, and I had a blast combining them to create today’s card shares.
I remember buying school supplies as a kid, and I was always so excited to get a new package of Crayolas. LOL – I still get excited over new crayons, but these days they are usually markers or colored pencils. Sometimes, we never grow up, right?
Affiliate links are used throughout this post at no additional cost to you. This allows me to keep bringing you content. I appreciate your support.

I decided to share all of these simultaneously because of the similar theme, so I’ll record under each picture which of the clubs I used to create them.

Products Used:
- Stencil of the Month – Write On
- Small Die of the Month – Classroom Chronicle
- Clear Stamp and Die of the Month – Crayon Creations
How to create the Crayon Teacher Cards Card #1
Start with a 4-1/4″ x 5-1/2″ piece of Hammermill white cardstock. Secure it to a sticky mat and use the Write On Stencil set to stencil the entire background.
I used Simon Says Stamp Inks in Orchid, Seafoam, Limelicious, Cheeky, Latte, and Mocha.
Next, attach it to a top-folding A2-sized white card base.
Then, die-cut the art pieces, glue them together, and attach them with foam squares to the card front.

Products Used:
How to create the Crayon Teacher Cards Card #2
Start with a piece of Waterfall cardstock 4″ x 5-1/4″ and Betterpress it with the club plate using black ink. Attach it to a 4-1/4″ x 5-1/2″ black card front, then attach it to a top-folding A2-sized white card base.
Next, use the Crayon Creations Clear Stamp and Die set and the stamp-laying technique to stamp three Crayons and a sentiment.
ProTip: I found it much easier to die-cut the pieces first. Place both the positive and negative pieces back into the Misti and then do your layer stamping. Otherwise, it’s very hard to figure out where to stamp the feet and arms.
Attach the art pieces to the card front with foam squares.

Products Used:
- Deluxe Caboodle of the Month Bonus Gift – Yah! Crayons
- Abstract Study Embossing Club of the Month
- Crayon Creations Clear Stamp and Die of the Month
Deluxe Caboodle Bonus Gift of the Month – Crayon Teacher Cards – Card #3
Start with a 4-1/4″ x 5-1/2″ piece of Waterfall cardstock and emboss it with the Abstract Study Embossing Folder.
PRO-TIP: Spritz both sides of the paper with water first. This will loosen the fibers, allowing for a deeper embossed image with minimal tearing.
Next, attach to a top-folding A2-sized white card base.
Then, using a rainbow of cardstock, cut out 6 different crayons. Also, stamp the word “Yah!” on scraps 6 times and cut them out.
Glue all the pieces together and then attach them across the card front using foam squares.
Finally, add a sentiment at the bottom.
These stamp and die sets are not only great for Teacher cards but perfect for all the little artists in your life. You could make adorable birthday invitations or birthday cards using the little ones’ favorite colors. The ideas are endless for these sets.
Want more Club Inspiration?
 I shared the May Stitched Club of the Month – here

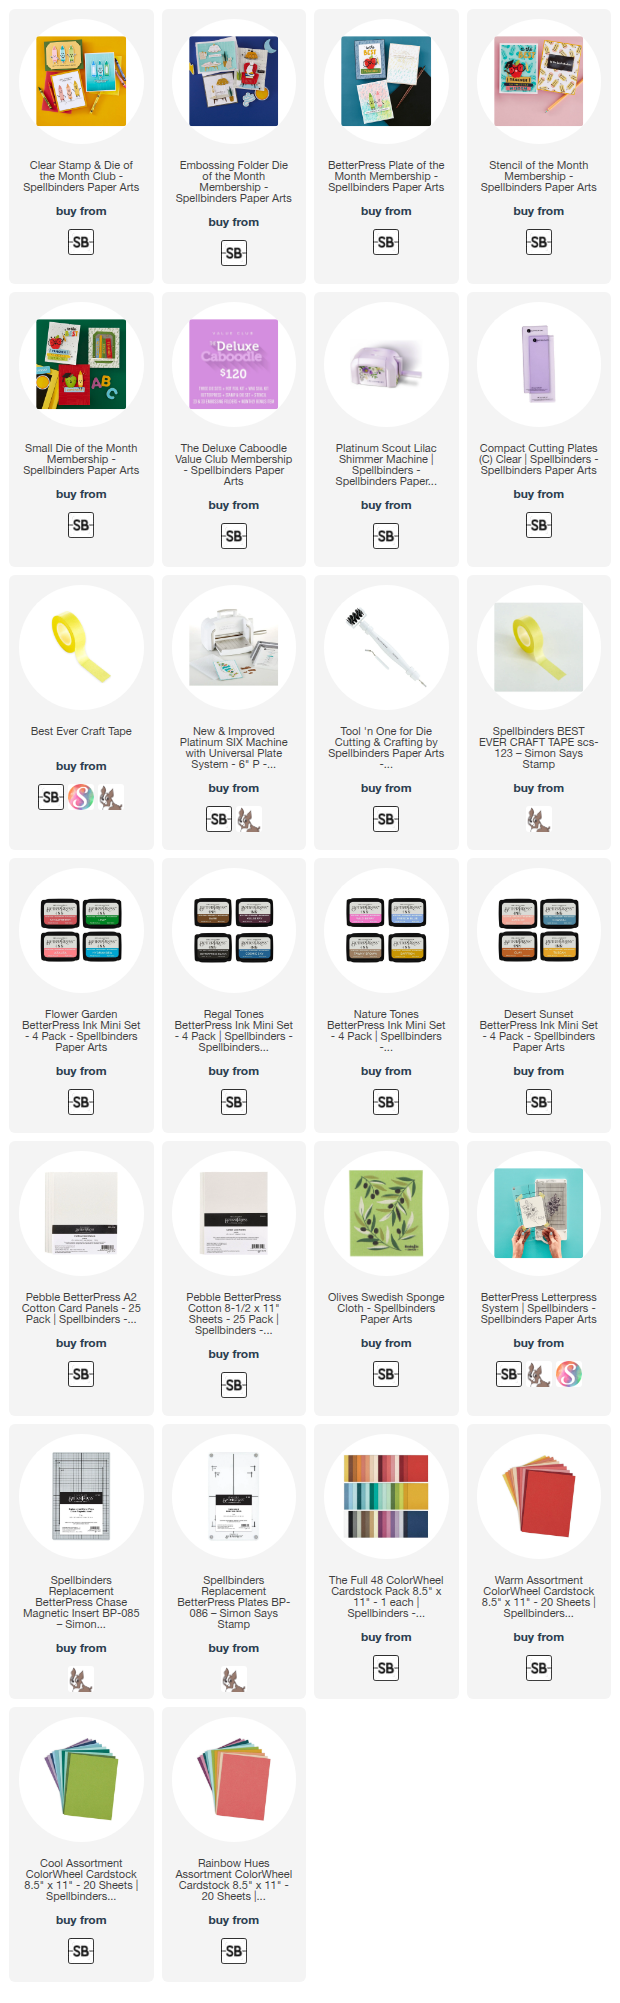
Card Making Supplies used for the Spellbinders Crayon Teacher Cards:
Here are the products I used today. Compensated affiliate links used were available at no cost to you.
Clicking on a thumbnail link and shopping provides me with a small commission (at no additional cost to you), which supports my website and allows me to continue bringing you new projects and videos. I appreciate your support. Affiliate and product disclosures are found on my disclosure page. All products were personally purchased except for Spellbinders Monthly Club Kits, which were provided/sponsored by the company. I only use and recommend products I love. Click on the icons below each product picture to visit my favorite stores.


-
-
- Follow me on INSTAGRAM
- Join 38,000+ following me on PINTEREST
- Subscribe to my YOUTUBE Channel
- Follow me on FACEBOOK
- Amazon Store
- Follow my SOURDOUGH BREAD JOURNEY – over on my The Sour Strawberry BLOG
- JOIN my STAMP OBSESSION Facebook Group
- Check out my FREE PDF Gallery for over 350+ Card Making Tutorials
- How to make a SLIMLINE CARD – Info PAGE
- Do you like to stitch on cards? Then join our NEW FACEBOOK GROUP
-

– LOTS of great Paper Crafting Sales and New Releases going on this week – Check them out here
 Shop my Favorite Brands with my affiliate links
Oh my goodness, such cute cards! Love the fun images, perfect for teacher thank you notes! 🙂
Super teacher cards, Sandi!
This is ADORABLE! Love it
they are all just SO sweet! this month’s theme is fun and I love your bright and jolly cards!