
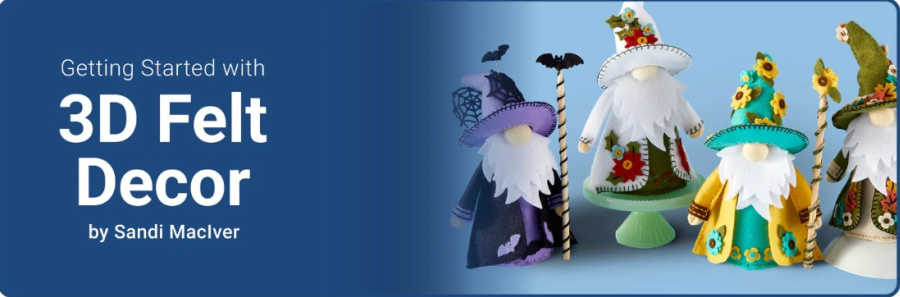
I’m so excited to share today’s post – Introducing Fergus the Gnome! This marks my very first release with Spellbinders and their 3D Felt Decor Line. As a longtime stitcher, I’ve always loved working with felt, and in my younger years, I spent countless hours designing and creating with it. Partnering with Spellbinders to bring Fergus to life has been a lifelong dream come true. I hope you enjoy him as much as I do and feel inspired to stitch a few for your tiered trays and holiday decor.
Card-making product affiliate links are used throughout this post at no additional cost to you. Your support enables me to continue providing you with content, and I genuinely appreciate your support!
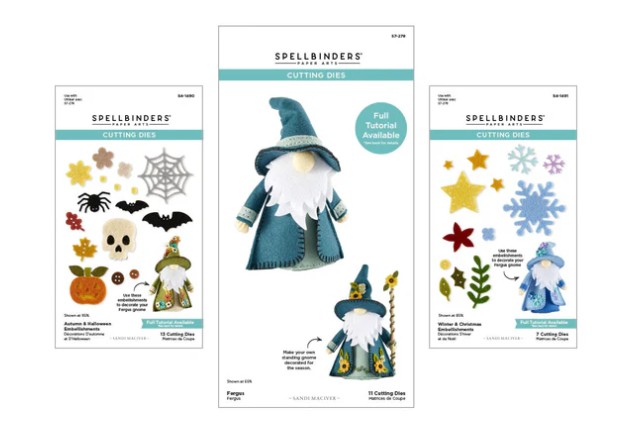
Products Used to create Fergus the Gnome:
Fergus the Gnome – (Large die set that creates the basic gnome). Buy them as a bundle or separately.
Autumn and Halloween Embellishments
Winter and Christmas Embellishments
You can also purchase Fergus at Scrapbook.com
And through Simon Says Stamp
WANT TO WIN A SET OF FERGUS THE GNOME DIES?
We are having a Instagram Hop for Fergus today, and Spellbinders is giving away an entire set of dies (all 3 shown above) – to one lucky winner.
Join the hop over on MY INSTAGRAM PAGE, and follow the instructions for your chance to win.
The History of Fergus:
The idea for creating Fergus came about when I struggled to find cute seasonal decor for my tiered trays. I love decorating them for every season and holiday, but living in a small town makes it challenging to find the right pieces. So, I decided to make my own. Having worked with felt for a while, I thought it was time to take things up a notch and design a 3D gnome. Spellbinders loved the idea, and over the past year I partnered with them to bring Fergus to life.
How to create Fergus the Gnome:
I’ve created a series of videos, linked below, that guide you step-by-step through making Fergus. He’s completely hand-stitched – no sewing machine required. The stitches are simple to follow; just line up the holes and pass the needle through.
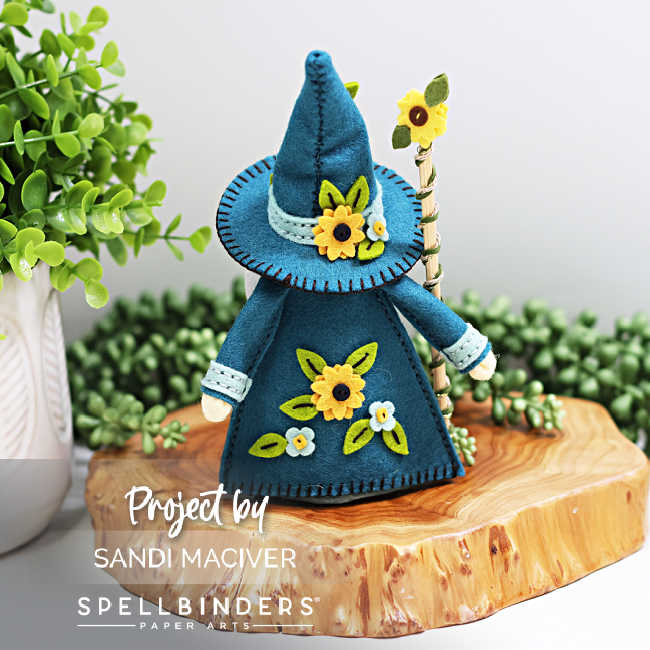
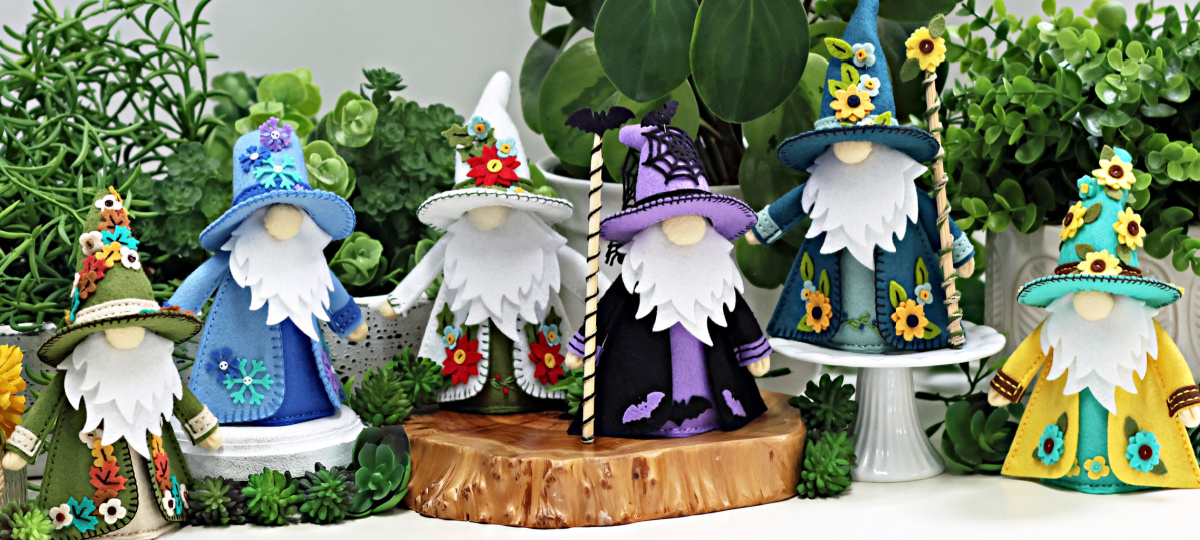
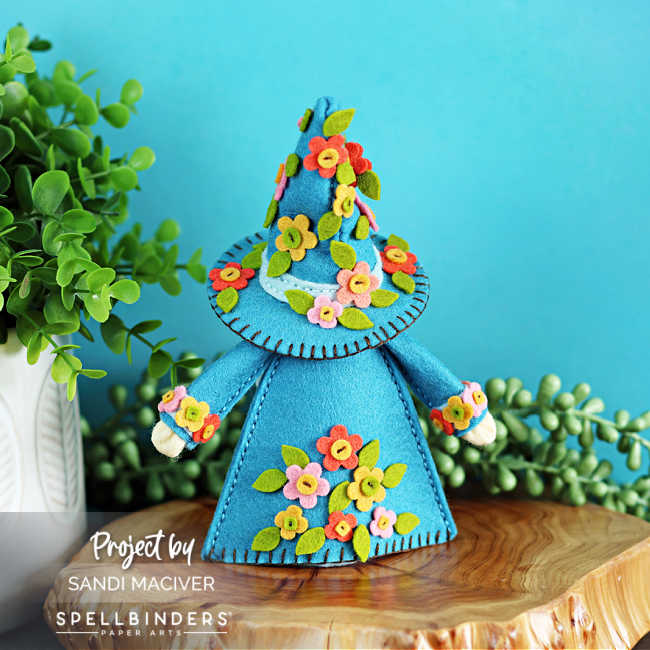
I wanted to share a few photos of how I decorated Fergus – both front and back, since I love adding details all around.
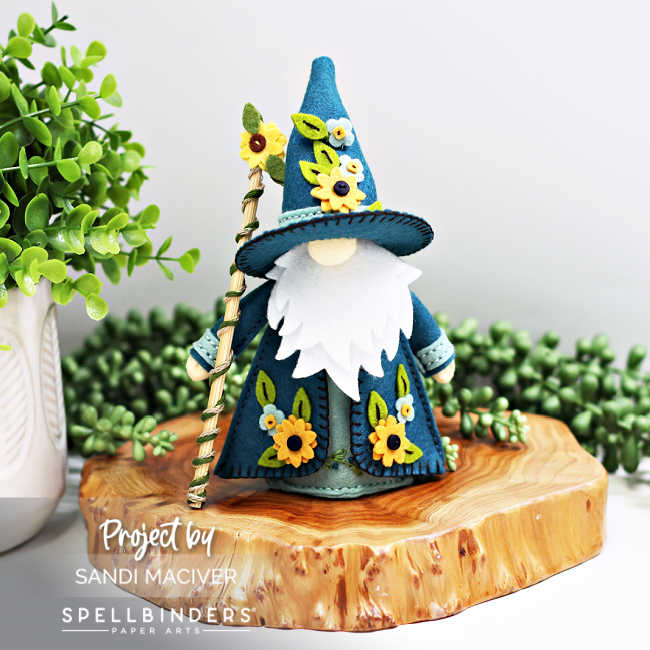
His beard covers much of the front, but there’s plenty of space on the back for embellishments. This version is my Fall Sunflower Fergus, featuring a rich dark teal coat and hat, light blue accents, and bright yellow sunflowers.
While creating samples for Spellbinders’ trade shows, I made sure to showcase as many of their beautiful felt colors as possible. The Merino Wool felt from Spellbinders is a dream to work with – thick, luxurious, and it cuts perfectly with a die-cutting machine. The only challenge is deciding which colors to use! Spellbinders has even released special color combo packs just for Fergus, which I’ve linked below.

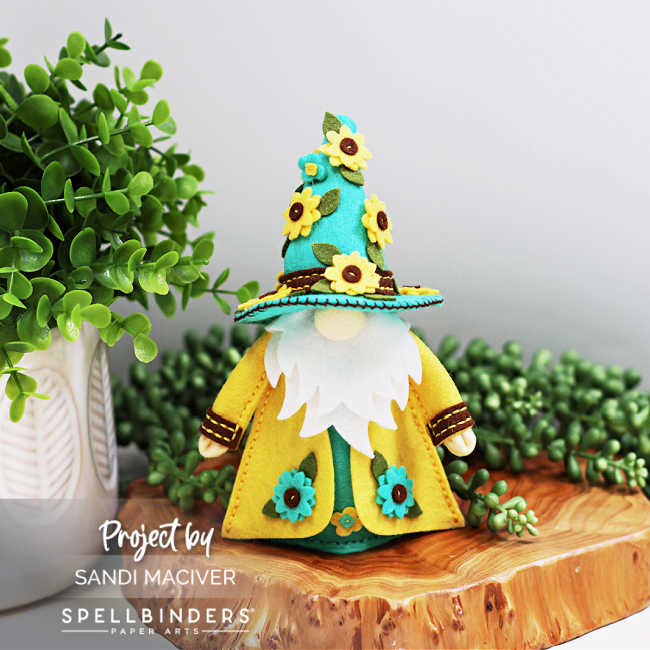
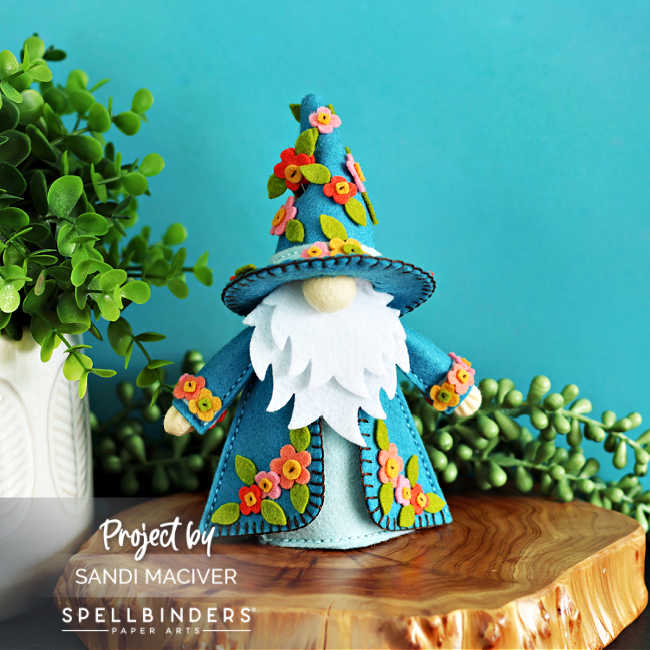
If you’ve been following me for awhile, you know I love using non-traditional colors in my artwork. This is my Summer Sunflower Fergus, dressed in teal and yellow with just a touch of brown highlights — and I absolutely love how he turned out.
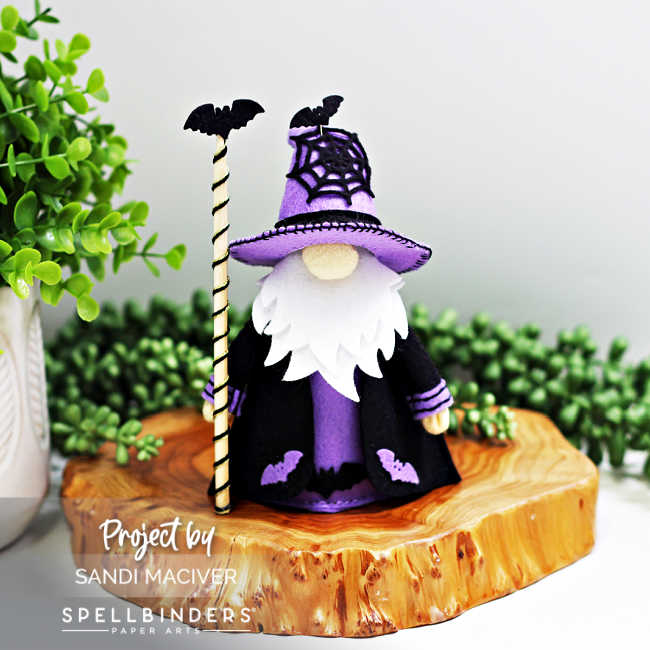
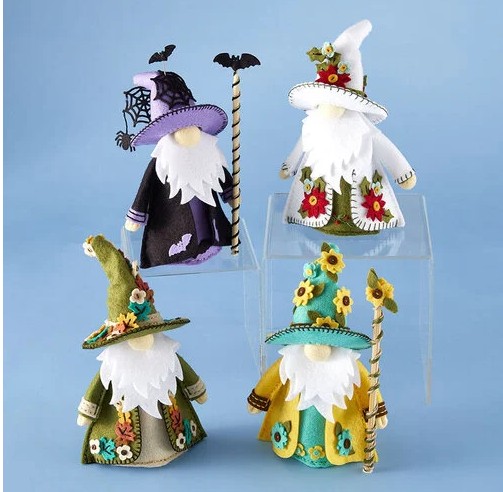
My favorite so far, the Halloween Bat Man, haha….this was so fun to make in purples and black.
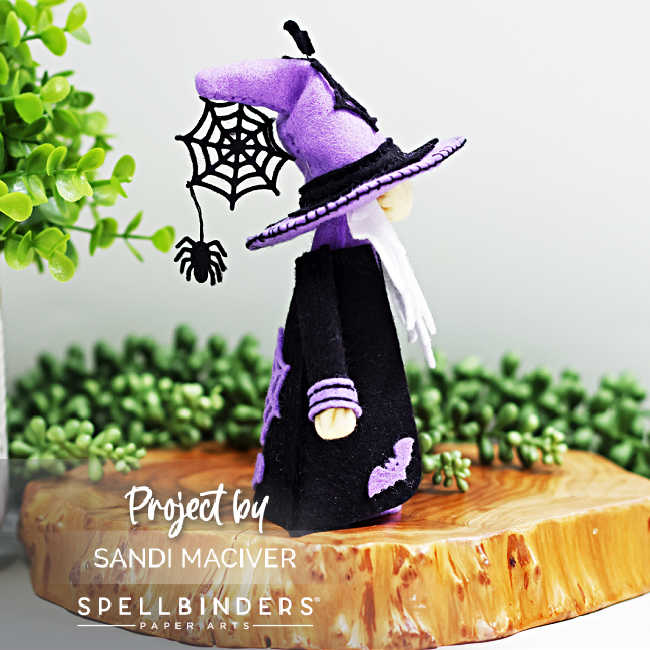
When I stitched his hat, I made sure it had a deep bend in it so that I could attach the spiderweb and the spider.
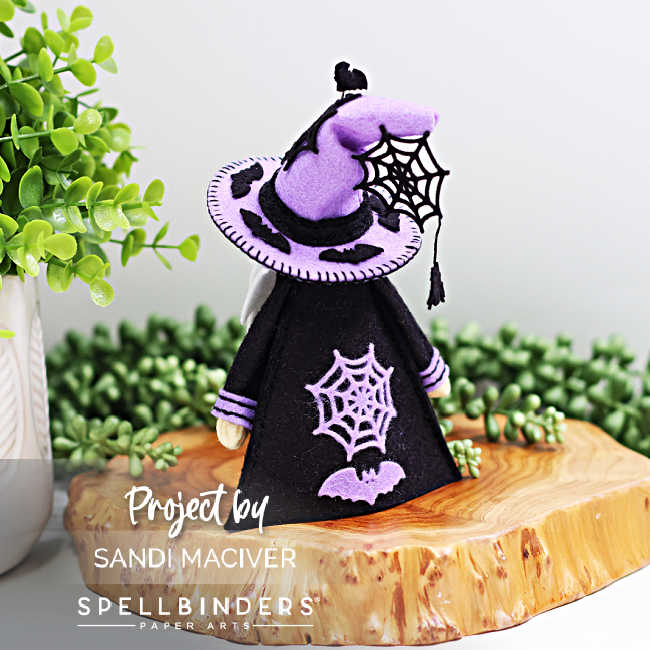
And here’s a view of the back of his hat. I’ll share the remainder of the gnomes in my next post.
Fergus the Gnome – Instruction Videos:
here are the links to all the videos.
NOTE: somehow the instructions for the hands did not get included. You cut them with the round nose die. Trim 1/4″ off, then stitch a running stitch around the edge (same as the nose). The difference is, you do not stuff it, just pull it tight, tie off the knot, and then glue them into the sleeves with Bearly art glue.
Fergus the Gnome – Summer Flowers. This is the gnome I create in the instructional videos. I thought the vibrant colors would show up well.


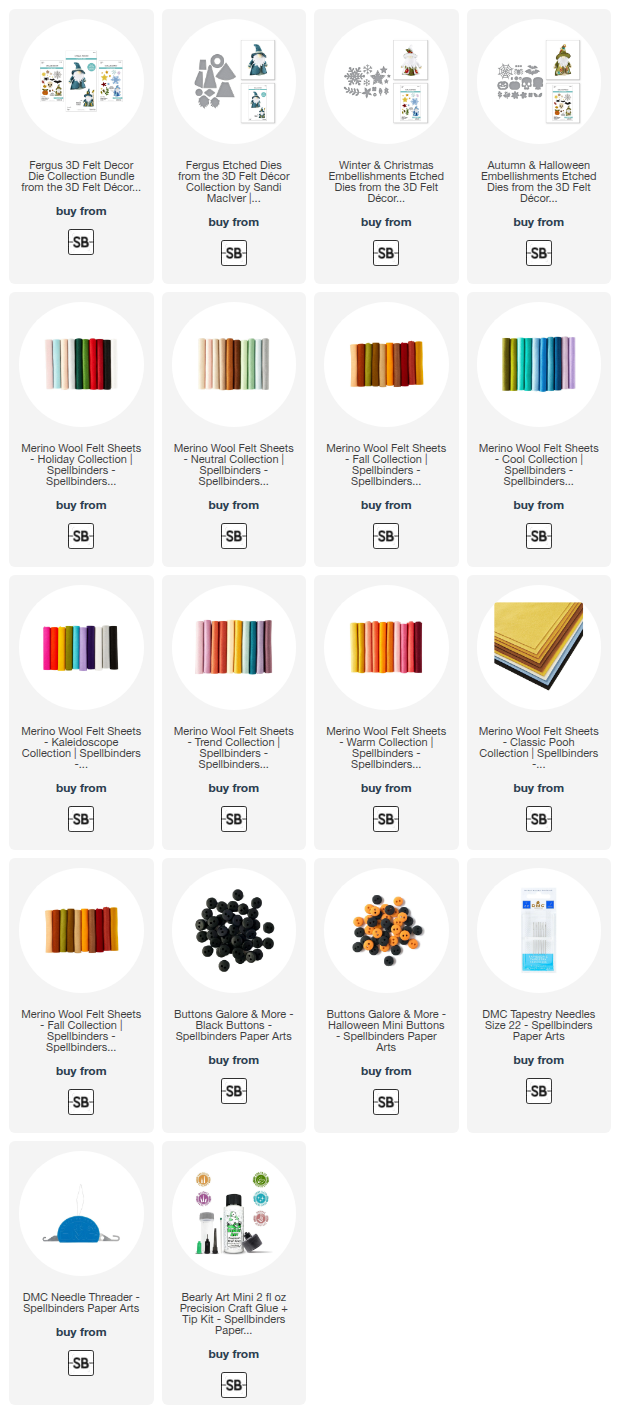
Felt Stitching Supplies used for Introducing Fergus the Gnome:
Here are the products I used today. Compensated affiliate links used were available at no cost to you.
Clicking on a thumbnail link and shopping provides me with a small commission (at no additional cost to you), which supports my website and allows me to continue bringing you new projects and videos. I appreciate your support. Affiliate and product disclosures are found on my disclosure page. All products were personally purchased except for Spellbinders Fergus the Gnome set of dies, which were provided/sponsored by the company. I only use and recommend products I love. Click on the icons below each product picture to visit my favorite stores.


-
-
- Follow me on INSTAGRAM
- Join 38,800+ following me on PINTEREST
- Subscribe to my YOUTUBE Channel
- Follow me on FACEBOOK
- Amazon Store
- Follow my SOURDOUGH BREAD JOURNEY – over on my The Sour Strawberry BLOG
- JOIN my STAMP OBSESSION Facebook Group
- Check out my FREE PDF Gallery for over 350+ Card Making Tutorials
- How to make a SLIMLINE CARD – Info PAGE
- Do you like to stitch on cards? Then join our NEW FACEBOOK GROUP
-

– LOTS of great Paper Crafting Sales and New Releases going on this week – Check them out here
 Shop my Favorite Brands with my affiliate links
Oh my goodness, those are way too cute Sandi! Love gnomes! 🙂
Fergus is fabUlous! Congratulations on an amazing first project with Spellbinders. You supportive videos will be so helpfull.
Thank you Dianne, they are super easy to create, but yes the videos take you step by step through the entire process
Congratulations Sandi! These are adorable and gorgeous.
thank you Louise
Congratulations, Sandi. They are truly “art pieces”. Your creativity taken to a whole new level!
thanks so much Gayle, it’s been such a fun adventure getting them here
Congratulations Sandi! Fergus is absolutely adorable!
I actually have a cousin who’s name is Fergus 😂 or Fergie as we call him….too funny
Thank you Kareen, well, now you can make him a gnome, haha
These are just too adorable for words! Well done, Sandi!
And congratulations on your first design with Spellbinders!
thanks so much Sharon
Congratulations, Sandi!!! Fergus and all the embellishments are adorable!! What a fun project!!
Aw, thank you Chris, and so nice to hear from you, hope you are well
Congratulations Sandi, Fergus is so cute and I can’t wait until my order arrives and I can get started making the little gnomes!!!
aw, thank you Marilyn, I can’t wait to see your Fergus’s, please tag me when you post them
Sandi- I love this little guy. Just made my first one, but I’m wondering which head pins you used for his hat, and I have t found them on any of your supply lists. Thank you for your creativity!
thanks Faith. I got them from Amazon, they have a round top on them
I can’t find how to make Fergus’s hands?
Can you help me
Thank you
Nat xx
Hi Nat. Same as the nose, except, cut off 1/4″ around the circle, stitch a running stitch, and don’t stuff it, just pull it tight and stitch it closed. Then use liquid glue to glue the hands into the arms of the coat.
Thank you so much 🖤
I just think he’s such a cutie 🥰
Going to have a lot of fun them xx
You are so very welcome, and thank you, they are such a blast to make, I love them