
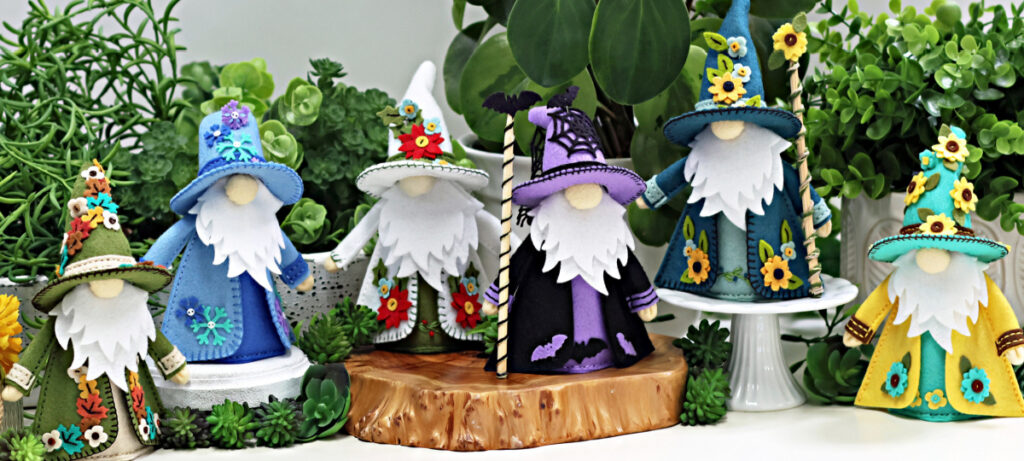
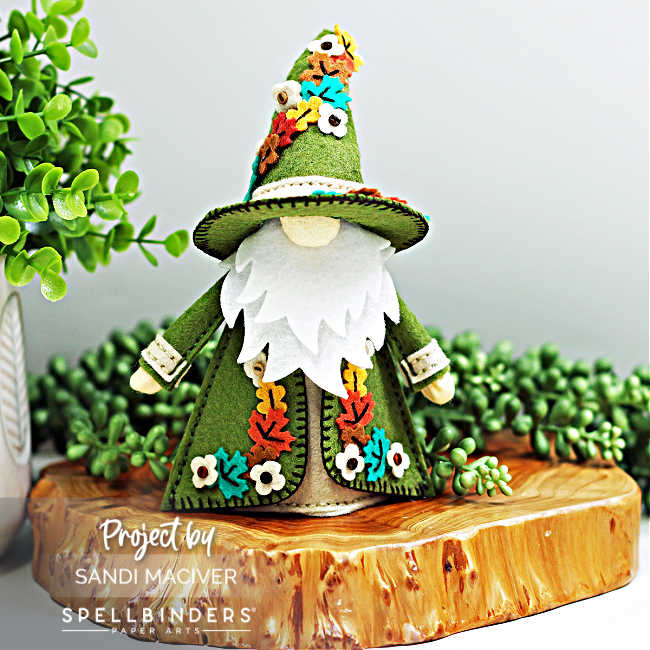
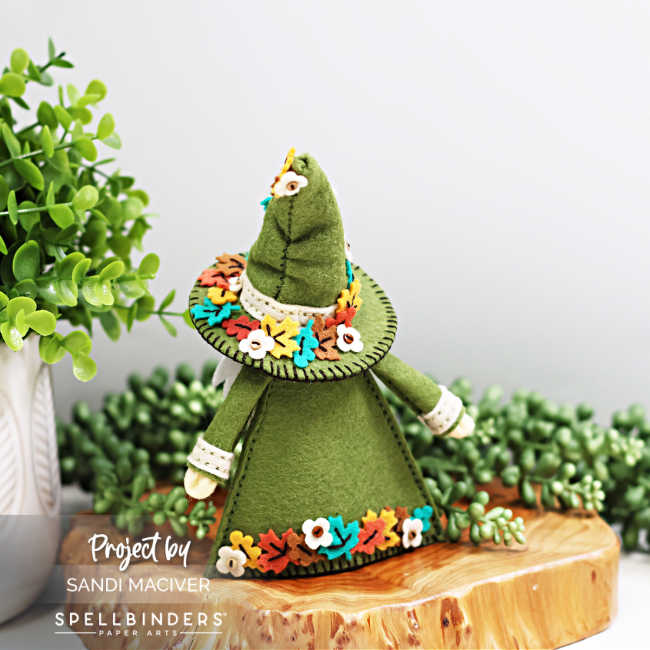
Hi crafters and welcome to a brand-new week. Today I’m excited to share Fall Fergus the Gnome, a cozy new project made with my Spellbinders 3D Felt Decor Dies.
If you love seasonal DIY Decor, felt crafting and tiered tray decorating as much as I do, you are going to adore Fall Fergus! he’s dressed in a soft moss-green coat and hat, layered with die-cut and stitched felt leaves and florals in rich autumn colors, including my signature color teal! It’s the perfect combination to bring warmth and handmade charm to your fall home decor.
Whether you display him on your tiered tray, entryway shelf, or fall centerpiece Fergus the Gnome is sure to become a favorite part of your handcrafted seasonal decorations.
Psss, look closely at your packaging on the Autumn & Halloween embellishments Die set, you will see him there, larger view on the back.
Card-making product affiliate links are used throughout this post at no additional cost to you. Your support enables me to continue providing you with content, and I genuinely appreciate your support!
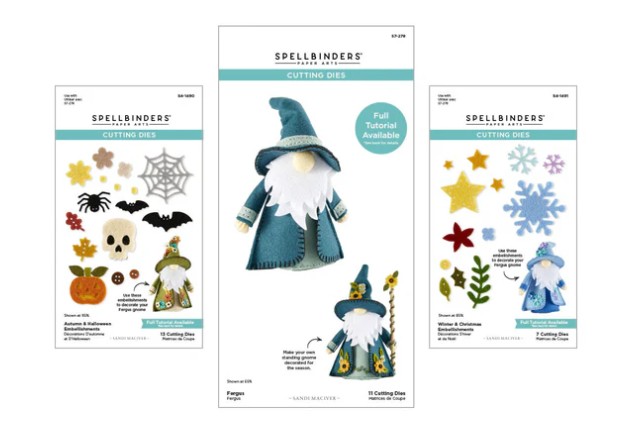
My FERGUS THE GNOME dies are Back in Stock
Spellbinders – get them here
Simon Says Stamp – Get them here
Scrapbook.com – Get them here
If you live in Canada, they are available HERE
Tips for Creating Fall Fergus the Gnome:
1 – Pick Your Colors
Start by selecting your palette from the luxurious Spellbinders Merino Wool Felt collections. Choose colors that coordinate with your home decor. In my case, we have a lot of teal in our house (no surprise there, right?), so I had to sneak in a touch of it.
For me, fall is all about copper, orange, yellow leaves and deep earthy tones – mossy greens, browns, and warm beiges. I incorporated all of these hues into my design to capture that cozy autumn vibe.
2 – Coat, Hat and Body
I like to make the hat and coat the same color and use a lighter shade for the body to help the outfit stand out. For Fall Fergus, I used the Mossy Forest Green (from the Fall Collection) for the hat and coat, and Gourd (a warm beige) for the body.
The yellow and orange leaves come from the Trend Collection, the teal leaves from the Cool Collection and the white flowers from the Kaleidoscope collection. All stitching was done with DMC #3031, a rich dark brown that gives beautiful contrast.
3 – Stitching Time:
I finally timed the process – creating a Fergus from start to finish takes about 1 full crafting day. I started around 9:30 a.m. and finished by 5:00 p.m, including a few breaks for lunch and dinner prep. It’s a steady, relaxing day of stitching with a rewarding finish!
4 – Working Schedule:
What works best for me is a two-stage process:
- Step 1: Die cut and stitch the main elements – hat, coat, body, nose, hands, beard, and trim for the hat and sleeves.
- Step 2: Die cut all the embellishments- leaves, flowers, and accents – and complete their stitching and layering.
Once everything is ready, glue the embellishments onto the base pieces and assemble Fergus, finishing with the decorative pin for his hat.
I’ve created a complete series of How-To Videos to walk you step-by-step through the process of making Fergus from start to finish – you can watch them HERE>
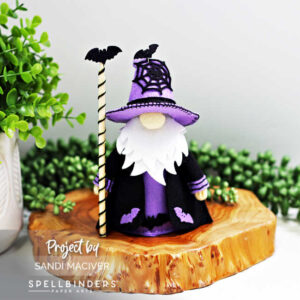
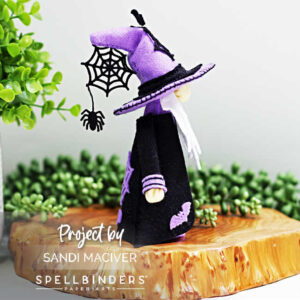
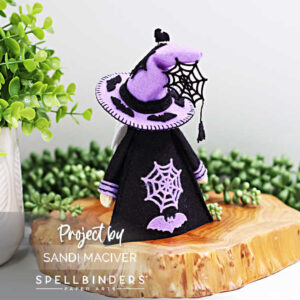
While you are over there, check out HALLOWEEN FERGUS:
He’s such a joy to create that I’ve started making personalized Fergus gnomes as Christmas gifts for friends. It’s so much fun customizing his embellishments to match each friend’s personality and decor!

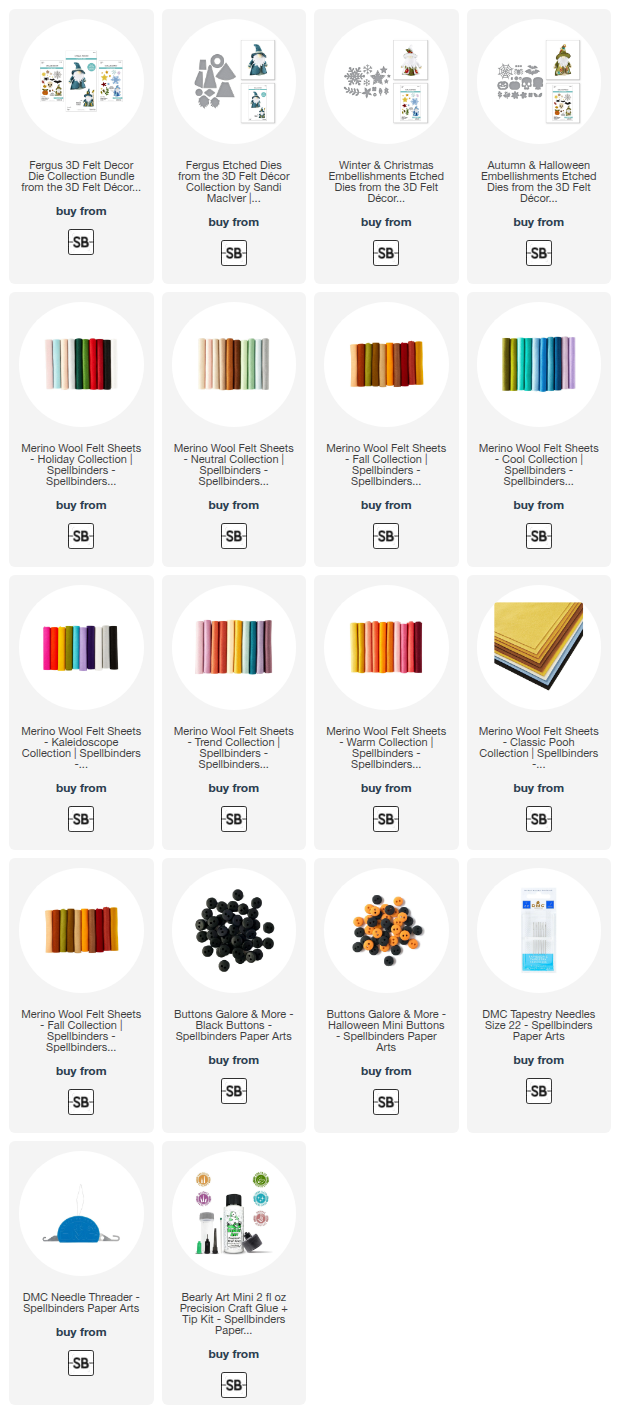
Supplies used for the Fall Fergus the Gnome:
Here are the products I used today. Compensated affiliate links used were available at no cost to you.
Clicking on a thumbnail link and shopping provides me with a small commission (at no additional cost to you), which supports my website and allows me to continue bringing you new projects and videos. I appreciate your support. Affiliate and product disclosures are found on my disclosure page. All products were personally purchased except for Spellbinders Fergus the Gnome Dies, which were provided/sponsored by the company. I only use and recommend products I love. Click on the icons below each product picture to visit my favorite stores.


-
-
- Follow me on INSTAGRAM
- Join 38,800+ following me on PINTEREST
- Subscribe to my YOUTUBE Channel
- Follow me on FACEBOOK
- JOIN my STAMP OBSESSION Facebook Group
- Check out my FREE PDF Gallery for over 350+ Card Making Tutorials
- How to make a SLIMLINE CARD – Info PAGE
- Do you like to stitch on cards? Then join our NEW FACEBOOK GROUP
-

– LOTS of great Paper Crafting Sales and New Releases going on this week – Check them out here
 Shop my Favorite Brands with my affiliate links
Oh my goodness, those are way too cute Sandi! Love gnomes and those are fantastic! 🙂
Oh Sandi this is absolutely magnificent, with so much detail!
I make do with “bought” gnomes!
haha, I get that, LOL.
This is the SWEETEST
Love the gnomes! So cute!
thank you Pat
Sandi, Fergus is so adorable. Wonderful that you can share your creative idea so that others can enjoy this little gnome!
thank you Gayle, he is so fun to make, I just can’t stop, haha
Incredible inspiration for Sandi!! I’m late doing my Christmas Fergus and started die cutting him out today and realised I need somre more felt!!! Kerching!
haha, I can’t wait to see your Christmas version. I’m working on a St. Patrick’s Version today.