
and the next collab is! Pretty Pink Posh! I’m calling this post Simon Says Stamp Posh Roses – because let’s be honest, they really are quite posh. This charming stamp set is packed with beautiful flowers, leafy accents and a few smaller sentiments, making it perfect for so many coloring mediums – watercolors, Copics, colored pencils and more.
For my card, I combined a couple of favorite techniques. The roses are Copic-colored, while the background was created using the Emboss Resist Technique. To finish it off, I added a die-cut frame for extra detail and to perfectly highlight the floral arrangement around the edges.
Card-making product affiliate links are used throughout this post at no additional cost to you. Your support enables me to continue providing you with content, and I genuinely appreciate your support!

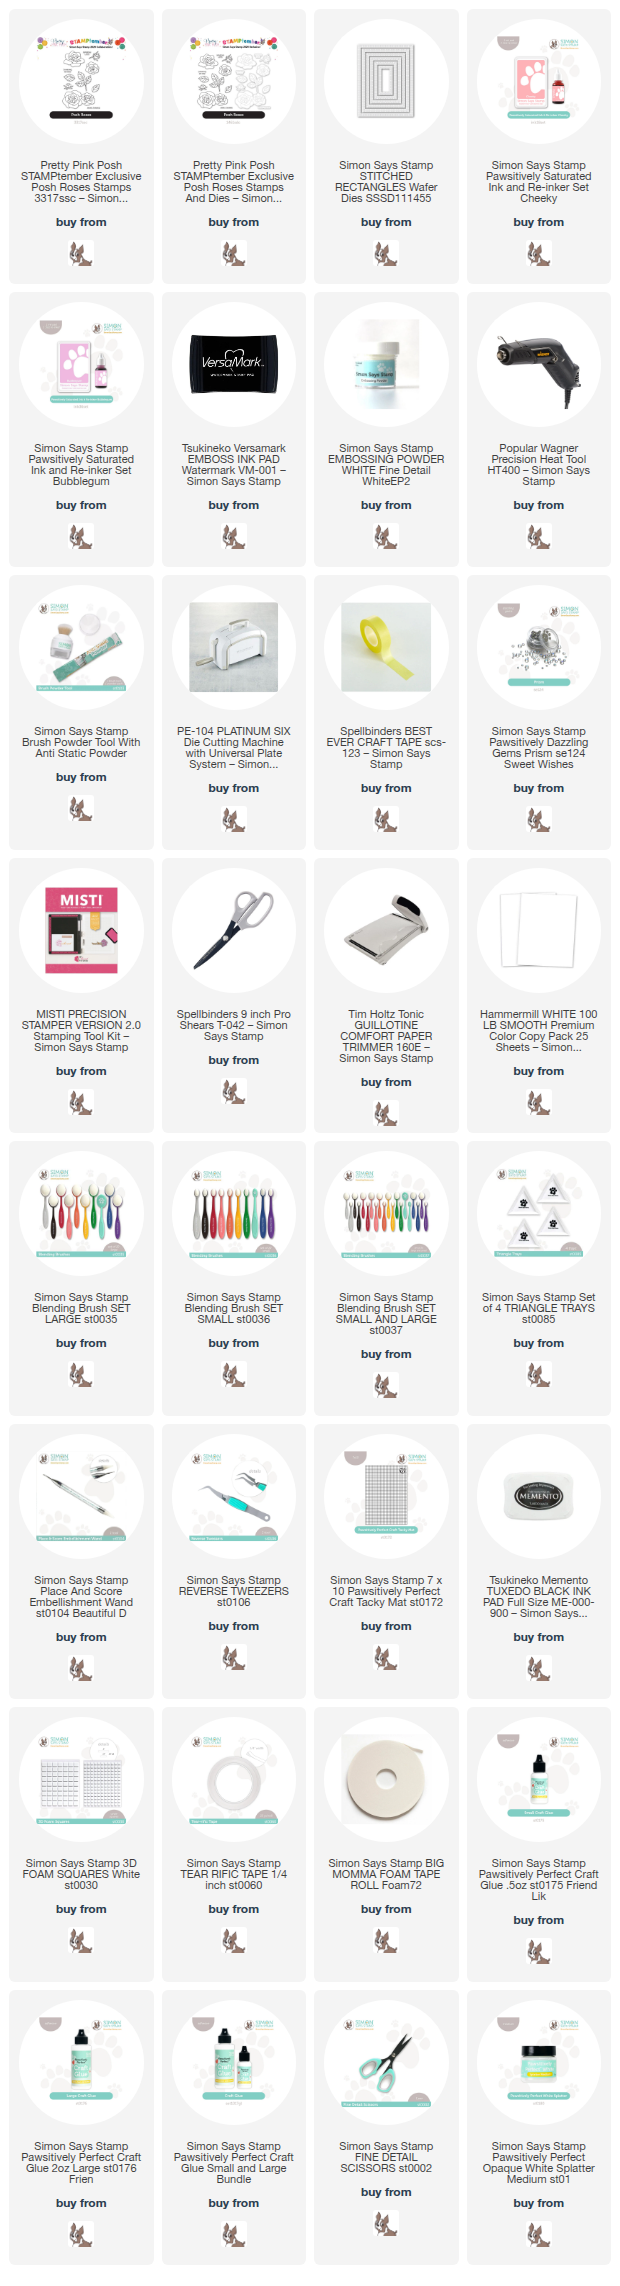
Products used for the Simon Says Stamp Posh Roses Card:
- Pretty Pink Posh/Simon Says Stamp Posh Roses Stamp and Die Set
- Stitched Rectangles Wafer Dies
- White Embossing Powder and Heat Tool.
- Prism Pawsitively Dazzling Gems
- Pawsitively Perfect white Splatter Medium

How to create the Simon Says Stamp Posh Roses Card:
Cut a piece of white Hammermill cardstock to 4-1/4″ x 5-1/2″. Place it in a Misti and white heat emboss the leaf stamps around the edge of the piece. O
On two additional pieces of cardstock, stamp the roses and leaves with Memento black Ink. Color the images with Copic markers, then die cut them using the coordinating dies.
- Copics Used:
R00 – R21 – R22 - RV00 – RV10 – RV11 – RV32
- YG01 – YG06

Frame it out:
Use the Stitched Rectangle Wafer Dies and cut four frames. Stack and glue three of them together, setting the fourth aside to use as a stencil.
Next, with blending brushes, softly apply Bubblegum and Cheeky ink around the outer edges of the card front, just enough to highlight the white-embossed leaves. Then place the extra frame over the center of the panel as a stencil and blend the same two colors inside the frame, this time with double the intensity to create a strong focal point.

Simon Says Stamp Posh Roses – Putting it all together.
Adhere the card front to a top folding A2-sized white card base.
Next, glue the white frame to the center of the card, then use foam squares to arrange and attach the roses and leaves for added dimension.
Stamp the sentiment in black, die cut it, and place in the center of the frame.
Set the card inside a Splat box and lightly splatter it with Pawsitively Perfect White Splatter Medium.
Finish with a generous sprinkle of Prism Pawsitively Dazzling Gems for the perfect touch of sparkle.
Visit my Card Making PDF Gallery for 350+ more card ideas.

Card Making Supplies used for the Simon Says Stamp Lifting hearts card:
Here are the products I used today. Compensated affiliate links used were available at no cost to you.
Clicking on a thumbnail link and shopping provides me with a small commission (at no additional cost to you), which supports my website and allows me to continue bringing you new projects and videos. I appreciate your support. Affiliate and product disclosures are found on my disclosure page. All products were personally purchased except for Spellbinders Monthly Club Kits, which were provided/sponsored by the company. I only use and recommend products I love. Click on the icons below each product picture to visit my favorite stores.


-
-
- Follow me on INSTAGRAM
- Join 38,800+ following me on PINTEREST
- Subscribe to my YOUTUBE Channel
- Follow me on FACEBOOK
- JOIN my STAMP OBSESSION Facebook Group
- Check out my FREE PDF Gallery for over 350+ Card Making Tutorials
- How to make a SLIMLINE CARD – Info PAGE
- Do you like to stitch on cards? Then join our NEW FACEBOOK GROUP
-

– LOTS of great Paper Crafting Sales and New Releases going on this week – Check them out here
 Shop my Favorite Brands with my affiliate links
prettiest card I’ve seen today! beautiful set and card Sandi.
aw, thank you Lisa, you are so kind
So pink and pretty! And, of course, posh!
thank you Sharon
So pretty Sandi! The framing is perfect with the floral images! 🙂
thanks so much Amy