
Hi crafty friends! Welcome Back!. It’s the 6th of the month, and you know what that means – NEW SPELLBINDERS CLUBS are here! Today, I’m sharing the Spellbinders Window Wonderland, the Large Die of the Month. This month’s clubs are packed with cool winter inspiration, warm holiday wishes, and as always, unique and innovative dies that make cardmaking pure joy

SALE – and speaking of clubs, Spellbinders just announced a CLUB CLASSIC EVENT – a limited time sale you won’t want to miss. This special event is open to everyone, but club members save even more.
Hurry – the sale ends Oct 12 – VISIT THE CLUB CLASS EVENT HERE
Card-making product affiliate links are used throughout this post at no additional cost to you. Your support enables me to continue providing you with content, and I genuinely appreciate your support!

Products used for the Window Wonderland Card:
Window Wonderland – October 2025 Large Die of the Month
Brick by Brick – 3D embossing folder of the month

October 2025 Large Die of the Month – Window Wonderland:
This charming winter scene card captures the magic of the holiday season using the Spellbinders – Large Die of the Month – Window Wonderland. The beautifully detailed bay window die set creates a cozy storefront or home window, complete with snow-topped awnings, glowing holiday lights, and a peek at a festive Christmas Tree Inside.
A playful child pulls a sled stacked with colorful presents across a snowy walkway, bringing joyful movement and storytelling to the design. The October 3D Embossing Folder, Brick by Brick bring an embossed brick texture to the background, enhancing the cozy architectural feel. Soft shades of teal, white, yellow, and pops of magenta and chartreuse bring a cheerful winter palette to life.

Over on the Spellbinders website, under the individual clubs, you will find a detailed image (above) showing you the location of all the die pieces. I find these extremely useful, especial for die sets with as many pieces as this, LOL.
How to create the Spellbinders Window Wonderland:
It’s pretty self explanatory, but a couple of tips from my experience building it.
Start with the Window:
Die cut the main window and the three inside windows using their outside frame dies. This gives you space to layer the curtains, Christmas tree, and yellow background behind the entire die-cut piece.
Next, die cut the window frame overlay with the lattice detail at the top and adhere it over the base layer. (Ask he how I know! LOL, I did it the other way around first and ended up with three thick layers of cardstock that needed tight trimming under the white frame – definitely easier this way!).
Create your Base:
Next, create a top folding A2-sized white card base. Over that, add a piece of black cardstock trimmed to 4-1/4″ x 5-1/2″ embossed with the Brick by Brick embossing folder. It’s subtle in the photos, but in real life, it beautiful enhances the window scene. This is a must-have embossing folder for your stash – I already have so many ideas blooming for it.
Snowbank Tip:
Lastly, when cutting the snow for the bottom, leave it a little longer than needed. After gluing it in place, trim from the back. This is much easier than trying to fit a shorter piece and ensures you have enough room for the child pulling the sled of gifts.
Color Harmony:
For a cohesive look, repeat your colors throughout – use the same shades int he string lights, ornaments on the tree, and gift packages. This brings the entire design together beautifully

Visit my Card Making PDF Gallery for 350+ more card ideas.

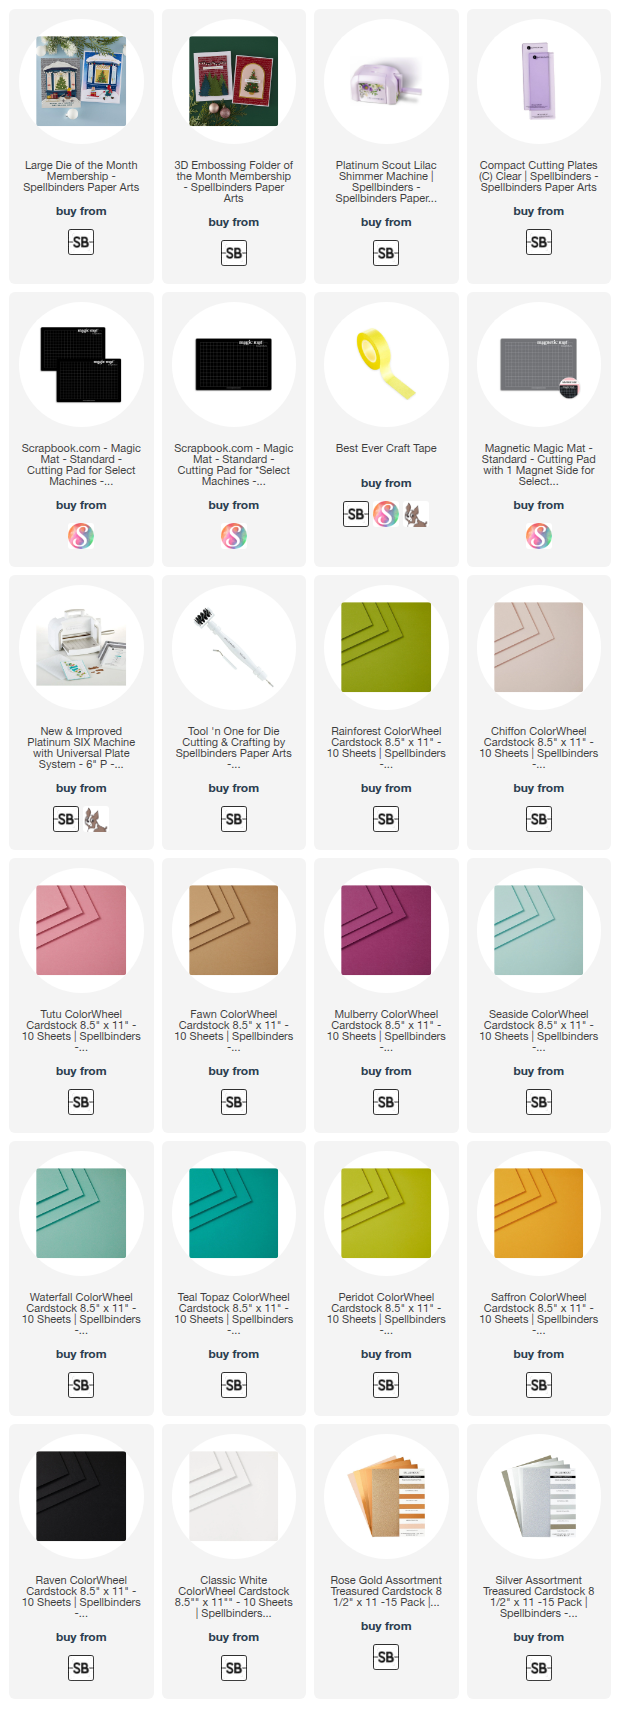
Card Making Supplies used for the Spellbinders Window Wonderland Card:
Here are the products I used today. Compensated affiliate links used were available at no cost to you.
Clicking on a thumbnail link and shopping provides me with a small commission (at no additional cost to you), which supports my website and allows me to continue bringing you new projects and videos. I appreciate your support. Affiliate and product disclosures are found on my disclosure page. All products were personally purchased except for Spellbinders Monthly Club Kits, which were provided/sponsored by the company. I only use and recommend products I love. Click on the icons below each product picture to visit my favorite stores.


-
-
- Follow me on INSTAGRAM
- Join 38,800+ following me on PINTEREST
- Subscribe to my YOUTUBE Channel
- Follow me on FACEBOOK
- JOIN my STAMP OBSESSION Facebook Group
- Check out my FREE PDF Gallery for over 350+ Card Making Tutorials
- How to make a SLIMLINE CARD – Info PAGE
- Do you like to stitch on cards? Then join our NEW FACEBOOK GROUP
-

– LOTS of great Paper Crafting Sales and New Releases going on this week – Check them out here
 Shop my Favorite Brands with my affiliate links
That’s so cute Sandi!! Love the Christmas scene, perfect! 🙂
thank you Amy
What a cute winter scene! And lots of detail!!!
thank you Sharon, yes, tons of layers of die cuts, but it was fun to make
So, so cute! Brings back lots of snowy memories from living in Michigan. There were lots of little pieces to cut and put together on this art piece! Wow!
Thank you Gayle, and yes, there are a ton of pieces in this one, took me about 2 hours to make it, LOL, but I really enjoyed the process
Absolutely gorgeous!
thanks my friend
such a gorgeous DOML. Spellbinders knocks it out the park every month and your card is wonderful Sandi!